A dresser repurpose can cost $5 at a yard sale or $300 at an antique store, and the difference is whether you need the joinery intact or just a frame to strip and rebuild.
The structural limits matter: a vanity conversion stalls if the dresser is narrower than the sink, and a kitchen island needs casters and eight coats of polyurethane before the butcher-block top holds up to prep work.
1. Storage Shelving or Open Bookshelf
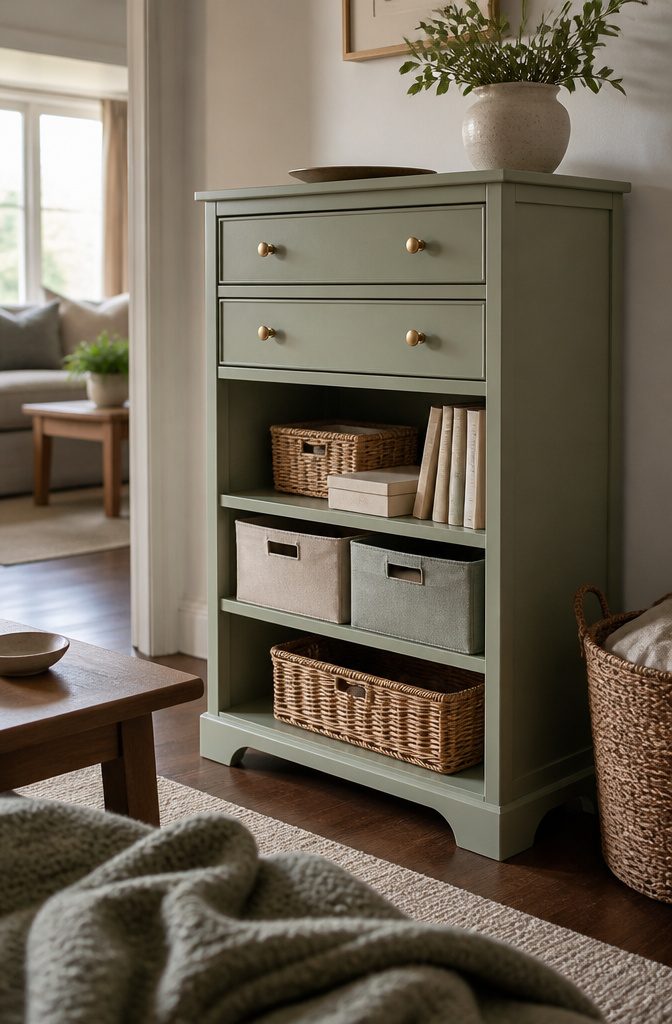
Removing a few drawers and fitting shelves in their place turns a dresser into open storage without changing its footprint.
The conversion works best when you pull the bottom two or three drawers and leave the top ones intact, so you keep closed storage for smaller items while gaining accessible space below for bins, books, or baskets.
Cut shelves from 1/4-inch plywood to match the drawer opening dimensions, sand the front edges smooth, and glue them into place where the drawer bottoms used to sit.
If the dresser has wide drawers, you’ll have room to work inside with tools and still fit the shelves cleanly.
Paint the whole piece once the shelves are secure, replace the hardware on the remaining drawers, and drop in wicker bins or fabric boxes to organize what goes on the new shelves.
The mix of open and closed storage reads more intentional than a fully stripped unit, and you skip the step of filling or disguising the drawer track grooves.
2. Bench or Seating
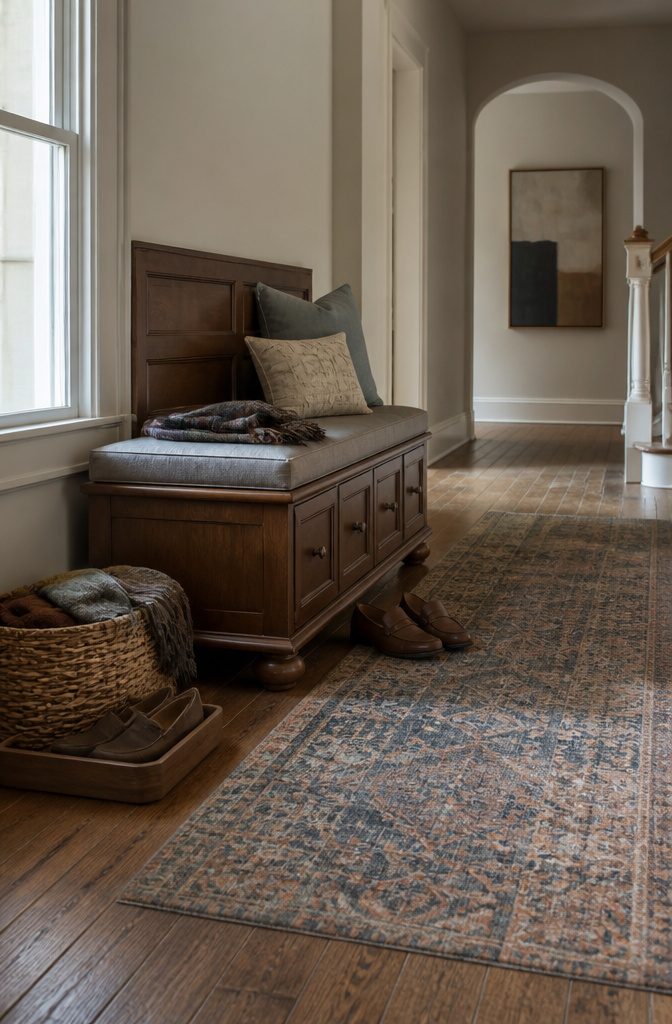
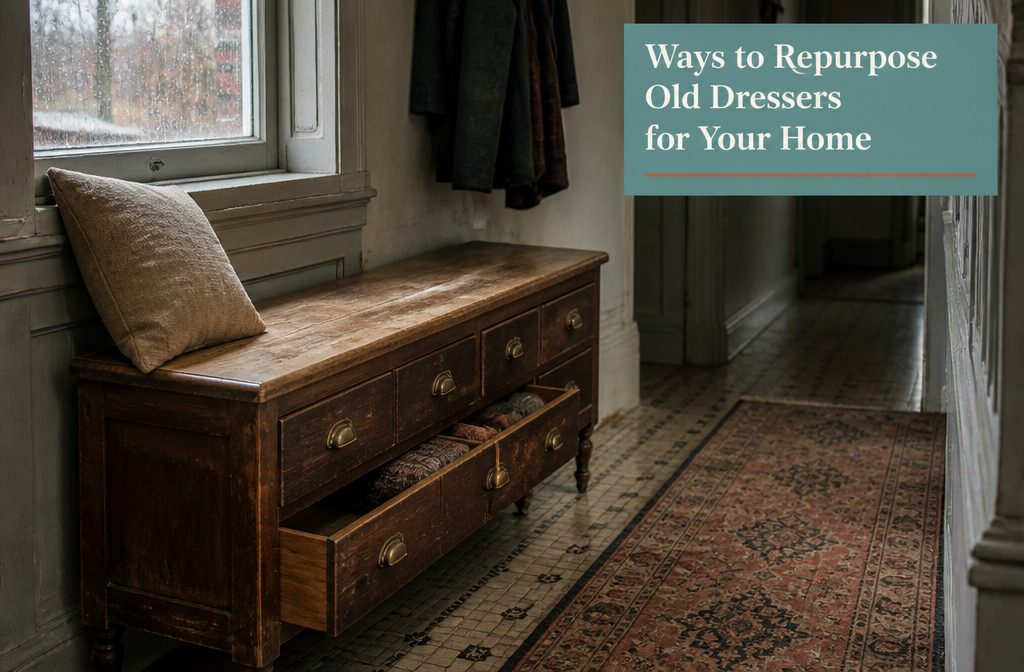
Pull out the top two or three drawers and the empty cavity becomes a seat.
The frame is already there; you need only reinforce the interior with 1×2 wood strips and cut a piece of 3/4-inch or thicker plywood for the seat surface.
Wrap the plywood with 3 yards of fabric, marking it 5 inches larger than the plywood on all sides so you have enough to pull tight and staple underneath.
Hot glue or a brad nailer holds the removed drawer faces to the inside back wall, keeping the dresser’s original look intact from every angle. Attach four bun feet to the base for a finished appearance.
The build costs around $50 in materials compared to more than $300 for a similar bench at retail.
A seating cushion or upholstered pad on top makes the surface comfortable, and the remaining lower drawers hold shoes, scarves, or whatever the entryway demands.
3. Bathroom Vanity
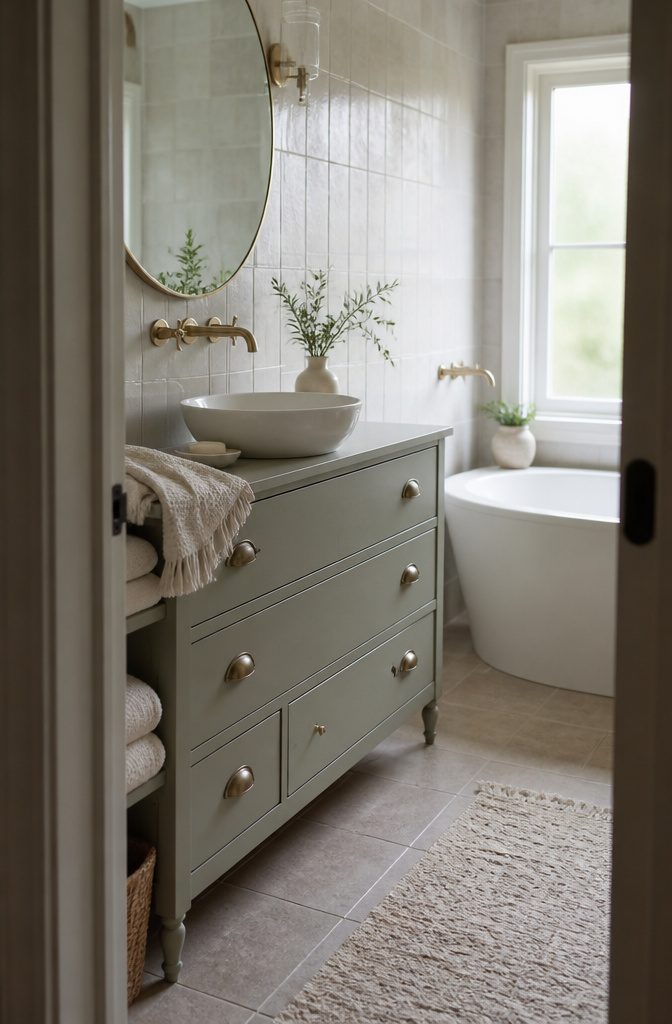
I’ve cut a hole in more than one piece of furniture, and a dresser turned vanity sits high on the list of ways to give a tired piece new work.
The dresser must be wider than the sink, or the plumbing has nowhere to go and the whole conversion stalls before it starts.
A vessel sink keeps the cut shallow and the structure mostly intact, which matters when the dresser is old and you’d rather not hollow it out.
Call a plumber before you measure anything; the pipes decide where drawers can stay and where they have to be shortened or pulled entirely, and getting that wrong means cutting twice.
Once the fit is sorted, sand the piece and wipe it clean. Primer goes down first, then at least two coats of paint with full drying time between each.
The finish has to hold up to water and daily contact, so rushing the coats shows up fast. Reattach the hardware when everything is dry, and let the plumber set the sink and hook up the lines.
The result reads as furniture first and plumbing second, which is the entire reason to start with a dresser instead of a prefab cabinet.
4. Television Stand or Media Center
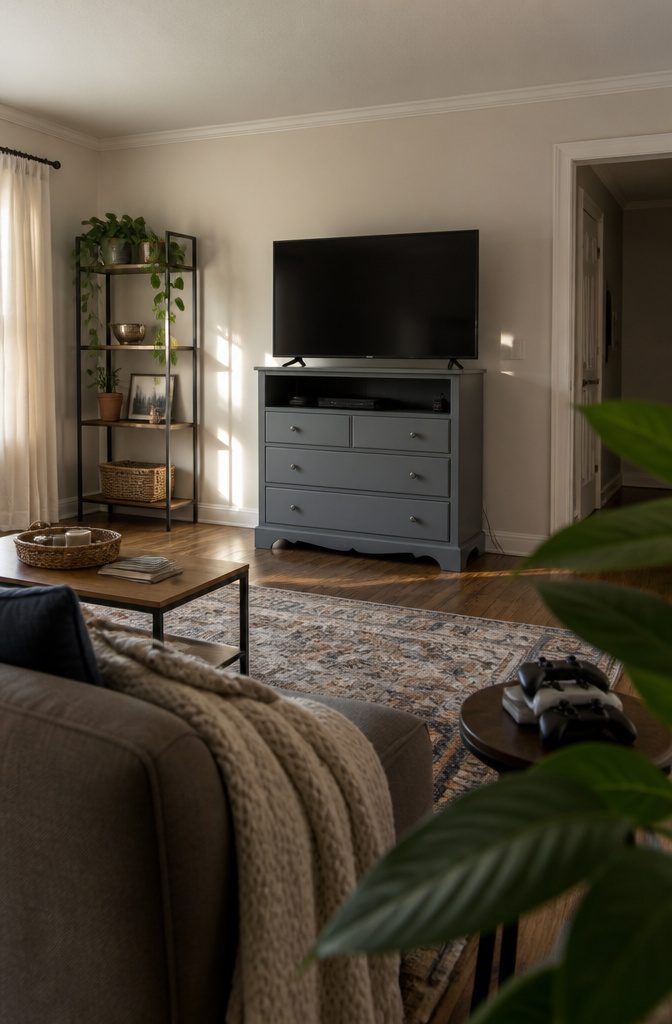
The dresser turns into a TV stand without much work. Sand and paint the frame to match the room, pull out the top row of drawers, and the open cubby holds cable boxes, streaming devices, or a DVD player.
The drawers below store remotes, game controllers, chargers, and whatever else collects around the television.
A tall dresser works better than a low one if the TV needs to sit at eye level when you’re on the couch.
The width matters more than the height, though: measure the TV base before you commit, because a 55-inch screen on a dresser built for folded shirts will overhang the edges and look precarious even when it’s stable.
This setup makes sense if you already own the dresser and the TV, less so if you’re buying either one to match the other.
A purpose-built media console costs about what an old dresser costs after paint, hardware, and the hours you’ll spend on it.
5. Pet Bed
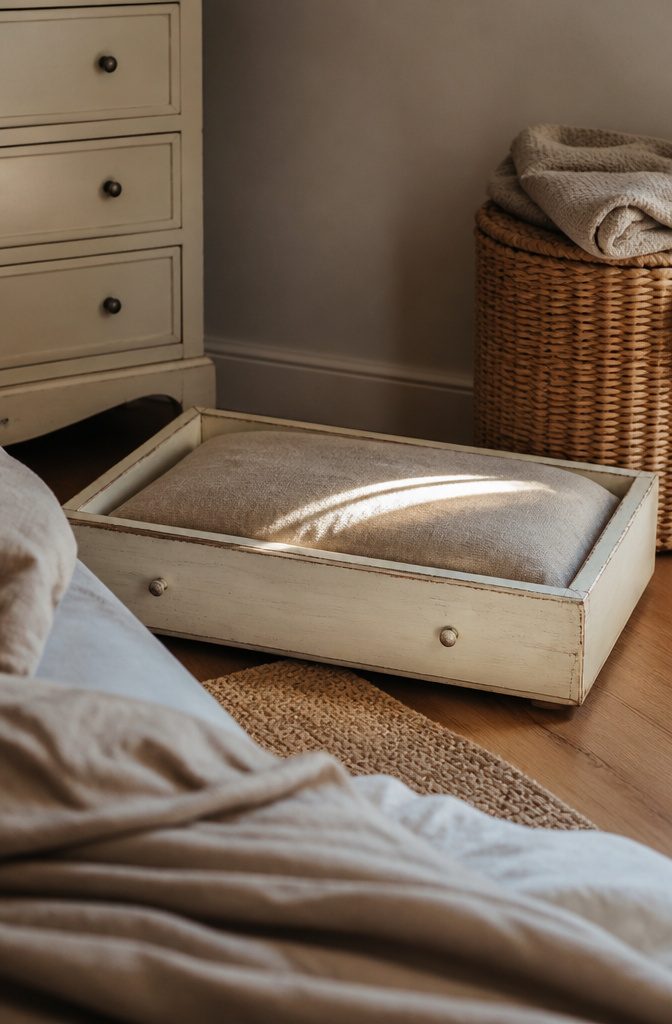
A dresser drawer makes a bed that fits your pet exactly once you measure the inside dimensions and match a pillow or cushion to them.
The bottom drawer of any dresser works if it is wide and deep enough for the animal to stretch out, and the drawer pulls out for cleaning or moves to wherever the pet actually sleeps.
I like that the bed slides back into the dresser when guests come over or the room needs to look tidy.
If the dresser frame itself is too wobbly or damaged to keep, pull the drawers and use them on their own.
A drawer sitting on the floor with a cushion inside still gives the pet a contained space with low sides, and you can add caster wheels to the bottom if you want to roll it under a bed for storage.
Painted vintage dressers and plain plywood chests both work, since the drawer interior is what the pet sees. Replace the hardware with smooth pulls if the existing ones are sharp or stick out too far.
6. Kitchen or Dining Buffet
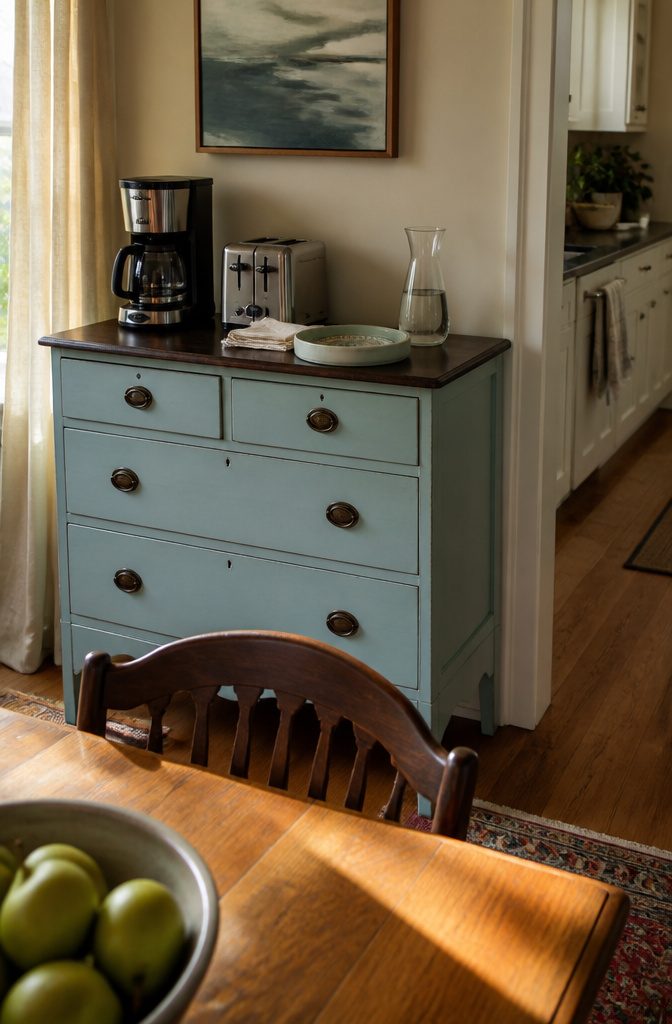
A dresser moved into the kitchen becomes a buffet or serving station without much effort.
The top surface holds platters during a meal or stores a coffee maker and a toaster between them, and the drawers organize linens, flatware, or bottles that won’t fit on the counter.
The height lines up with most kitchen counters, so it works visually and practically in the space.
For a dining room setup, the same piece stores serving dishes in the drawers and gives you a flat surface to set out food when people arrive.
If you drink wine with any regularity, the top drawer can hold openers and pourers while bottles stand in the cabinet space below.
A light coat of paint—white with a soft aqua accent, for instance—makes a dark wood piece feel intentional rather than like furniture you moved from the bedroom.
7. Kitchen Island
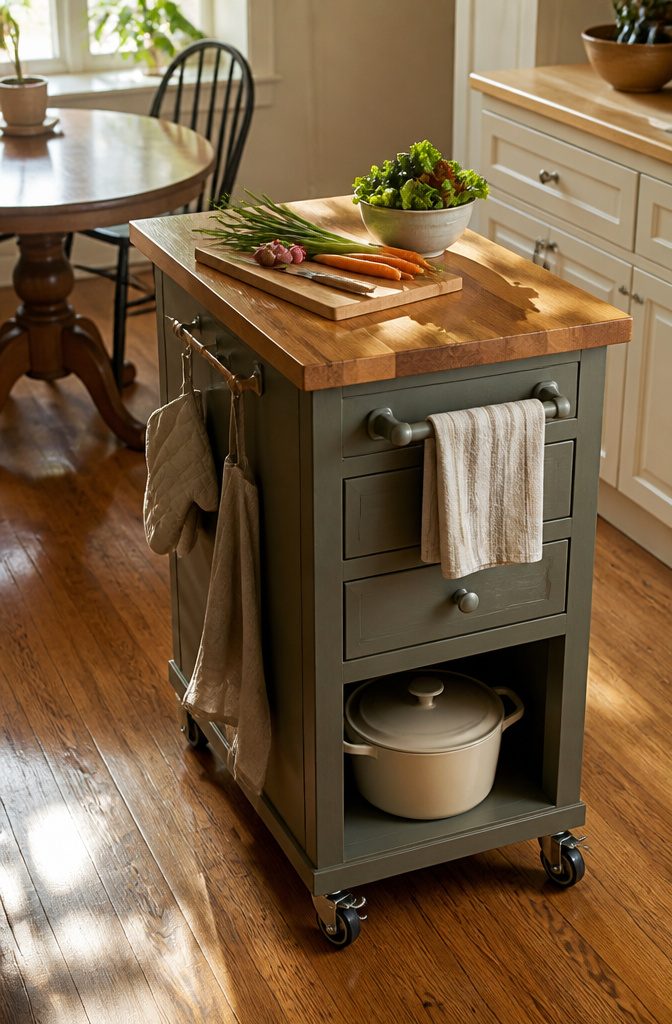
A kitchen island with storage is harder to justify buying than it is to build, and a narrow dresser with a movable base and a butcher-block top bridges counter and prep zone in one weekend.
The build starts with casters bolted to the legs, which brings the dresser up to counter height and lets the whole thing roll wherever it is needed.
In one video walkthrough, the builder added eight coats of polyurethane to the flip top, sanding between each with 320 grit, and the result held up to prep work without marking.
The drawer fronts stay intact for utensil storage, and the open cubby at the bottom works for larger cookware or a hinged door that hides kitchen linens.
Hooks on the side hold oven mitts, and a towel bar replaces one of the original drawer pulls without drilling extra holes.
8. Tool Storage or Tool Chest
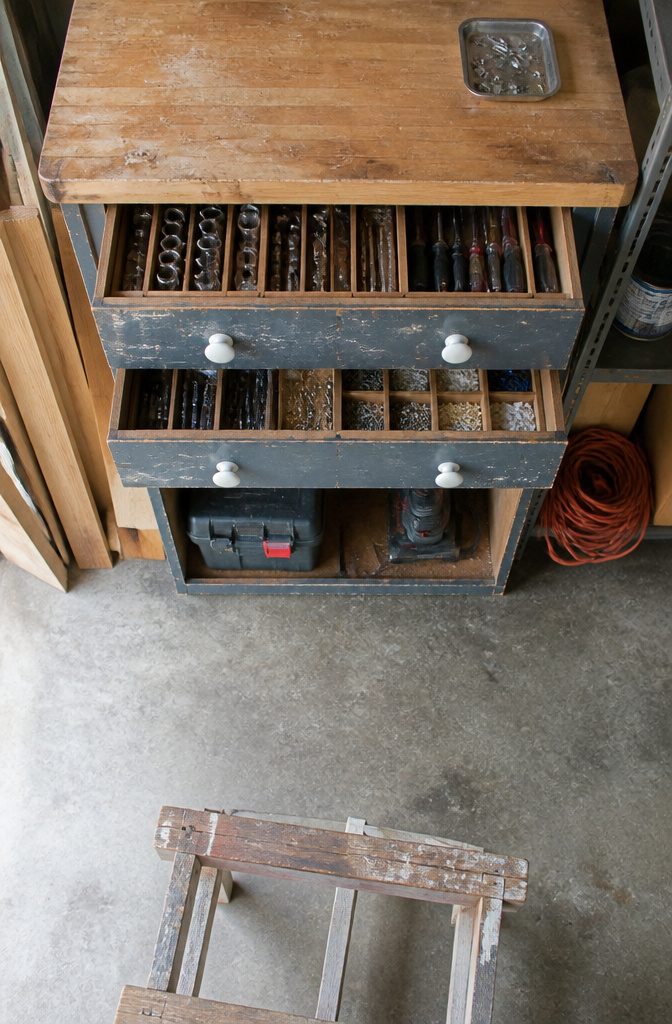
A dresser with deep drawers can hold hand tools, fasteners, and hardware better than most garage cabinets, especially if the piece is too beat-up for indoor use.
Add dividers to each drawer so sockets, screwdrivers, and drill bits stay separated instead of sliding into a heap every time you pull the drawer open.
You can cut dividers from 1/4-inch plywood or luan after measuring the interior of each drawer, or drop in silverware organizers if the dimensions line up.
If the dresser is low enough, the top becomes a work surface once you bolt down a piece of butcher block countertop or a sheet of plywood cut to size.
For taller dressers or cabinets where the lower drawers are harder to reach, pulling two large drawers and replacing them with fixed shelves gives you room to slide lumber, power tools, or a toolbox straight in without lifting the drawer face out of the way first.
9. Planter or Plant Stand
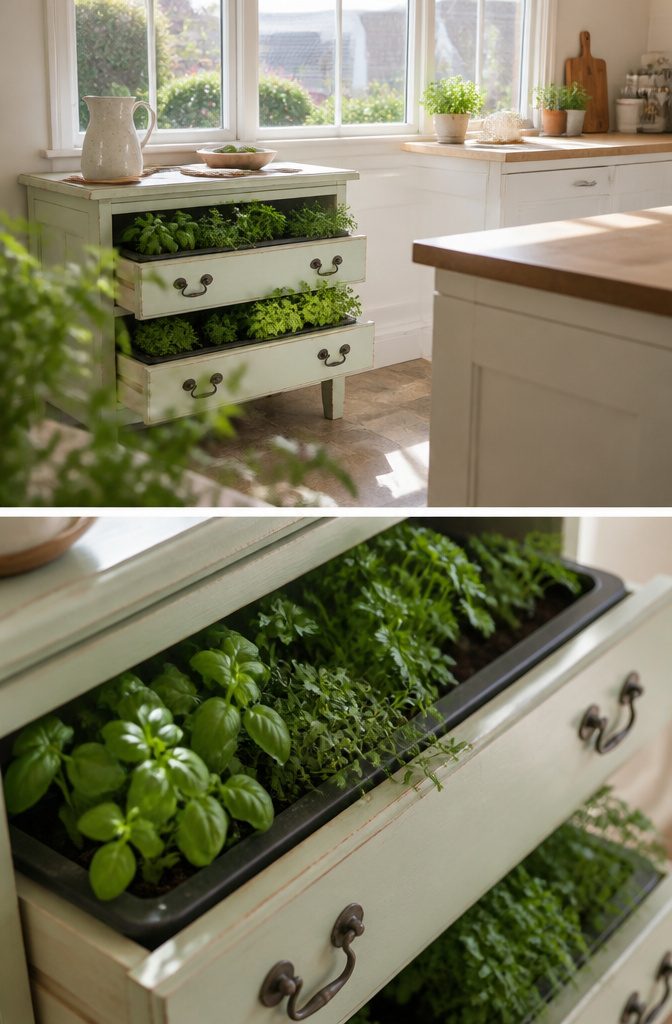
The drawers pull out and become planters with built-in frames—no cuts, no hardware modifications, just a container dropped inside.
A low plastic planter or pot sits inside each drawer, filled with soil and whatever you’re planting, and the drawer hardware stays visible as part of the look.
If the dresser itself is too far gone to save, the drawers work on their own as standalone pieces.
This works indoors or outside, though weather shortens the life of painted wood fast. I’d keep vintage painted drawers inside unless you’re ready to let the finish weather down to something rougher.
For outdoor use, sealed or naturally rot-resistant wood lasts longer, but even then the exposure adds maintenance you wouldn’t face with a dedicated planter.
Fresh herbs in a kitchen drawer planter give you something you can actually use, not just look at. One drawer handles basil, parsley and thyme without crowding, and you’re not losing counter space to individual pots.
10. Changing Table
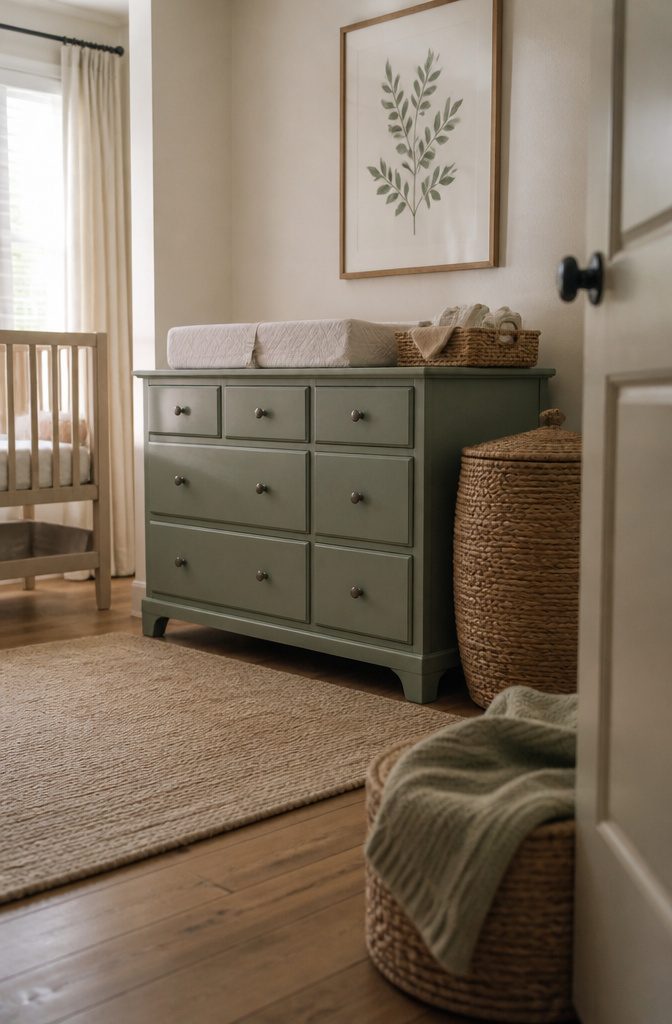
A dresser wider than 36 inches gives you enough surface for a changing pad and room to move without knocking into the edge.
The drawers underneath hold diapers, wipes, onesies, and anything else you reach for a dozen times a day, which beats a standalone changing table with a single shelf.
Pick up a changing pad and fix it in place with a piece of webbing strap screwed to the back of the dresser.
That keeps the pad from sliding when you lean over. Add a washable cover, and the setup is done.
The height matters more than it seems.
Most dressers put the top surface around waist level, which saves your back compared to bending over a low table. If the dresser is too tall, you’ll struggle to hold a squirming baby still.
Preparing a Dresser Without Drawers
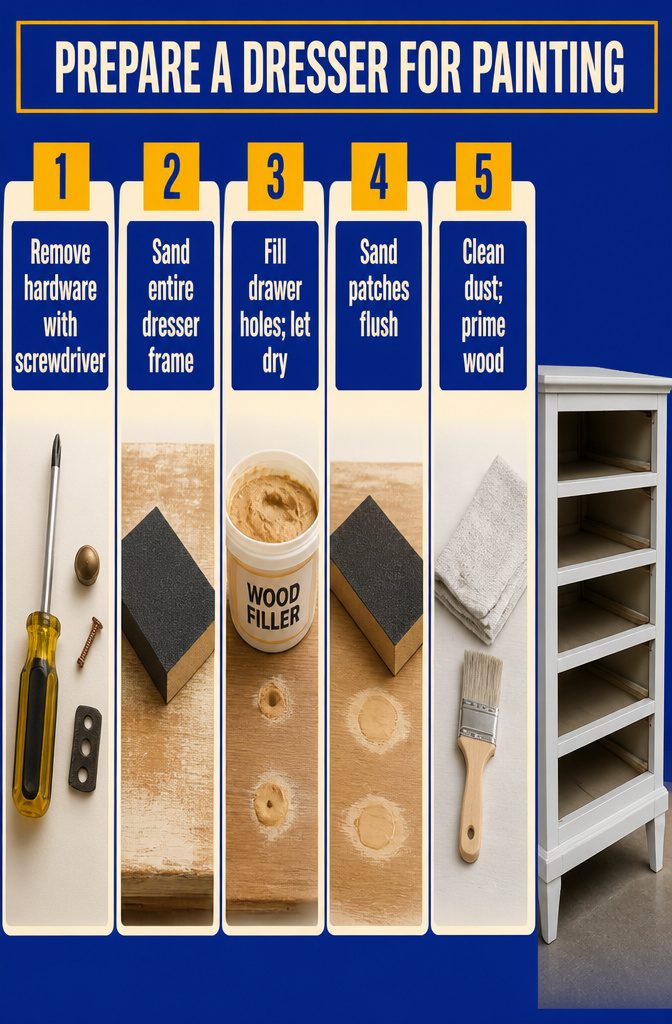
Remove any leftover hardware or drawer tracks with a screwdriver first.
Sand the entire frame to strip old finishes and smooth rough spots, then fill every hole left by missing drawers with wood filler. Let the filler dry completely before sanding it flush.
- Remove remaining hardware and tracks using a screwdriver.
- Sand the entire dresser to remove old paint or varnish and smooth rough areas.
- Fill holes with wood filler where drawers once sat, then let it dry.
- Sand again to make the patched areas flush with the surrounding wood.
- Clean the surface thoroughly to remove all dust.
- Prime the wood so paint adheres properly.
- Paint in your chosen color. Heirloom Traditions All in One Paint in Iron Gate works well for a matte, durable finish.
- Seal with a clear coat once the paint dries to protect the surface.
- Add shelves or cubbies if you want internal storage, securing them with screws.
Wear a dust mask and goggles while sanding, use non-toxic strippers and paints, and dispose of old finishes according to local hazardous waste rules.
Where to Find Dressers to Repurpose
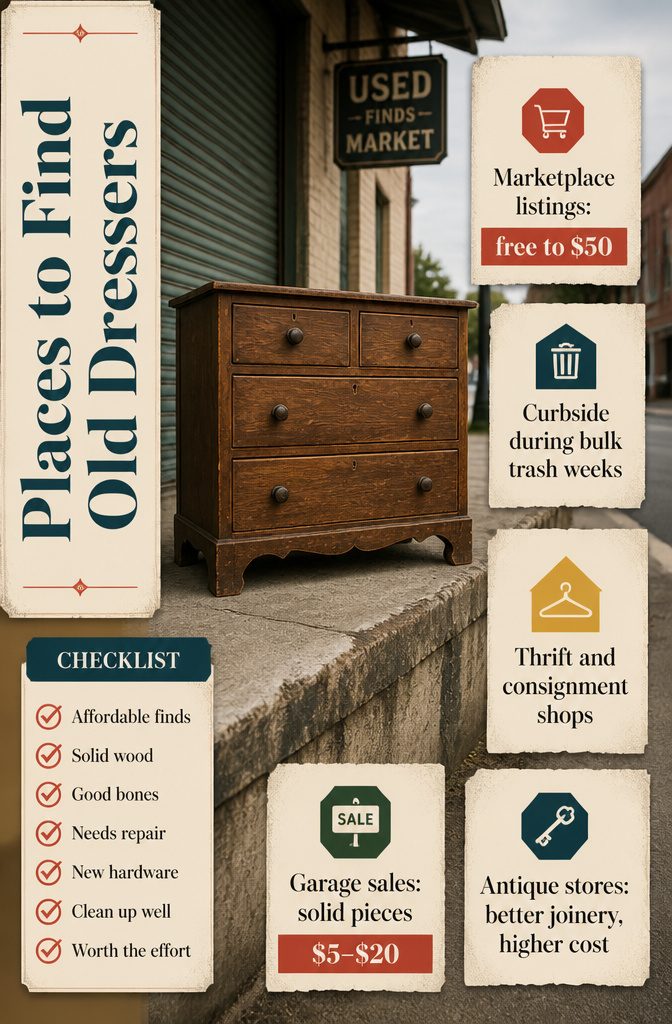
Where to Find Dressers to Repurpose
Old dressers worth fixing up turn up in more places than you might expect, and most cost far less than buying new furniture.
- Facebook Marketplace and local classifieds list dressers daily, often from people who just want them gone. Prices range from free to around $50 for solid wood pieces that need paint or new hardware.
- Curbside finds appear during moving season or bulk trash weeks. A quick drive through neighborhoods on trash day can turn up dressers that only need cleaning or drawer repair.
- Thrift stores and consignment shops stock furniture that’s already been sorted for quality. Consignment pricing runs higher, but the condition is usually better.
- Garage sales, yard sales, and flea markets offer the best prices, especially if you show up near closing time when sellers want to avoid hauling things back inside. A solid dresser can go for $5 to $20.
- Antique stores carry older pieces with better joinery, though you’ll pay more upfront for the wood quality and original hardware.
Frequently Asked Questions
How do I prepare an old dresser without drawers for repurposing?
Start by removing any leftover hardware or drawer tracks with a screwdriver. Sand the entire frame to strip old finishes and smooth rough spots, then fill every hole left by missing drawers with wood filler.
Once the filler dries, sand it flush, clean the surface, prime the wood, and paint in your chosen color before sealing with a clear coat.
Any safety concerns when repurposing old furniture?
Wear a dust mask and goggles while sanding to protect yourself from dust and fumes.
Use non-toxic strippers and paints, and dispose of old finishes according to local hazardous waste rules. Check the dresser for stability issues before you start, and always follow power-tool safety instructions.
How to turn a dresser into a dining room buffet?
Move the dresser into the dining room and use the top surface for serving dishes during meals. The drawers below organize linens, flatware, or bottles, and the height lines up with most kitchen counters so it works visually and practically.
A light coat of paint makes a dark wood piece feel intentional rather than like furniture moved from the bedroom.
Can I just paint over a dresser without sanding?
No, sanding is necessary for paint to adhere properly and last. Skipping this step means the paint will peel or chip quickly under regular use.