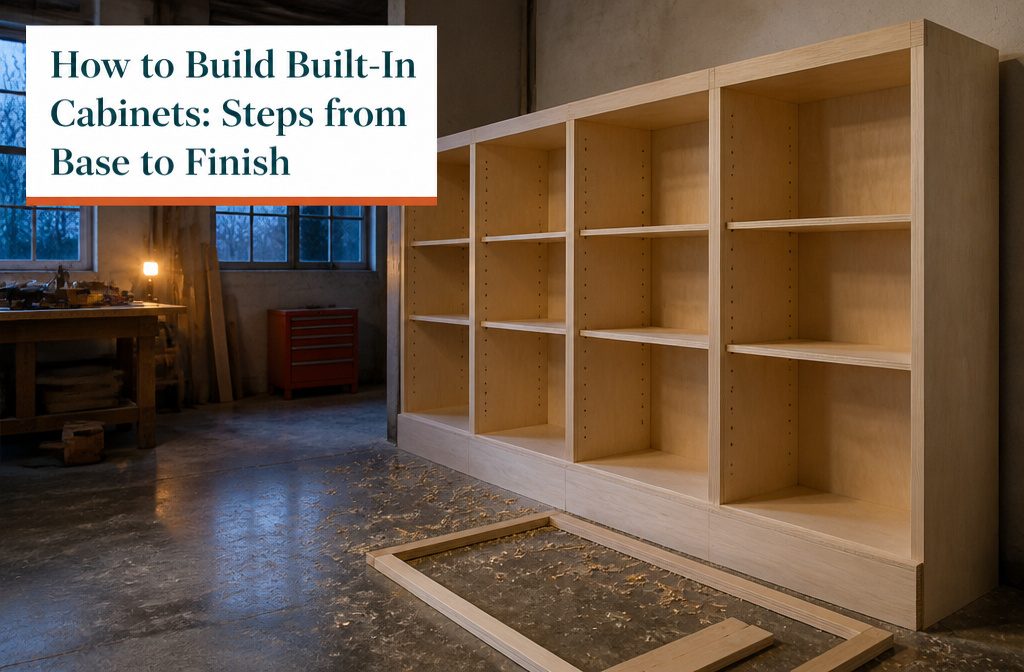
A full wall of built-in cabinets costs $1,000–$2,000 in materials when you build them yourself, compared to $6,000–$7,000 hired out, but most people skip the shelf pin holes until after assembly and spend the rest of the project fighting a jig that won’t sit flush.
Drill them while the plywood is flat on sawhorses, before the face frames go on and the columns stand upright.
Birch plywood at 3/4 inch thickness keeps shelves from sagging as long as the span stays under 30 inches, and pocket screws with wood glue hold the boxes square through years of drawer pulls and door swings.
1. Plan the Design and Measurements

I start with the full wall: width from corner to corner, floor to ceiling height, and where the baseboards, outlets, and any ceiling trim sit.
A built-in has to fit the actual room, not a generic set of dimensions, so measure twice and map it all on graph paper or in SketchUp before you cut anything.
Counter height typically lands around 36 inches from the floor. If you’re using stock cabinets, measure their height and build your platform to clear the baseboard while hitting that 36-inch mark.
One project lifted cabinets onto 5.5-inch platforms to sit above tall baseboard. Your baseboard height dictates your platform height.
Shelf span matters for plywood. At 3/4-inch thickness, keep spans under 30 inches or the shelf sags under load.
Shelf height runs 8–14 inches depending on what you’re storing. Face frames overhang the cabinet box, so a 48-inch-wide face means the box itself is 47.25 inches to leave room for centered 1×2 trim on each side.
The math compounds fast: measure for the overhang on depth and height too, or nothing squares up at assembly.
2. Build or Prepare the Base Cabinets

Build or Prepare the Base Cabinets
You can build plywood boxes from scratch or start with pre-built base cabinets from a home center or cabinet supplier. Pre-built saves time if the widths and depths match your layout.
Solid-wood shaker base cabinets often run around $50 each, and you simply screw them together and level them before anchoring to the wall. Building your own boxes gives total control over size.
Use 3/4-inch plywood, cut to height and depth, joined with 3/4-inch pocket holes and 1 1/4-inch pocket-hole screws at each corner. Birch plywood takes paint well and stays flat.
Another route pairs a simple 2×4 frame base with plywood cabinet boxes above.
The frame acts as a platform, typically 18 inches deep, and you build the boxes to sit on top. That approach works when the built-in spans a long wall and needs support across the full run before upper sections go on.
3. Level, Join, and Secure the Base to the Wall

- Remove the baseboards from the wall where the cabinets will sit. Mark each piece so you know where it goes back later. Pull the cabinet doors off too — it makes the boxes lighter and easier to level.
- Run a stud finder across the wall and mark each stud location directly on the drywall with a pencil. You need these marks visible after the cabinets are in place. The screws that hold the cabinets go into studs, not just drywall — otherwise the unit can tip forward when drawers are open.
- Set the first cabinet in position and check it with a level in both directions. Slide shims under the base or between cabinets wherever the bubble drifts off center. Floors are rarely flat, so this step decides whether doors hang right later.
- Once the cabinet reads level, drive screws through the back rail into the studs. Then bring the next cabinet alongside, level it, shim where needed, and screw the face frames together before fastening that box to the wall. Repeat across the run.
4. Add the Countertop or Cabinet Top

Once the base cabinets are secured, measure from the wall to the front edge of the cabinet and add a half-inch to an inch for overhang.
That gives you the depth; length runs the full span of the installed units. For a 143.5-inch run with 12-inch-deep cabinets, the top came to 19 inches deep by 143.5 inches long, cut from ¾-inch birch plywood.
Two sheets were joined with pocket holes, wood glue, and dowels, then a ripped-down pine board covered the front edge to hide the plywood seam.
If the cabinets have recessed sections where some units sit deeper than others, set the cut piece on top and mark the notches directly with a pencil before making the final cuts.
Before setting the top in place, fill any empty cavity at the top of the cabinets with scrap wood flush to the front face; this gives the countertop full contact instead of an air gap.
Apply construction adhesive to all supports along the wall and cabinet tops, then drive 2-inch screws up through the cabinet ceiling into the underside of the top.
Check screw length carefully so nothing punctures the finished surface. Standard base cabinet height sits around 34½ inches; a 1½-inch countertop brings the finished height to 36 inches total.
5. Build and Install Upper Cabinets or Bookcases

- Cut plywood parts for the upper units — sides, tops, bottoms, shelves, and backing. Sides vary depending on ceiling height and how much space you leave above the counter; upper cabinets start at least 18 inches above the countertop, and 40-inch sides are typical. For shelves 33 inches wide, sides are marked where each shelf will land — three at 14 inches apart and one at 18 works, but adjust for your room. Backing is cut from half-inch plywood once the frame stands.
- Assemble each box or column with pocket screws and wood glue. Attach top and bottom panels between the sides using 1¼-inch screws, then install shelves with 2-inch screws. Clamp each shelf square before driving screws in from the sides. The frame will wobble until you nail and screw the half-inch backing onto it — that stiffens the whole unit.
- Set upper units on top of the base cabinets, pushed back as far as they go. If end units sit against a wall, add three-quarter-inch plywood strips to the wall first so all joints are the same thickness when units meet. Glue and clamp units together side by side, then drive 1¼-inch screws through the sides where they touch.
- Anchor the assembly to wall studs with 2½-inch screws driven through the plywood backing, one screw per shelf into each stud you hit. Sixteen screws across four units is typical. The backing does double duty here — it squares the frame and holds it to the wall.
6. Add Face Frames, Edge Treatment, and Shelves

The face frame covers the raw plywood edges at the front of the box and gives you something solid to mount hinges against.
I use 1×2 solid wood boards instead of plywood, because the layered plywood edge looks unfinished even after paint.
Pine works fine here. Drill ¾-inch pocket holes and join the frame pieces with 1¼-inch pocket screws, keeping all the holes on the back so they disappear once the frame is glued and nailed to the cabinet.
Wood glue and brad nails hold the assembled frame to the carcass.
For frameless designs, iron-on edge banding hides the plywood layers on any exposed front edge before assembly. Sand it smooth once it cools.
Adjustable shelves give you room to shift heights as storage needs change. A shelf-pin jig speeds up drilling the rows of holes, and ¾-inch plywood cut to depth makes a sturdy shelf as long as the span stays under 30 inches.
Going wider invites sag unless you add a center support. Spacing the shelves 8–14 inches apart works for most books and baskets, with one taller bay at 18 inches if you need room for larger items.
7. Install Doors and Drawers

Once the boxes are built and the face frames are on, drawer boxes come together from the same plywood you used for the carcasses.
Standard drawer slides require 1/2-inch clearance on each side, so I cut the box 1 inch narrower than the opening.
The front and back pieces sit inside the side pieces rather than the other way around. That orientation matters because pulling and pushing a drawer stresses the joint, and having the sides run full depth holds up better over time.
I drilled pocket holes in the front and back pieces, then assembled each box with wood glue and pocket screws. Before adding the bottom, measure corner to corner on the diagonal.
Both measurements should match. If they don’t, squeeze the longer diagonal until the numbers line up, then clamp and let the glue set.
The 1/4-inch plywood bottom goes in last with glue and staples. Staples hold better than brad nails here.
8. Trim, Fill, Caulk, and Sand

- Add face-frame trim and molding where cabinet boxes meet walls and where upper sections join the base. A 1×2 along exposed edges gives the assembly a finished look, and crown molding at the ceiling covers the gap most ceiling lines leave. Attach trim with wood glue and finish nails, countersinking the nails so holes can be filled later.
- Fill nail holes and seams with wood filler. Let it dry completely, then sand flush with 150-grit paper. Don’t skip drying time or the filler will shrink below the surface after you paint.
- Caulk every joint between trim and wall, between cabinet pieces, and along the baseboard. A paintable acrylic caulk smooths the transition and hides small gaps that would otherwise telegraph through the finish coat.
- Sand all surfaces with 220-grit paper to knock down any rough grain and give the primer tooth to grip. Wipe dust with a tack cloth before priming.
9. Prime and Paint or Apply Clear Finish

Once the paint cures, I roll on primer and follow with semi-gloss latex. Jen Woodhouse applied one coat of primer and three coats of Sherwin Williams Roycroft Bottle Green semi-gloss on her cabinets.
For white built-ins, Zinsser Bulls Eye 1-2-3 Primer followed by two coats of Sherwin Williams Extra White semi-gloss gets the job done.
Natural wood cabinets take a different route: a few coats of Minwax Helmsman Water Based Poly seal the surface without hiding the grain.
A paint sprayer cuts hours off the work.
The HomeRight Super Finish Max Paint Sprayer delivers even coverage faster than rolling by hand, though it demands a ventilation mask and proper taping. Foam rollers made for cabinetry work if you’re going the slow route.
Wait about ten days after the final coat before adding hardware. Paint needs that long to cure hard enough to handle the wear that pulls and hinges bring.
10. Install Hardware and Optional Lighting
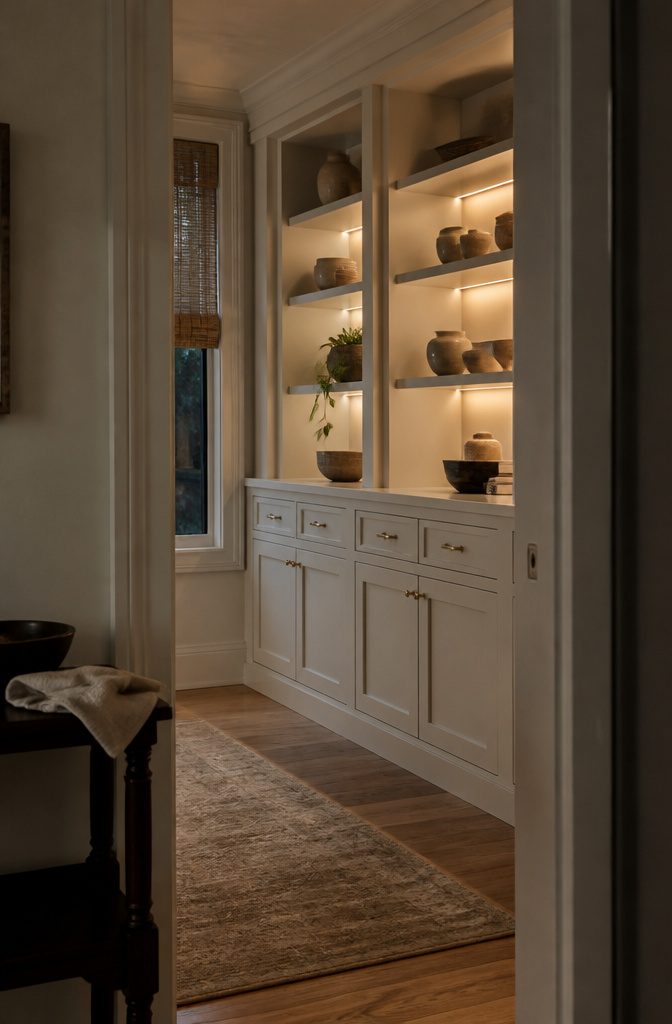
Hardware goes on once the paint cures. Mark the pull locations on drawers and cabinet doors, drill pilot holes, then thread the bolts through from inside and tighten from the front.
I used 4-inch brass pulls on both the drawer fronts and cabinet doors, and that length feels right on most face frames without looking oversized. The brass sits well next to darker cabinet colors if you went that direction.
If you planned LED lighting during the base-cabinet stage, this is when it gets wired in.
The LED power supply plugs into a regular 120v outlet, and from there you run positive and negative wires (red and black) into the dimmer input.
Then attach additional wire from the dimmer output to each LED strip location. The connections need soldering, and once soldered, seal each joint with hot glue to keep it permanent.
The LED strips have adhesive backing and stick behind the front edge of each shelf, though a bead of hot glue reinforces that hold.
Paint the wiring white or to match the cabinet interior so it disappears once the shelves are styled. The whole setup takes practice if you have not soldered before, but the process itself is not complicated.
Clean dust from the shelves and wipe down all surfaces, then bring in whatever you are styling the cabinets with.
Materials and Plywood Choices

The carcass sides, top, bottom, and fixed shelves run 3/4-inch plywood in almost every built-in I saw.
Birch shows up most often because it takes paint cleanly and costs less than oak or maple, but hickory and oak work just as well if you plan to stain or clear-coat the result.
One builder used 3/4-inch birch for the frame and switched to 3/4-inch hickory panels for the doors to get a warmer grain without milling hardwood.
Backs drop to 1/4-inch plywood since they carry no load, and some designs use 1/2-inch plywood for adjustable shelves to keep the span from sagging under books. I go with premium-grade or PureBond plywood for anything that shows.
The face veneer matters more than the core when you are sanding, filling edges, and applying a finish coat, and a single void or tear-out on a door panel means starting over.
What It Costs to Build Yourself or Hire Out
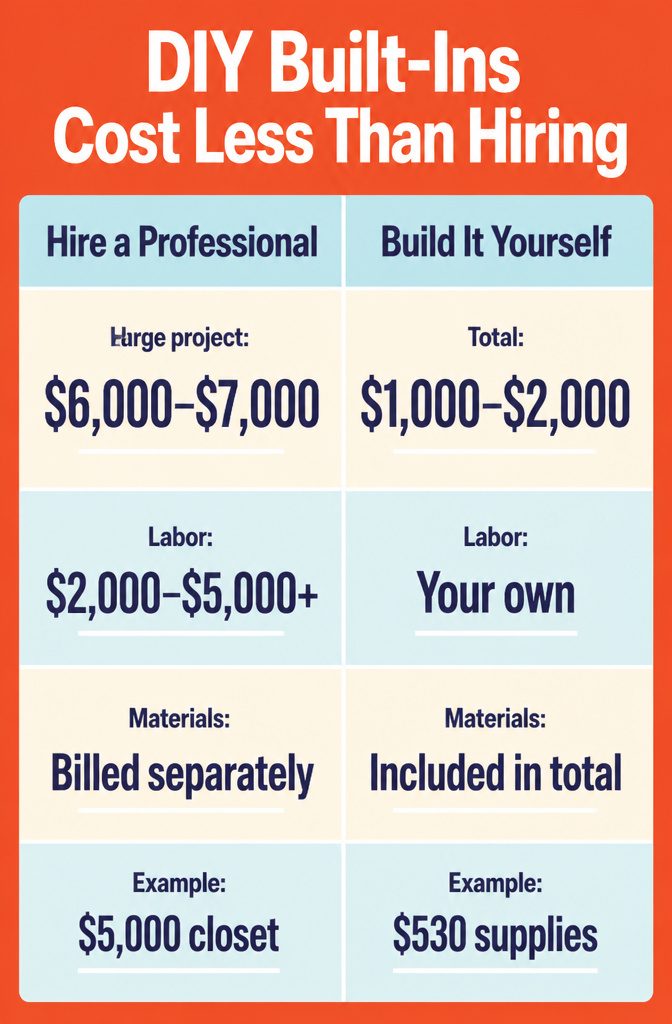
Hiring out this project runs $6,000–$7,000 for a large wall of built-ins—say, twelve feet across and ten feet high.
A closet design company charged around $5,000 for a bedroom installation, which packed maximum storage into a small footprint. Professional carpenters generally quote $2,000–$5,000 and up for labor alone, lumber and materials billed separately.
Building them yourself brings the number down sharply.
Four base cabinets, caulk, wood filler, painter’s tape and tarps came to about $530 in supply costs for one DIY project. Another builder spent roughly $150 per cabinet using two sheets of plywood and a few 1×4 boards.
Total project cost when you do the work yourself tends to land between $1,000 and $2,000, varying with the size of the installation and the materials you choose.
Drilling Shelf Pin Holes Before or After Assembly

Drill the shelf pin holes before you assemble the cabinet columns.
The Kreg Shelf Pin Jig makes clean, evenly spaced holes for adjustable shelving, but clamping it to an upright surface after the trim is already on turns a simple job into a frustrating one.
Without access to the edge, the jig won’t sit flush, and keeping it steady enough to drill straight becomes harder than it should be.
If you wait until the columns are built and standing, you can still drill the holes.
The jig will work, and the shelves will adjust just fine. But the task takes longer, requires more patience, and leaves more room for the bit to wander if the jig shifts.
Drilling flat, before anything is attached to the wall, gives you a stable surface and clear access to clamp the jig exactly where it needs to sit.
Frequently Asked Questions
Are cabinets easy to build?
Building cabinets yourself is straightforward if you have basic tools and can cut plywood square.
The process breaks down into simple steps: cutting plywood parts, joining them with pocket screws and glue, then leveling and anchoring the boxes to the wall. Most builders spend more time on planning and measurement than on the actual construction.
Is there a free app for cabinet design?
SketchUp offers a free version that works well for planning built-in cabinets.
You can also use graph paper to map out dimensions, wall stud locations, and how the face frames will overhang the boxes. Either method lets you catch measurement problems before you start cutting plywood.
What is the 1/3 rule for cabinets?
Standard guidance here focuses on shelf span limits (under 30 inches for 3/4-inch plywood), counter height (36 inches from floor), and clearances for drawer slides (1/2 inch per side). Those figures determine how the boxes are sized and spaced.
What are some tricks for installing cabinets?
Remove baseboards and cabinet doors before you start so the boxes sit flush and stay light enough to level easily.
Mark every stud location on the wall before the first cabinet goes in, then use shims under each box until it reads level in both directions.
Screw face frames together before driving into wall studs so the run stays aligned as you work across it.