I blot fresh oil stains immediately with paper towels, working from the outside in. No scrubbing, just gentle dabs. Then I check my paint finish; flat paint needs delicate treatment while semi-gloss can handle more aggressive cleaning. For light stains, I mix a drop of dish soap in warm water and dab with a soft sponge. Stubborn marks get a thick baking soda paste left for ten minutes. Heavy grease requires one part ammonia to four parts water, but only with windows wide open and gloves on. I always test cleaners behind the fridge first, then dry walls completely with a fan before applying primer. When nothing works, I use Kilz stain-blocking primer and repaint. Sometimes the best solution is to start fresh rather than risk damaging the existing finish.
Blot Fresh Oil Stains Immediately
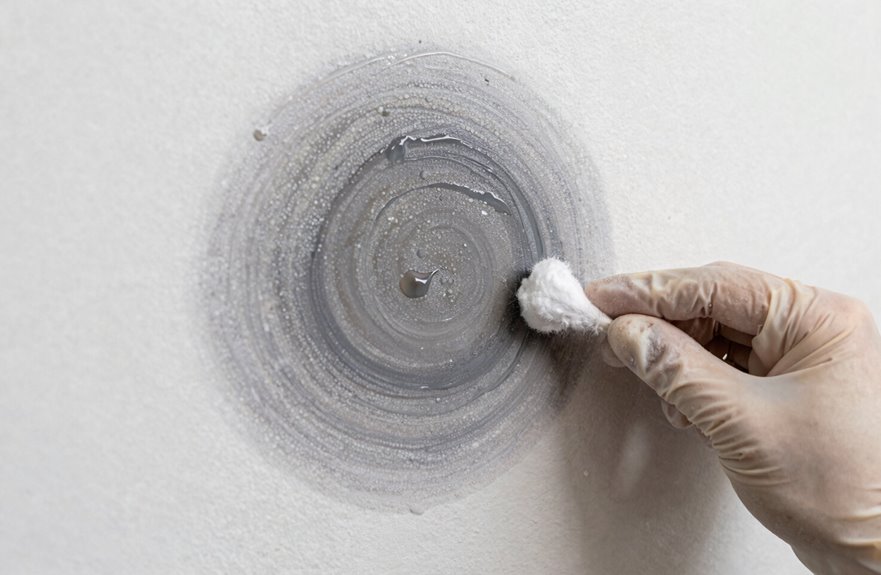
I’ve learned the hard way that when oil hits your wall, you’ve got maybe thirty seconds before it settles in permanently. I grab whatever absorbent materials I’ve got nearby: paper towels, a soft rag, or that fancy microfiber cloth I bought and forgot about. Then I start blotting quickly.
No rubbing, no scrubbing, just gentle dabs, working from the outside edge toward the center to avoid spreading the stain. The oil sinks in fast. Blotting lifts it right up if you’re quick enough. I press, lift, and repeat, letting those materials absorb every drop they can. Then I step back and let it air-dry, checking if I need another round.
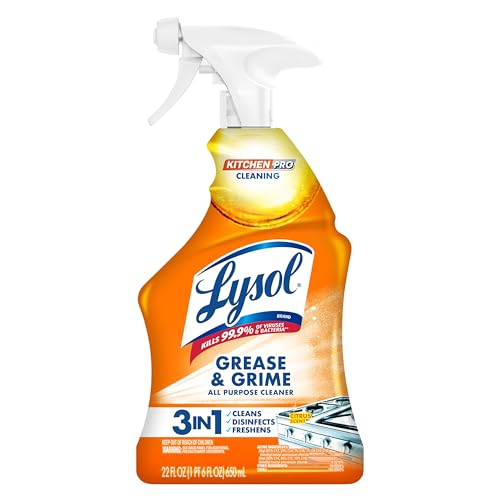
ELIMINATES 99.9% OF KITCHEN VIRUSES AND BACTERIA INCLUDNG SALMONELLA AND E.COLI: Lysol Pro Kitchen Cleaner is tested and proven to eliminate 99.9% of viruses and bacteria* (when used as directed). EPA Reg #777-91.
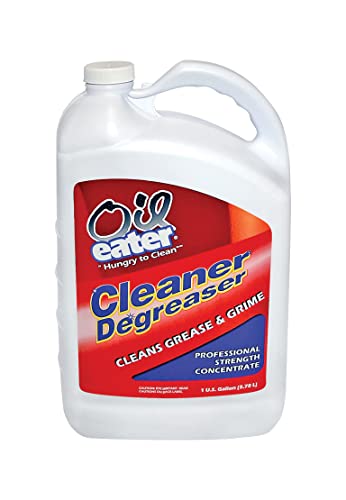
Powerful Cleaning: Dissolves Grease, Oil And Dirt From Any Washable Surface

INDUSTRY'S MOST POWERFUL OIL STAIN LIFTING FORMULA: Chomp! Pull It Out uses a deep penetrating formula to lift stains from porous flooring surfaces like concrete and brick. It is effective on oil or petroleum-based stains (transmission fluid, brake fluid, etc. ) commonly found on concrete and paver driveways, garage floors, parking lots, and drive-through lanes.
Check Your Paint Finish Before You Clean
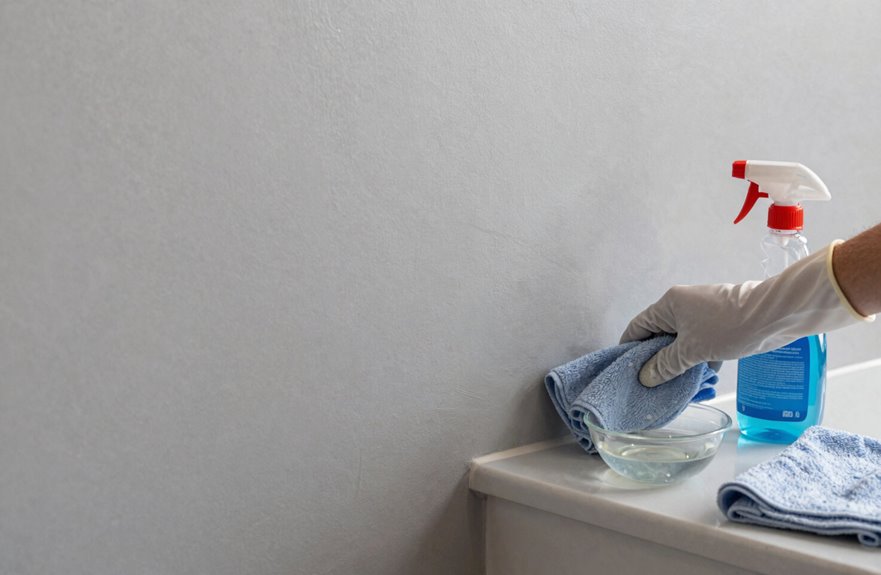
Not every wall can handle the same scrubbing. I learned this the hard way after attacking my apartment’s “mystery matte” with a magic eraser and left a shiny ghost mark that stared at me for three years. Your paint finish dictates your entire stain removal strategy, so check it first. Flat and matte finishes soak up oil like thirsty sponges, demanding gentle cleaners and feather-light pressure, while semi-gloss and gloss laugh at splashes and tolerate braver scrubbing. Always test your method on a hidden corner, behind furniture perhaps, because discovering damage after the fact is disappointing. Skip abrasive pads entirely, start mild, and upgrade slowly. Choosing washable finishes turns panic-cleaning into routine maintenance.

PLANT BASED CONCENTRATED FORMULA: Our dishwater rinse agent effectively removes caked-on food, water spots, streaks, rust, and limescale, leaving dishes sparkling clean. Made from plant based ingredients, this concentrated formula ensures effective cleaning without harsh additives or artificial fragrances. You’re not just washing your dishes; you’re ensuring your dishes are truly clean.

POWERFUL LAUNDRY STAIN REMOVER – Enzyme-based prewash stain remover designed to help remove tough everyday stains before washing. Triple-action formula clings to stains, penetrates deep into fabric fibers, and lifts away stubborn stains for cleaner clothes.

100% GUARANTEED HARD WATER CLEANER: So long hard water spots! Our powerful booster solution is here to save your favorite glassware and dishes. Just add to your dishwasher load and watch those hard water spots, film, and other mineral deposits like calcium, lime, and iron disappear!
Why Oil Stains Stick to Walls
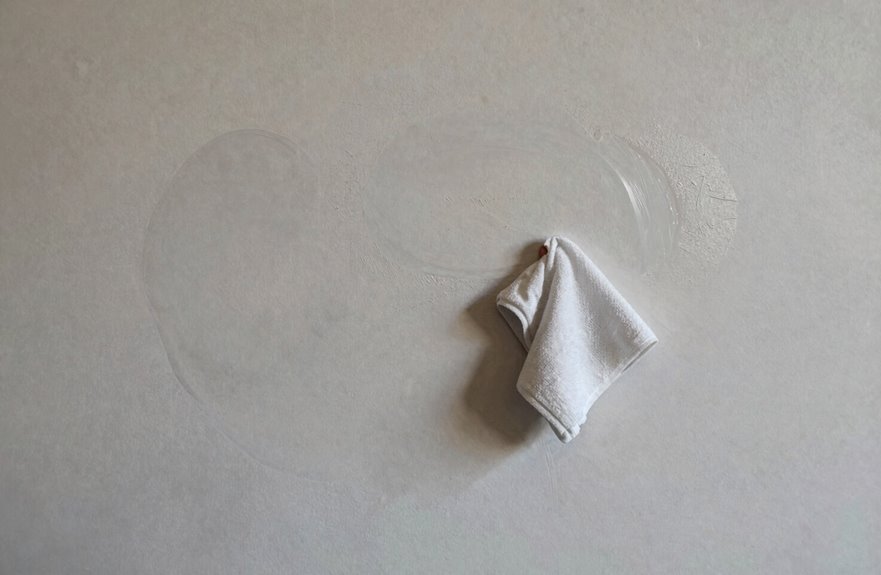
I’m standing there staring at a golden-brown splotch above my stove, wondering why this blob refuses to budge. Oil on walls is basically a magnet you can’t unglue.
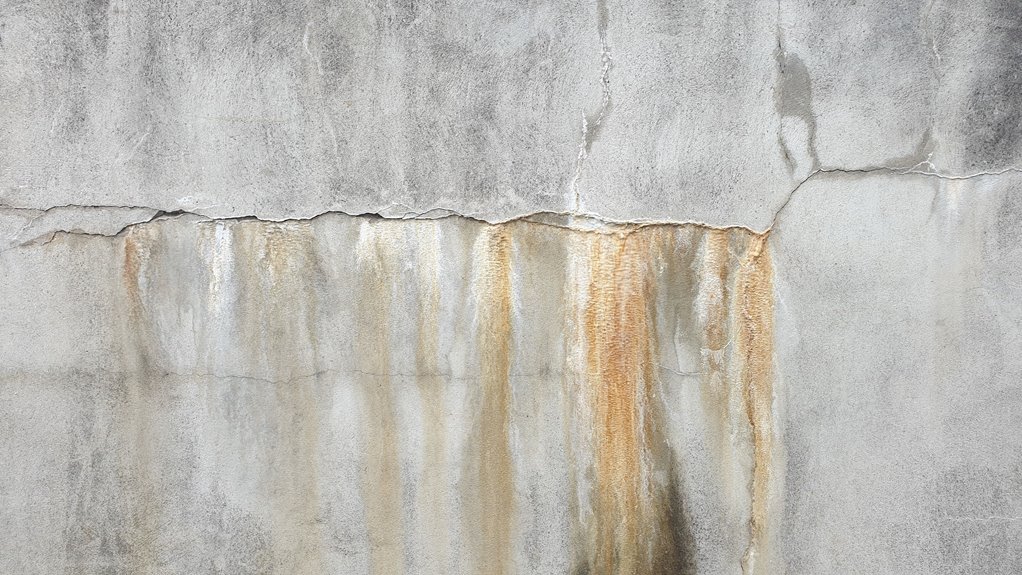
Those splatters come from everywhere: cooking grease, hand oils, even furniture polish over-sprayed last Tuesday. They land, they settle, they invite dust to the party. Before long, you’ve got a hardened, crusty situation that won’t respond to paper towels.
Smooth walls have microscopic texture with little hiding spots where oil burrows in. Light switches and door frames become oil magnets from constant touching. Over months, that buildup oxidizes and darkens into a dramatic stain. The chemical transformation makes it resistant to simple wiping.

Easy to Clean - Apply the paste to the pot bottom and cover it with plastic film, this allows the paste to remain in contact with the black stains for a longer period. Let it...
Lift Light Oil Stains With Dish Soap
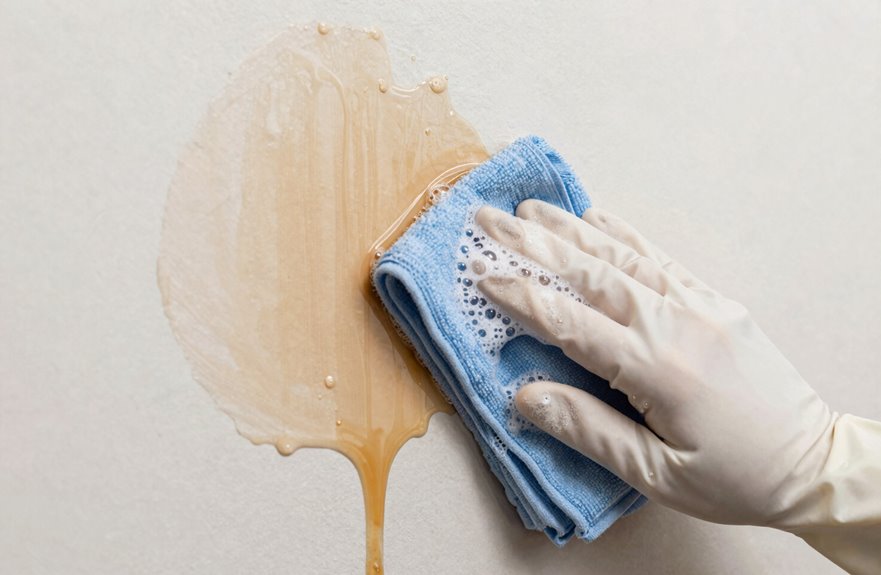
How do you tackle that first faint smudge without turning your wall into a modern art disaster? I’ve been there, staring at that greasy fingerprint near the stove like it’s a personal attack on my sanity.
Mix one or two drops of dish soap into warm water. This gentle cleaning solution works wonders on fresh, light stains without stripping your beautiful paint finish. Dampen a soft sponge, then dab (never scrub) the spot with patience. Rinse with clean water and dry with a towel. Always test hidden spots first to ensure the solution won’t damage your paint. This simple method keeps your walls looking fresh and your paint intact.

SCRUB FREE FORMULA: lifts scuffs and stains without damaging finishes or leaving a residue

Multipurpose Pure Ammonia Cleaner – An effective multi-surface cleaner our pure ammonia liquid helps remove hard water stains, soap scum, grease, and more to help you maintain a cleaner, more comfortable home environment.

Highly effective and versatile multisurface cleaner for a variety of smoke-damaged spaces, both commercial and residential; paint prep cleaner to keep with painting supplies
Remove Stubborn Marks With Baking Soda Paste
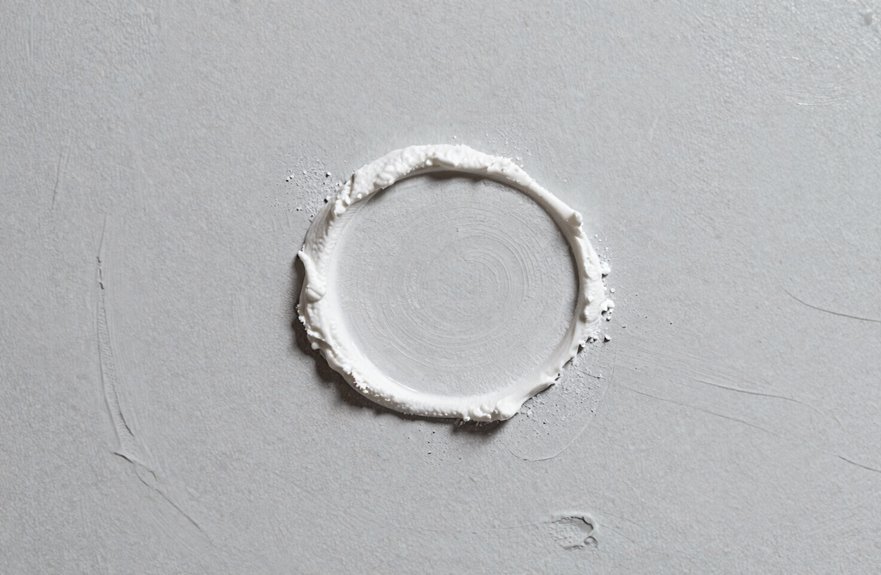
I’ve found that when dish soap won’t cut it, baking soda paste becomes my go-to tool against those wall stains that resist gentler methods. You’ll want to mix it thick, like frosting, then dab it on with a soft cloth and let it work for five to ten minutes. Patience during this step helps preserve your paint. After that gentle circular wipe and a careful rinse-and-dry routine, greasy marks will disappear without additional effort.
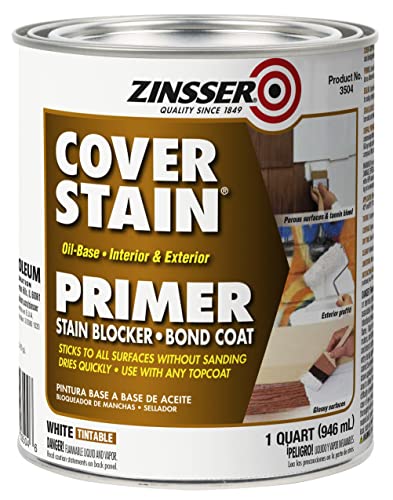
Cover stain, QT, Oil based stain killer primer/sealer

Get ultimate hiding power indoors and out with Zinsser Cover Stain Primer

Exterior/Interior use previously painted drywall, cured plaster, wood, metal, concrete and more
Paste Preparation Steps
A few stubborn oil spots resist regular cleaning attempts. Staring at that greasy mark on your wall calls for a solution. Baking soda works effectively as a cleaning agent.
Mix three parts baking soda with one part water until you have a thick paste, similar to peanut butter consistency, not soup. Too runny and it slides right off; too dry and you have crumbly frustration.
| Ingredient | Amount |
|---|---|
| Baking soda | 3 spoonfuls |
| Water | 1 spoonful |
| Mixing bowl | Small ceramic |
| Consistency check | Sticks to spoon |
Once your paste passes the spoon test, you’re ready to apply it. This simple chemistry works because baking soda creates a mild abrasive action that removes stains while remaining safe for painted walls.
Application Technique Guide
The moment that paste hits your wall, you have a practical cleaning task ahead. Generous dabs of baking soda paste work better than timid applications. That thick mixture clings well while you wait five to ten minutes. Let the paste do the work without aggressive scrubbing, as this can damage the wall surface. Use small circular motions with gentle pressure when you do scrub. Wipe with a damp cloth afterward to reveal the cleaned surface. Test the paste on hidden spots first to ensure it won’t damage your wall finish.
Rinsing And Drying
How satisfying is that moment when you finally wipe away the paste and your wall is still intact, still gorgeous. I grab a clean damp cloth (not sopping, just nicely moist) and gently rinse away every trace of that baking soda magic. No harsh scrubbing. I use soft, loving strokes, like I’m petting a very nervous cat.
Then I pat dry with a fresh towel and step back to admire my handiwork. Still see a faint ghost of grease. No shame in round two. I’ll whip up another paste, or switch to mild dish soap and warm water if I’m feeling fancy.
| What I’m Feeling | What I Do Next |
|---|---|
| Triumphant! | Admire, then move on |
| Slightly worried | Repeat the paste, gently |
| Extra cautious | Test warm water first |
| Totally victorious | Tell everyone I know! |
You can do this.
Use Vinegar on Washable Finishes Only
Why reach for harsh chemicals when your kitchen’s got this covered. I grab white vinegar and water, equal parts, and I’m back in business on my washable finishes, think eggshell or satin, that slight sheen that bounces light just right.
Vinegar works as a gentle cleaner here. I dampen a soft cloth, not soaking, and tap, don’t scrub, the stain. It’s like coaxing rather than forcing. The oil lifts, and I didn’t wreck anything.
But flat or matte finishes are different. The vinegar is too aggressive and leaves marks. Always test behind a door first; bleach spots are a permanent reminder why.
Rinse with clean water, dry thoroughly, and you’re done. This method is simple, effective, and delivers reliable results.
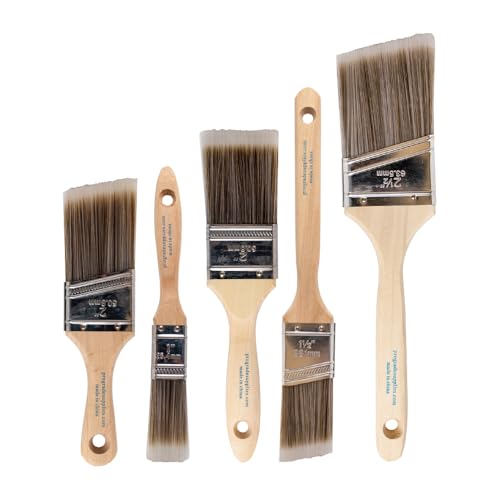
COMPLETE 5-PIECE BRUSH SET FOR EVERY PAINTING TASK — Includes 1 Inch Flat, 1.5 Inch Angle, 2 Inch Flat, 2 Inch Angle Stubby, and 2.5 Inch Angle brush giving you every size professional painters use daily. Get all 5 for less than the price of a single brush from hardware store brands — professional grade performance at a fraction of the cost. Perfect for walls, trim, cabinets, doors, furniture, and detailed cutting-in work on any project.

CUTS GREASE AND GRIME: Concentrated cleaner degreaser is designed to cut grease, oil, grime, tar and wax fast

POWERFUL DEGREASING FORMULA: The clean up kitchen oil stains spray is solved to tackle stubborn oil stains and heavy grease buildup on kitchen surfaces, stovetops, range hoods, and exhaust fans with strong cleaning action
Try Ammonia for Heavy, Set-In Grease
I reach for ammonia when that greasy wall stain laughs at my soap and water. You know the kind: kitchen splatter that’s been baking there since last Thanksgiving, shiny and stubborn like it owns the place. I don’t mess around with this stuff. Gloves go on, windows fly open, and I never, ever mix it with bleach because one whiff of those fumes and we’re both having a very bad day. It’s strong medicine for tough problems, and watching that grease finally surrender is effective.
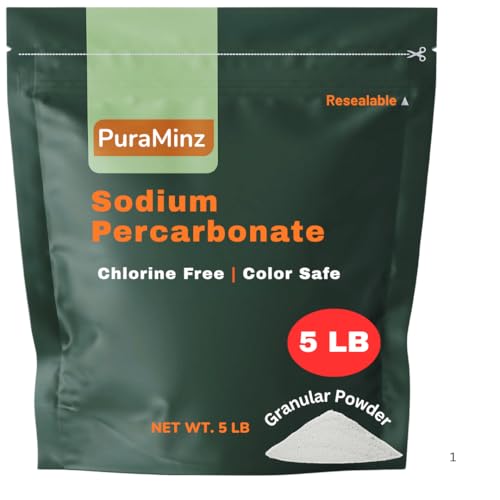
PREMIUM STRENGTH: Superior cleaning with pure sodium percarbonate, combining the power of oxygen bleach and solid hydrogen peroxide

PLANT BASED CONCENTRATED FORMULA: Our dishwater rinse agent effectively removes caked-on food, water spots, streaks, rust, and limescale, leaving dishes sparkling clean. Made from plant based ingredients, this concentrated formula ensures effective cleaning without harsh additives or artificial fragrances. You’re not just washing your dishes; you’re ensuring your dishes are truly clean.

[Slanted Tray Design] Designed with a tilted ceramic tray, this soap dish channels water quickly, keeping soap bars dry and smooth in a damp bathroom and preventing waterlogging that causes rapid soap softening.
When To Use Ammonia
What do you do when that stubborn grease stain laughs at your gentle cleaners? I reach for ammonia, diluted with water, my secret weapon for those impossible, set-in grease battles we’ve all fought.
When ammonia saves the day:
- That kitchen splatter that’s been there since 2019, mocking you daily
- Sticky residue from cooking adventures gone wild
- Mystery grime that survived every other cleaner you threw at it
- Grease rings that look like modern art you never asked for
- Stains so stubborn they feel personal
I mix one part ammonia with four parts water. Never use it straight; we’re bold but not reckless. I dab, don’t scrub, watching that grease surrender. The results are satisfying, like finally winning an argument you’ve been losing for weeks. Your wall returns to its original condition.
Safety Steps Required
How do we wield this cleaning powerhouse without turning our walls into a cautionary tale? I’ve learned the hard way that ammonia demands respect.
First, always snap on sturdy gloves. My hands have thanked me ever since that one time I skipped them. Then throw open every window and crank up the fan, because ventilation isn’t optional; it’s essential. Mix one part ammonia to three parts water with precision.
Dab gently with a soft cloth, never scrubbing like you’re sanding furniture. Rinse fast, dry faster. Skip this on flat paint, as it will weep. And never, ever mix with bleach unless you fancy a trip to the ER.
Your walls will stay gorgeous when you follow these safety steps.
Dry Walls Completely After Cleaning
Why rush to the finish line when we’re this close to victory? I’ve learned the hard way that skipping proper drying ruins everything. After cleaning, I’m obsessive about blotting every drop with a soft cloth. No rubbing, just gentle pressing until my fabric comes away bone-dry.
Here’s my battle-tested routine:
- Blot in circular motions, checking the cloth for dampness constantly
- Angle a bright light to catch hidden wet spots in seams or texture
- Run a fan on low to speed things up without stirring dust
- Give matte finishes extra love. They’re thirsty surfaces that require thorough drying.
- Wait before even thinking about primer
Trapping moisture under fresh paint creates bubbling problems. Lifted edges and peeling result from inadequate drying time before primer application. Patience at this stage prevents costly failures later.
Test Every Cleaner on a Hidden Spot First
That heart-dropping moment when your “miracle cleaner” strips the finish right off your wall?
I’ve been there, crouched in my kitchen, staring at a shiny patch where my eggshell matte used to be. It’s devastating and totally avoidable. I never skip the patch test now.
I always pick a hidden corner: the space behind my fridge or that weird spot where my bookshelf hugs the wall. I dab a soft cloth with the tiniest bit of cleaner, gentle as a whisper, and I wait. Twenty-four hours is the standard test period.
No change? The cleaner is safe to use. I’ve got cleaner suitability confirmed and I’m ready to tackle that stain. Any weird discoloration, bubbling, or shine means the cleaner will damage your walls. Stop immediately and try a different product.
Testing a small area first prevents costly damage to your walls and ensures you use products that won’t harm your surfaces.

Church & Dwight #855 28OZ Lemon Ammonia

MULTI PURPOSE CLEANER: Effective on virtually any washable surface and safe for all paint finishes

CLEAN PAINTED WALLS IN SECONDS Make clean-up a breeze with the family-friendly wall cleaner for painted walls and baseboards. Remove fingerprints, scuffs, and dirt from everyday surfaces around your home. Activates instantly!
When Cleaning Fails: Prime and Repaint
Sometimes the stain resists scrubbing. Staring at stubborn grease marks on walls requires a different approach. When scrubbing fails, a stain-blocking primer becomes essential to prevent bleed-through.
When scrubbing fails, a stain-blocking primer becomes essential to prevent bleed-through.
- Apply Kilz or similar primer first; skipping this step compromises the final result
- Choose oil-based paint for maximum hiding power, or acrylic latex if properly prepared
- Allow adequate dry time between coats; insufficient drying leads to poor results
- Brush on two coats minimum to ensure complete coverage
- Extend primer to neighboring spots if the stain spreads beyond the initial area
Repainting after proper primer application produces walls that match the intended finish. Stain-blocking primers and adequate drying time are what separate successful results from repeated touch-ups.

Interior and exterior
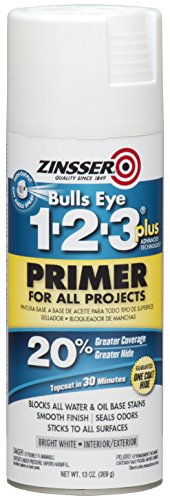
Interior/exterior use on new or previously painted Drywall, concrete, wood, masonry, metal and glossy or difficult surfaces