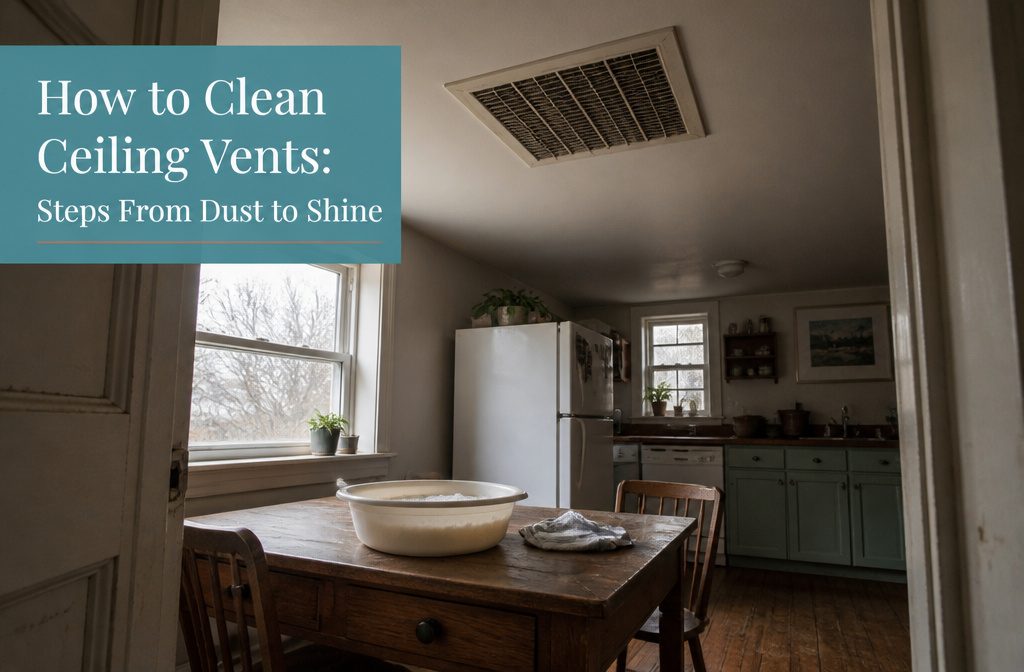
A ceiling vent you can reach from a ladder takes fifteen minutes to clean if you vacuum first and soap-wash the cover in a basin.
Most people skip the shutdown step and end up with blown dust resettling across the room the moment the system kicks back on.
Greasy kitchen vents need a degreaser or Dawn instead of plain soap, and soaking loosens stuck-on film faster than scrubbing.
1. Turn Off the HVAC and Protect the Area Below
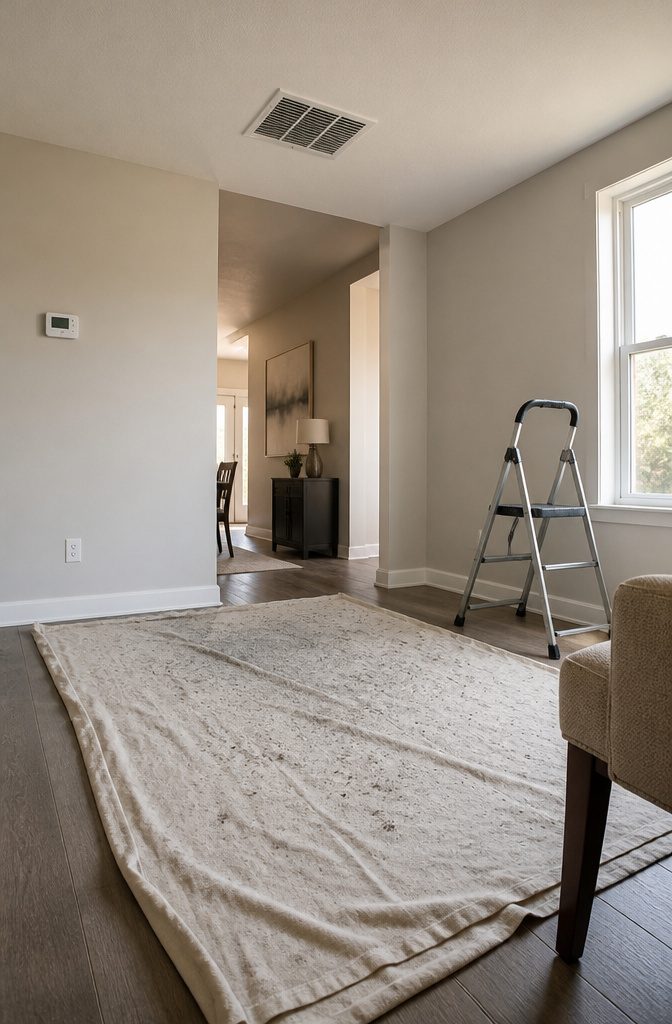
The first step is shutting down your HVAC before you touch the vent. Turn the thermostat to Off or flip the breaker for the system.
This keeps air from blowing dust straight into your face while you work overhead, and it stops loose debris inside the duct from circulating through the rest of the house once the cover comes off.
One source notes it’s optional, but working in still air makes the whole job easier.
If ceiling vents are particularly dirty, protect furniture by covering the area below the vent with a sheet.
— TODAY
Lay down a drop cloth or old sheet directly under the vent to catch falling dust.
Even light surface cleaning can send a surprising amount of gray soot onto furniture and floors, and a ceiling vent that hasn’t been touched in months will drop more.
For the ladder or step stool, plant it on level ground and have someone steady it if you’re reaching far overhead.
Ceiling work shifts your balance, and a wobble at the wrong moment turns a simple cleaning job into something worse.
2. Vacuum Loose Dust From the Grille and Surrounding Surface
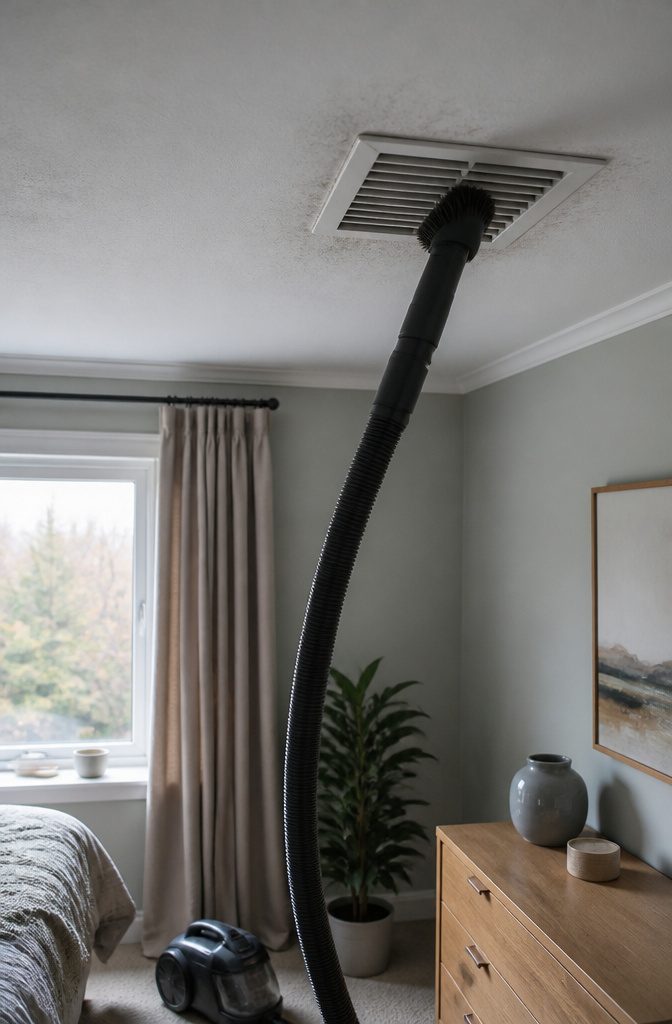
Before you unscrew anything, vacuum the cover and the surrounding ceiling to keep dust from cascading down when the grille comes loose.
Use the soft brush attachment on your vacuum or a microfiber duster, working gently over the slats and edges where loose dust collects.
If the vent sits in flat ceiling paint, vacuuming first matters even more: rubbing a dry cloth across soot on porous flat finish grinds the gray deeper into the surface instead of lifting it away.
Once the face of the vent is clear, run the vacuum or a barely damp microfiber cloth over the ceiling around the opening to pull away the gray streaks that frame older vents.
Clearing this perimeter now means the clean cover you reinstall later does not sit inside a dusty outline.
3. Remove the Cover When It Needs More Than Surface Cleaning
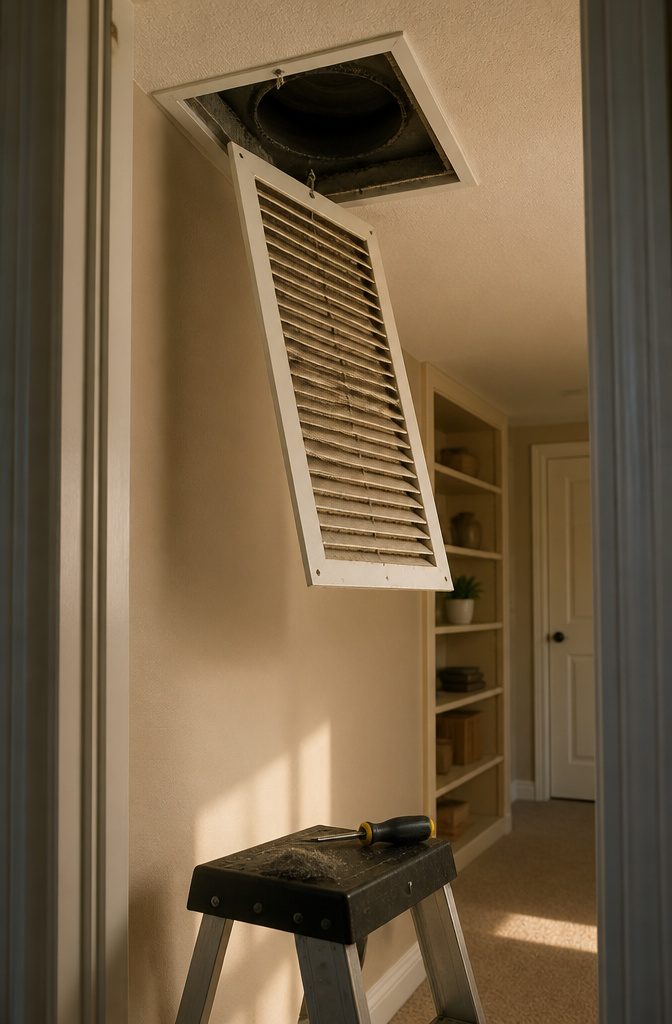
A light dusting from the outside often handles it, but when dust has caked between the slats or both sides of the grille look dingy, the cover needs to come off.
Removal also lets you clean the opening itself, which surface wiping can’t reach.
Ceiling covers usually fasten with screws at each corner. Use a screwdriver to back them out, and hold the grille with your free hand while removing the last screw so it doesn’t drop.
Expect a small shower of dust when the cover pulls away from the ceiling. Some models lift straight out without fasteners or use a quick-release clip, so check the design before reaching for a screwdriver.
If the cover is only lightly dusty and access to the duct opening isn’t necessary, you can leave it mounted and clean it in place with a vacuum brush attachment and a damp cloth.
4. Wash the Cover in Soapy Water or With a Degreaser
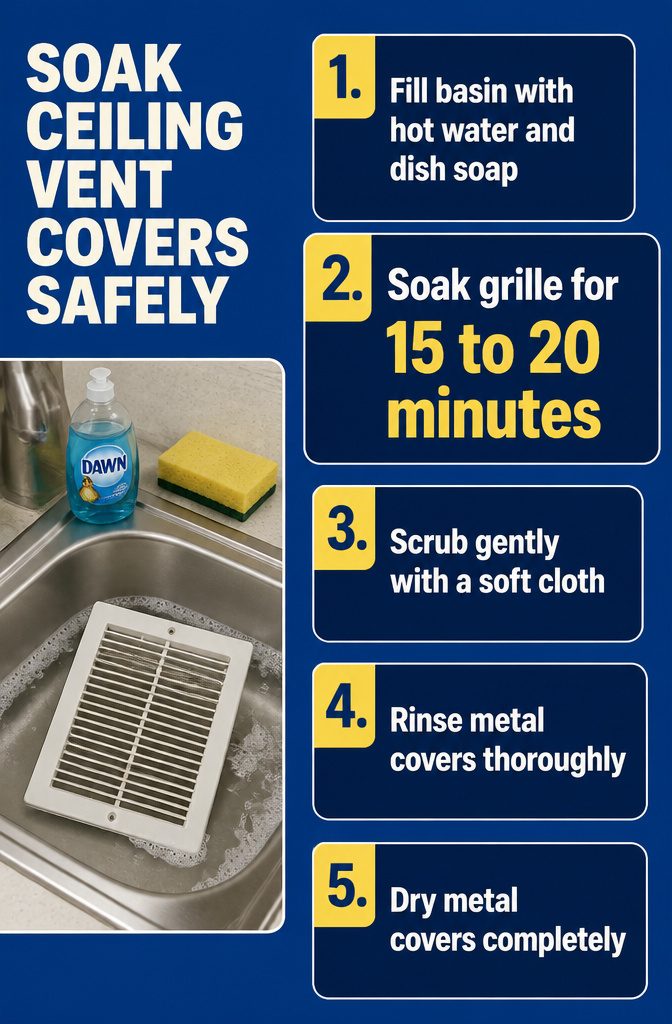
Once the cover is off, fill a sink or basin with hot water and add a small amount of dish soap — soak the grille for 15 to 20 minutes to loosen stuck-on grime.
After soaking, scrub with a soft cloth or sponge to lift away dust and residue.
Kitchen vents collect grease, so Dawn or a degreaser cuts through that buildup faster than plain soap. Rubbing alcohol works too if you’re dealing with sticky film that won’t budge.
If you’d rather not remove the cover, a damp cloth handles light surface cleaning, though it can smear dust instead of lifting it. For metal covers, rinse thoroughly after washing and dry completely to prevent rust.
Powder-coated finishes scratch easily, so wipe instead of scrubbing and skip harsh cleaners. The extra minutes spent soaking save you from scrubbing too hard and damaging the finish.
5. Vacuum and Wipe the Duct Opening
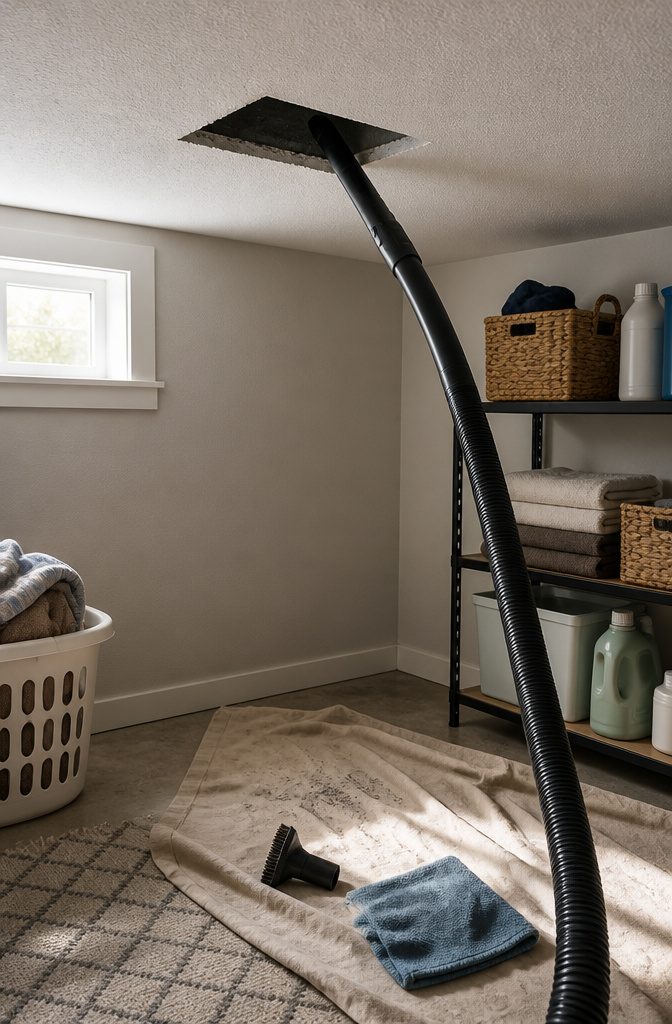
With the cover off, attach the crevice tool to your vacuum hose and work it into the duct opening to pull out loose dust and any debris sitting just inside.
Go as far as the tool reaches comfortably without forcing it.
Switch to a brush attachment and use it to knock stuck dust off the visible interior surfaces, then vacuum again with the crevice tool to collect what you just dislodged.
This gets you what you can reach from the opening itself, but it stops where your vacuum stops.
Full ductwork cleaning requires professional equipment: high-powered vacuums, rotary brushes, and negative pressure systems that pull embedded dirt, mold spores, and allergens from supply and return ducts, coils, and the blower motor.
Most homes need that level of cleaning every 3–5 years, or sooner if you find heavy dust buildup, visible mold, or vermin droppings inside the ducts.
6. Dry Everything Before Reinstalling the Cover
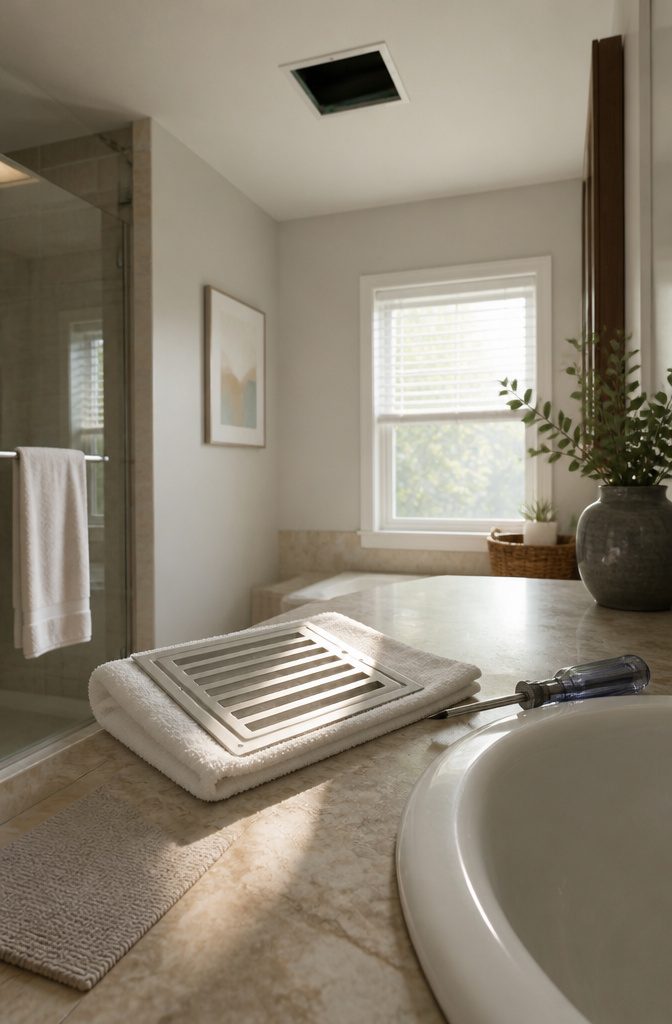
Let the cover and all surfaces dry completely before reattaching.
Dust sticks to damp surfaces, and if you put a wet metal cover back up, you’ll see new particles clinging within hours. Trapped moisture can also cause rust or leave water stains on your ceiling paint.
I lay the covers flat on a clean towel and give them time. Rushing this step undoes the work you just put in.
Once everything is bone dry, screw the cover back into place and flip the HVAC system back on. The difference in air quality might be noticeable right away, and you’ve just bought yourself another few months before the next clean.
What to Do When You See Mold on a Vent
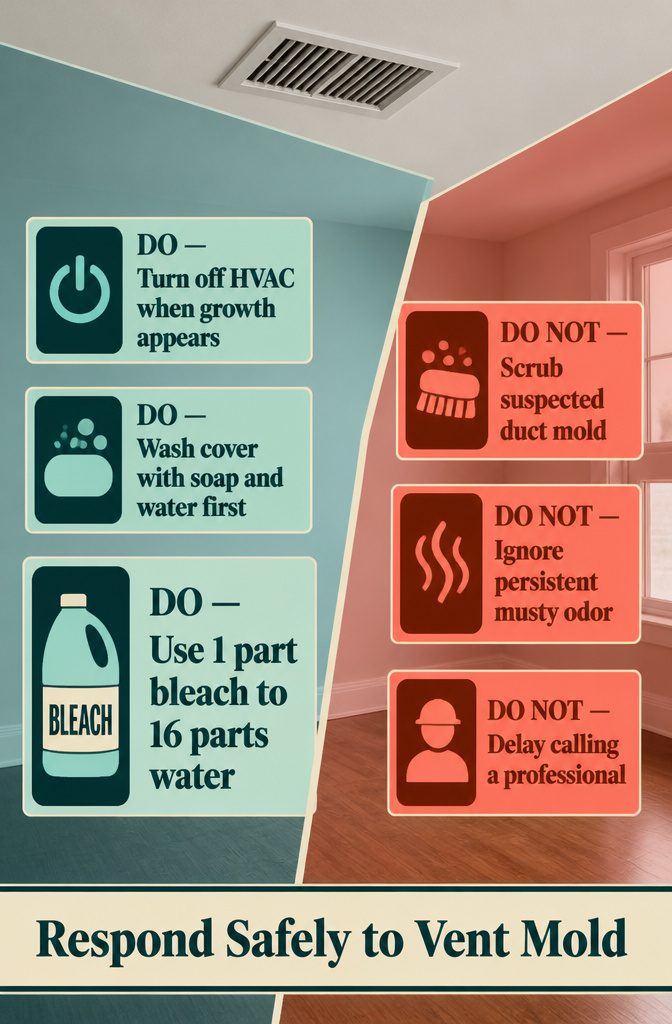
Black or green spots around a ceiling vent, a musty smell when the system runs, or unexplained coughing that gets worse at home all point to mold. Turn off the HVAC if you spot growth.
When it looks confined to the vent cover itself, you can clean it: wash with soap and water first, then apply a diluted bleach solution — 1 part bleach to 16 parts water — if mold remains.
Follow the directions on the bleach bottle, rinse thoroughly, and let the cover dry completely before putting it back.
If the mold appears deep inside the duct, if the musty odor persists after cleaning, or if symptoms keep coming back, call a professional.
Scrubbing suspected duct mold yourself risks spreading spores through the house. A pro can test to confirm it is mold, identify the type, and clean the system safely without making the problem worse.
Material-Specific Care for Wood, Metal and Decorative Covers
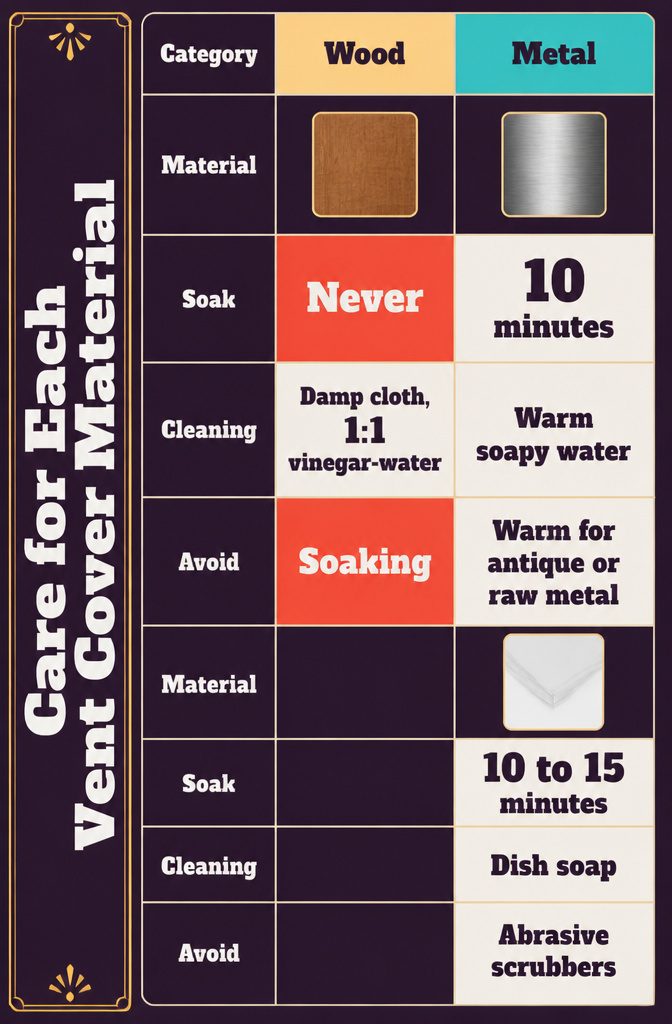
Not every material can drop into a soapy sink and come out fine. The approach changes with what the cover is made from.
- Wood covers need a damp cloth and a 1:1 vinegar-and-water solution. Never soak them. Water warps and splits the grain, and soaking undoes finish work that took time to cure. Wipe gently, let the surface dry, and reinstall.
- Metal covers can soak for 10 minutes in warm soapy water. That loosens grease and dust without damaging powder-coated or painted finishes. Antique or raw metal should stay out of the water; wipe them down instead.
- Plastic covers handle a longer soak, 10 to 15 minutes, and come clean with dish soap. Skip abrasive scrubbers. They scratch the surface and leave haze marks that catch dust faster next time.
Custom finishes and antique covers fall outside the standard rules. Check manufacturer instructions when you have them, or default to the gentlest method if you don’t.
Frequently Asked Questions
How often should you clean ceiling vents?
Wipe down the visible surfaces monthly and perform a deeper clean once or twice a year.
Spring cleaning is a good time to remove the cover, wash it in hot soapy water, and vacuum the duct opening. Regular surface cleaning prevents heavy buildup and keeps air flowing freely.
How do you clean ceiling vents without removing them?
Turn off the HVAC system first, then use a vacuum with a brush attachment or a microfiber duster to remove loose dust from the cover and surrounding ceiling.
Finish with a barely damp cloth if needed, but avoid wet products that can smear dust into porous flat paint. This method works for light surface cleaning when the cover doesn’t need washing.
How do you get mold out of air vent covers?
Wash the cover with soap and water first. If mold remains, apply a diluted bleach solution (1 part bleach to 16 parts water) according to the label directions, then rinse thoroughly and let it dry completely.
If mold appears deep inside the duct or the musty smell persists, call a professional instead of scrubbing it yourself.
What is the black stuff around my ceiling vents?
The black or gray streaks are dust particles that have stuck to invisible moisture on the ceiling. Cool air escaping the vent hits the warmer ceiling material and creates slight condensation, and airborne dust clings to that moisture over time.
Vacuum the area first to lift loose soot, then wipe gently with a barely damp cloth to avoid grinding the dust deeper into flat paint.
How do you clean the inside of ceiling vents?
Remove the cover, then attach a crevice tool to your vacuum and work it into the duct opening to pull out loose dust.
Switch to a brush attachment to knock stuck dust off visible interior surfaces, then vacuum again. This handles what you can reach from the opening, but full ductwork cleaning requires professional equipment and is typically needed every 3–5 years.
When should you call a professional for vent cleaning?
Call a professional if you find mold deep inside the duct, notice persistent musty odors after cleaning, see heavy dust buildup throughout the ductwork, or spot vermin droppings.
Professionals use high-powered vacuums, rotary brushes, and negative pressure systems to clean supply and return ducts, coils, and the blower motor safely. Most homes need this level of cleaning every 3–5 years.