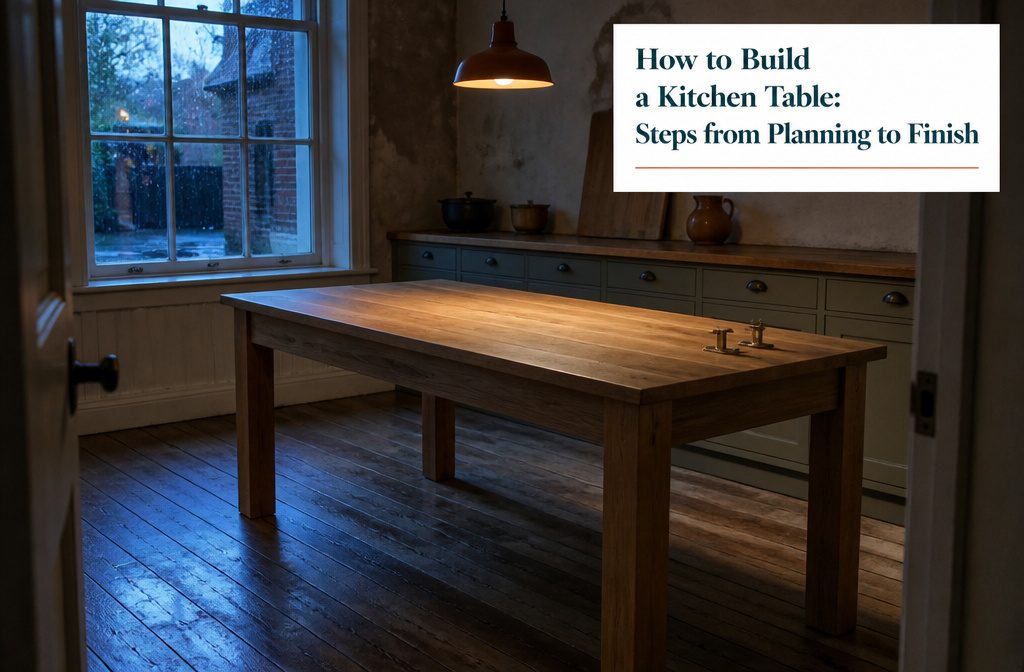
A table you build yourself runs $85 to $172 in lumber and takes 10 to 40 hours depending on joinery and finish, compared to $1,299 for a store version of the same size.
Most builds fail at attachment: screws driven straight through the apron into a solid-wood top will crack the boards when humidity makes the wood expand, so you need tabletop brackets that hold it down while letting it slide.
1. Plan the Design and Fit
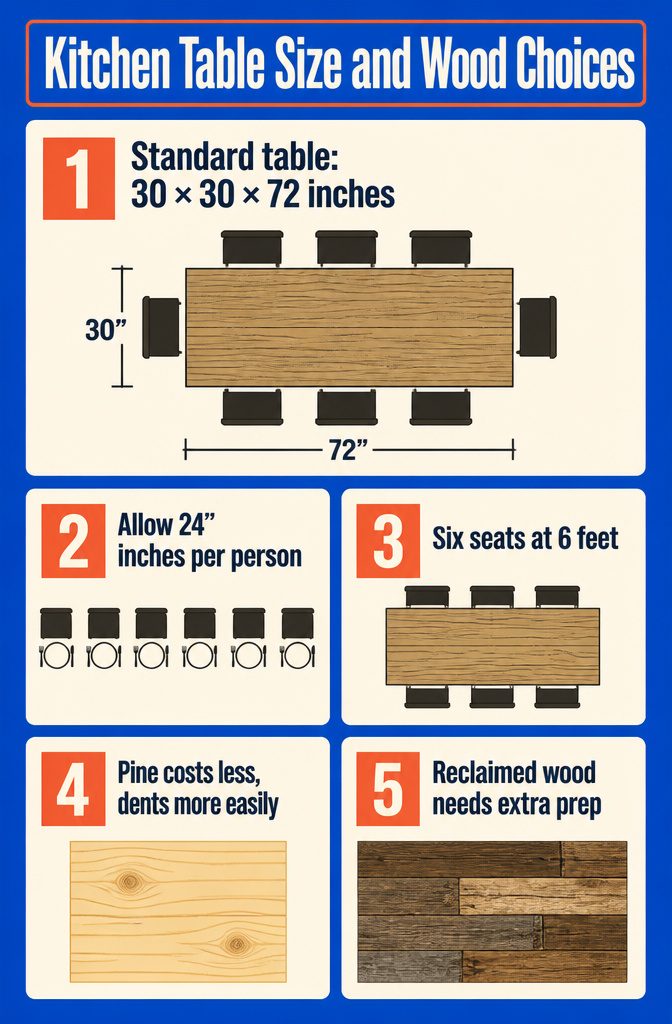
The dimensions start with 30 inches high by 30 inches wide by 72 inches long for a standard dining table.
That height keeps chairs at a comfortable working position, and the 30-inch width leaves enough table between place settings without forcing guests to lean forward.
Length depends on how many people you plan to seat: allow 24 inches of space per person. A 6-foot table seats six, three on each side.
An 8-foot table seats eight with four on each side. A 7-foot table works if you want one seat at each end while still leaving legroom.
Once the size is settled, pick the wood.
Oak, maple, cherry and walnut offer durability and take finish well. Pine costs less and works fine for a first build, though it dents more easily.
Reclaimed wood brings character but often needs more prep work to flatten and square the boards. I’d choose based on what fits the budget and how much sanding time you have before assembly.
2. Gather Materials and Tools
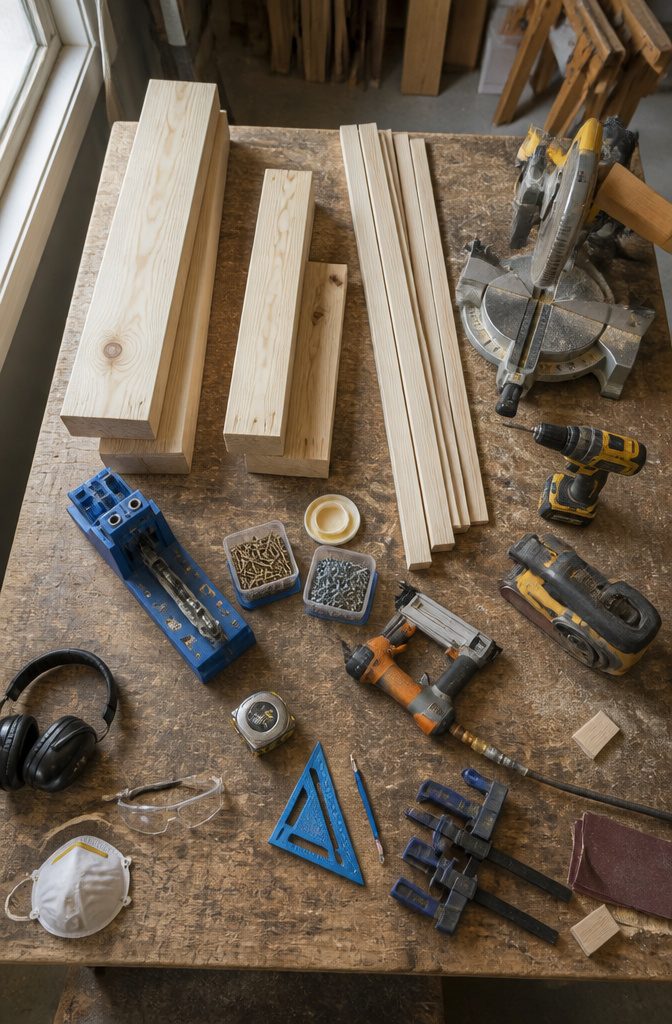
You need a mix of basic power tools and hand tools, plus the wood and fasteners to hold everything together.
Many plans call for construction lumber — 2×4s, 2×6s, or 1×6 boards — which keeps costs down, and you can build a solid table with just five core tools: a Kreg Jig, miter saw, drill, nail gun, and sander.
Full materials and tools list:
- Wood: 2×6s and 2×4s for the top and base, 1×4s for trim or aprons
- Fasteners: 2½-inch pocket hole screws, 2½-inch wood screws, and wood glue
- Finish: stain or paint, sandpaper (various grits)
- Measuring: tape measure, speed square, pencil
- Cutting: miter saw (required), table saw (optional but useful for squaring edges)
- Assembly: Kreg Jig or pocket hole jig, drill with bit set, brad nailer or finish nailer
- Finishing: orbital sander or sanding block
- Work support: bar clamps, workbench or sawhorses
- Safety: safety glasses, ear protection, dust mask
A table saw helps you shave rounded edges off 2×4s so the glued-up top sits flush, but most plans mark it as optional.
3. Prepare and Cut the Wood
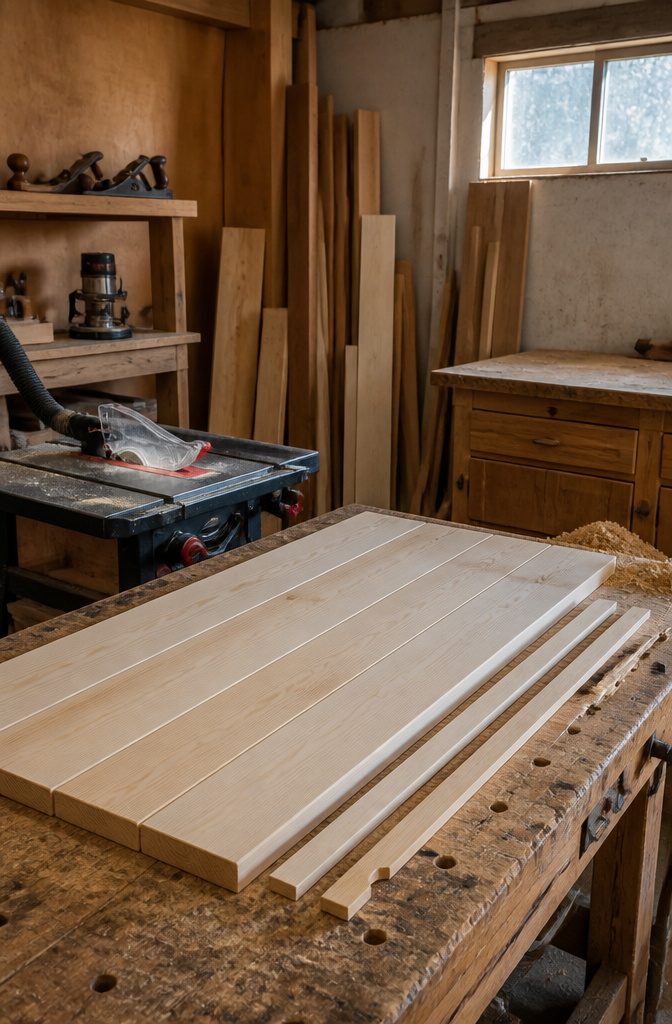
Once you have your lumber, the first job is getting it square.
If you bought rough boards and had them milled at the yard, they should arrive close to your planned dimensions — say, 72 inches long and 36 inches wide for a rectangular top — but you still need to check that the edges are straight.
I run each board through the table saw to shave off the factory rounded edges, taking less than 1/4 inch from each side.
That small cut gives you a clean, square edge that will sit tight against the next plank when you glue up the top.
Wear gloves, a mask, and goggles before you start cutting. The dust from ripping boards adds up fast, and a splinter off a moving blade can go anywhere.
If you do not own a table saw or are not comfortable using one, most yards will cut boards to size for a few dollars per cut, and you can square the edges with a hand plane or a router instead.
4. Build and Join the Tabletop
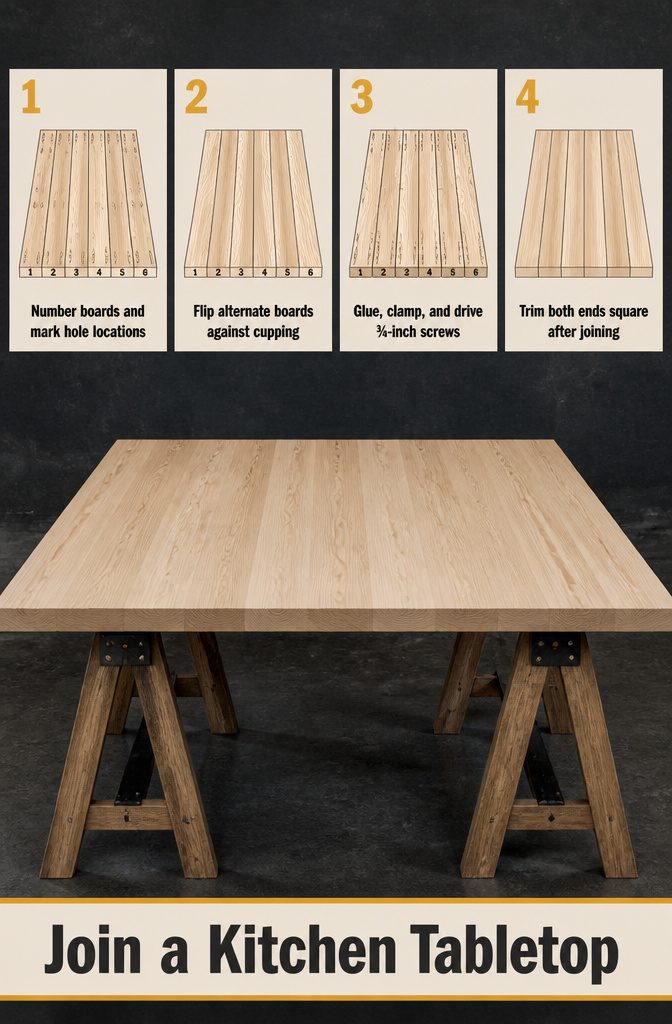
- Mark pocket-hole locations before drilling. Number each board on the underside and mark where the holes go — four sets spaced evenly for a typical dining table, six for a longer one. This keeps you from drilling the wrong edge and ending up with visible holes on top.
- Alternate board growth direction. Flip every other board so the growth rings curve opposite ways. This counteracts cupping as the wood moves with humidity over time.
- Drill pocket holes at your marked spots, then apply wood glue to the edge of the first board before clamping it to the second. Drive 3/4-inch pocket screws through the angled holes to pull the joint tight. Bar clamps along the length keep the faces aligned flat as you work down the row.
- Use boards 8 inches or wider when you can — fewer seams mean fewer joints to align and less chance of a visible step between boards.
- Trim both ends square after all boards are joined. Clamp a straight piece of scrap across the end as a guide and cut with a jigsaw or circular saw to bring the edges flush and the corners square.
Pocket holes are faster and simpler than dowels or biscuits for a first build.
Butt joints need reinforcement. Tongue-and-groove and biscuit joinery both work, but pocket screws give you a strong joint without extra jigs or a learning curve on alignment.
5. Build the Base and Add Aprons
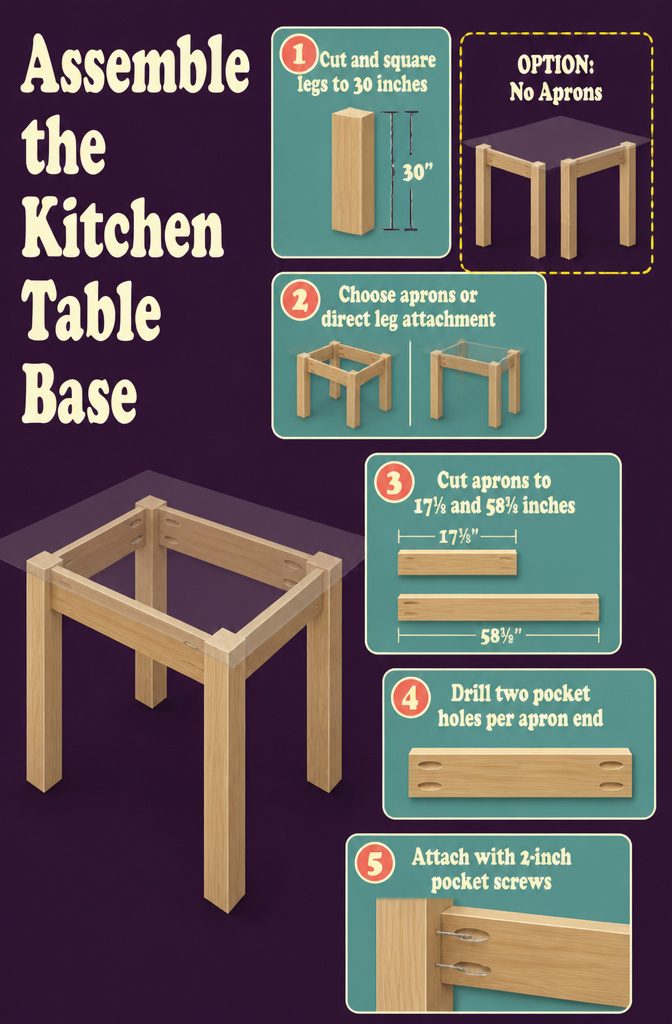
- Cut the legs to 30 inches — standard height for a dining table — and square the ends so the table sits level. Sand any rough edges before assembly.
- Decide whether to add aprons. Aprons are optional: they connect the legs and add lateral strength, but a solid top attached directly to the legs works without them.
- If using aprons, rip four 2×4 boards to 3 inches wide. For a table base, cut two apron boards at 17 1/8 inches and two at 58 3/4 inches.
- Drill two pocket holes at each end of every apron. The A and C positions on a jig work well for spacing.
- Lay a scrap 3/4-inch board under the apron, flush with the top of the leg, and attach with 2-inch pocket screws. The scrap creates a consistent setback without measuring each leg separately.
- Repeat on all four legs until the base stands square. Glue the joints before screwing if you want extra hold, and clamp while the glue sets.
6. Attach the Legs and Tabletop
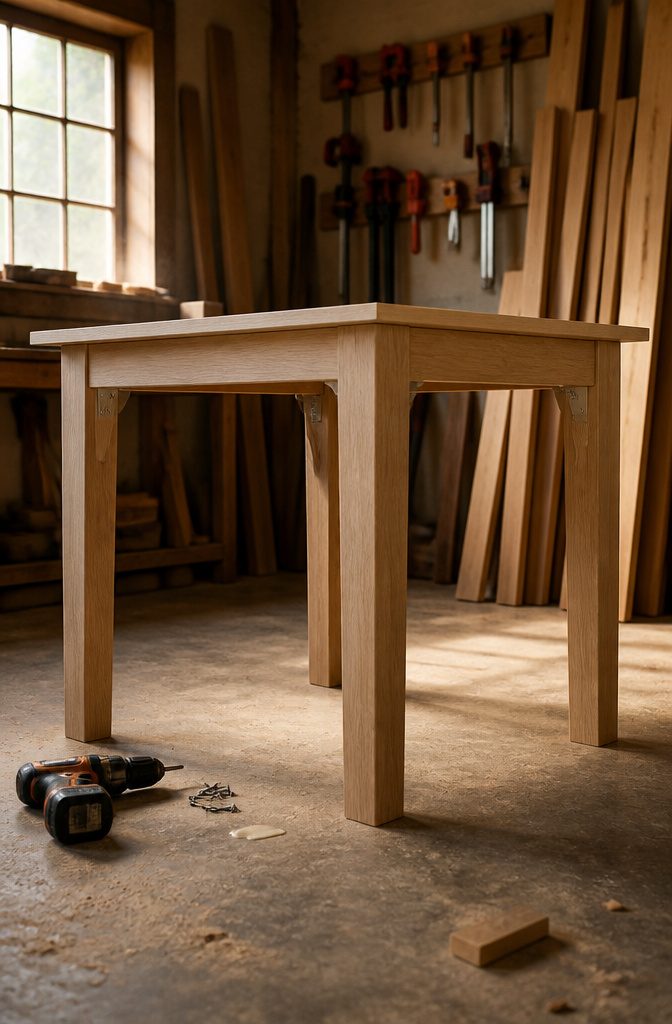
Start with the legs. Apply wood glue to the top of each leg where it meets the apron, then drive screws through the apron into the leg to lock it in place.
Before you tighten everything down, check that the legs stand at a right angle to the apron. A leg that leans even slightly will give you a wobbly table, and fixing it later means disassembling the base.
Standard leg height runs about 30 inches, which puts the finished table surface at a comfortable dining height once you add the apron and top.
Attaching the tabletop comes next. Brackets work better than screws driven straight through the apron, because they let the wood expand and contract with humidity without buckling or splitting.
Set the base upside down, center it on the underside of the top, and fasten the brackets to both the apron and the tabletop.
Screw length matters: use 3/4-inch screws only if your tabletop measures 7/8 inch thick or more. A thinner top needs shorter screws, or you’ll see the tips poking through the surface.
7. Sand and Finish
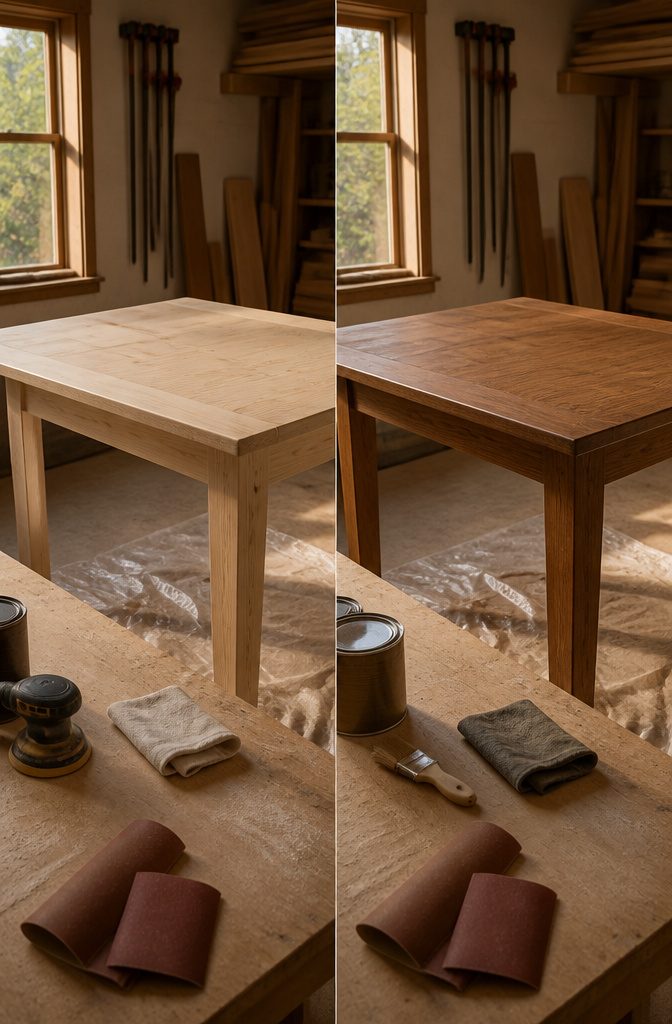
Once the table is assembled, sanding brings every surface to the same smoothness.
An electric sander handles the tabletop and legs faster than working by hand, and the flat surfaces make the job straightforward. Sand the entire piece before moving on to finish.
Apply stain with a brush in two coats, letting the first dry completely before adding the second. Wipe off any excess with a rag after the second coat goes on.
The finish options are polyurethane, wood oil, or varnish, each with different durability and appearance. For a table headed outdoors, waterproof polyurethane protects against moisture and weather better than standard finishes.
One builder described a 10-step finishing process that included stain, conditioning, and a urethane topcoat, so the complexity scales with the look you want and the use the table will see.
8. Check the Build and Install It
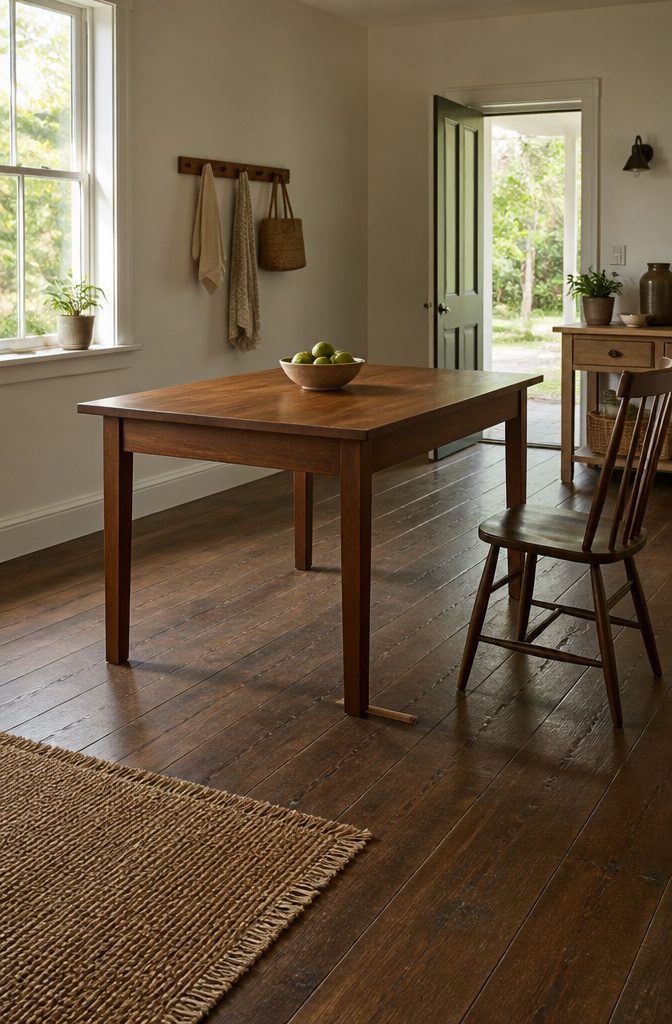
Once the finish dries, flip the table upright and check the build before moving it into place.
I run my hand along every seam and joint to catch anything a glance might miss: a splinter the sandpaper left, a wobble where a leg meets the apron, glue squeeze-out I overlooked.
Tighten any fasteners that worked loose during assembly, and if the tabletop rocks on a flat surface, shim the short leg or plane it down a fraction.
Position the table where it will live and confirm the clearances work.
You need a minimum of 18 inches between the table edge and the wall for a chair to pull out, and if you built extension leaves into the design, leave 36–48 inches around the table when the leaves are in place so people can move comfortably.
A table that fits when closed but blocks the doorway when extended is a table you will not extend.
Tabletop Movement and Attachment Methods
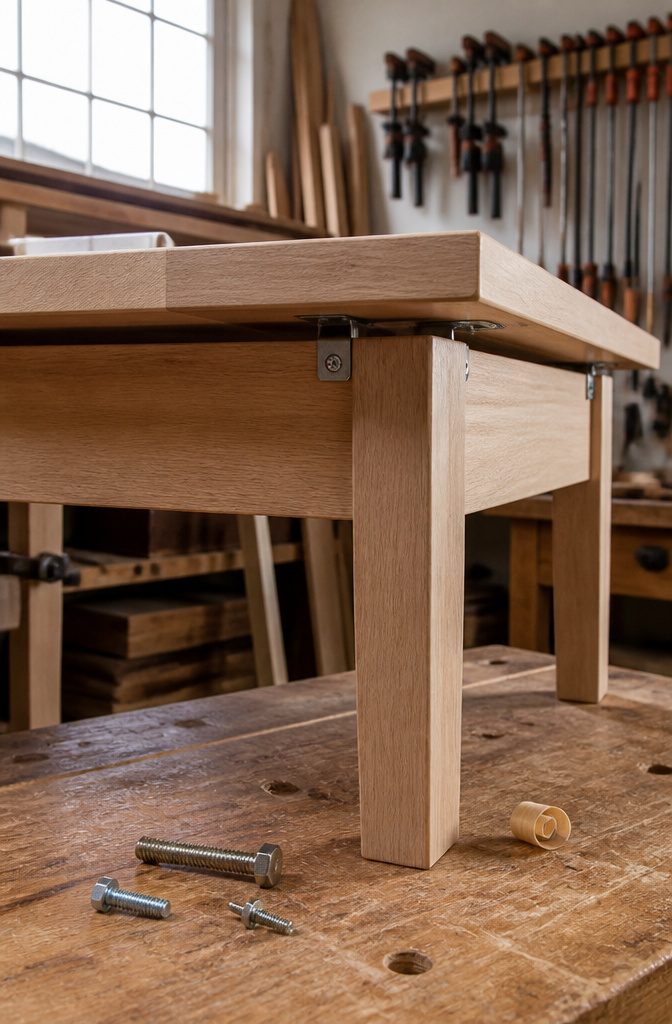
Wood moves. A tabletop made from solid boards expands when humidity climbs and shrinks when the air dries out, and if you screw the top directly to the base, something has to give.
Tabletop brackets solve this by leaving a small gap for movement once they are attached to both the base and the underside of the top with screws.
The bracket holds the top in place while the wood slides back and forth across the seasons without buckling or splitting the boards.
Screw length matters here.
Use 3/4-inch screws if your tabletop measures 7/8 inch thick or more. A thinner top needs a shorter screw so it does not punch through the surface.
I place two brackets at each end about 3 inches from the leg, then three per side spaced evenly along the length. That gives enough support without over-constraining the wood.
Bolts beat screws and glue if you ever need to move the table. A bolted top comes off in minutes, breaks down into pieces that fit through a doorway, and goes back together without patching holes or refinishing joints.
Special Designs and Add-Ons
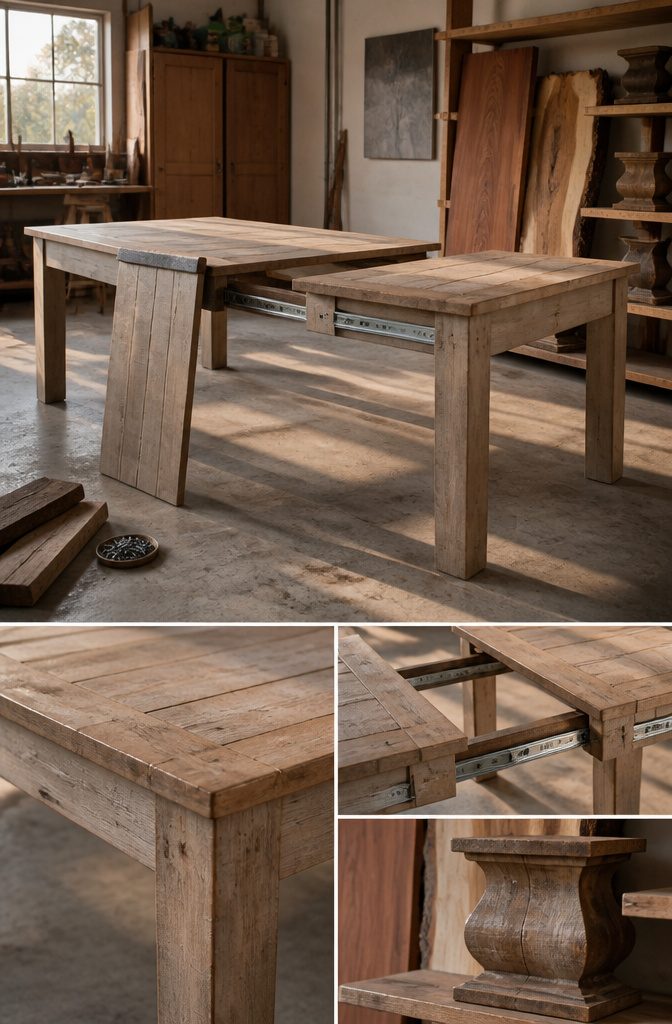
Adaptations branch in several directions depending on where the table lives and what you need it to do.
- Reclaimed wood needs drying time if it came from outdoors—two weeks minimum in the space where the table will live—and careful inspection for nails, screws or staples that will wreck a blade.
- Farmhouse style usually means breadboard ends, thicker legs (3×3 or 4×4), and a distressed finish applied after assembly.
- Extension leaves work with dedicated hardware: metal slides mounted under the aprons let you pull the halves apart and drop a leaf between them. EasyBase kits include the slides and simplify the framing.
- Outdoor tables need exterior-grade wood (cedar, teak, or pressure-treated pine), stainless fasteners, and a finish rated for UV and moisture—or no finish at all if you accept weathering to gray.
- Long tables (over 72 inches) benefit from a center support leg or stretcher to prevent sag at the middle of the span.
- Round tables require careful layout of the base so the legs clear chair knees at every seat, and a pedestal base solves that problem by centering the support.
- Counter height runs 36 inches to the top, which means 34-inch legs after accounting for apron and top thickness.
- Live-edge slabs skip the ripping and glue-up but cost more and need flattening with a router sled before you can attach the base.
Build Time and Costs
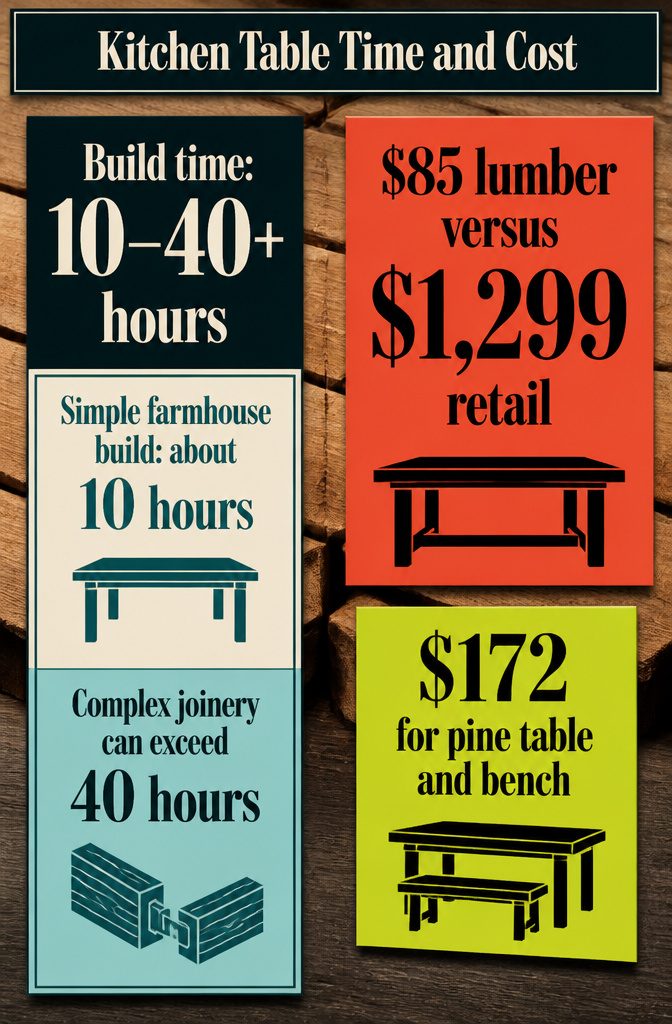
Building a table takes ten to forty hours or more, depending on how complex the design runs and how much of the wood prep you handle yourself.
A simple farmhouse table with straight cuts and butt joints sits closer to the ten-hour end if the lumber arrives milled to width.
Add mortise-and-tenon joinery, tapered legs, or a finish that needs multiple coats with sanding between, and the count climbs past forty.
The money side varies just as widely. One builder put together a chunky-angle dining table for around $85 in lumber when a similar store version would have run $1,299.
Another used white pine from a local yard, had it milled to thickness, and spent $172 total for both the table and a matching bench.
The white pine choice was deliberate: softer wood that would pick up marks over time, which matched the old farmhouse look the builder wanted rather than something factory-new.
Frequently Asked Questions
How tall should a dining table be?
A dining table should be 30 inches high. This height keeps chairs at a comfortable working position and allows proper legroom for seated guests.
How big should a dining table be?
A dining table should be 30 inches wide by 72 inches long for a standard 6-person table, allowing 24 inches of space per person.
Add 12 inches of length for each additional seat, and leave at least 18 inches between the table edge and the wall for chairs to pull out.
What kind of wood should I use to build a dining room table?
Oak, maple, cherry and walnut offer durability and take finish well, while pine costs less and works fine for a first build though it dents more easily.
Reclaimed wood brings character but needs more prep work to flatten and square the boards.
How many hours does it take to build a dining table?
Building a dining table takes 10 to 40 hours or more, depending on design complexity and how much wood prep you handle yourself.
A simple farmhouse table with straight cuts sits closer to 10 hours, while mortise-and-tenon joinery or tapered legs pushes the count past 40.
Can I use 2×4 for table legs?
Standard table legs should be cut to 30 inches from 2x4s or larger lumber, with the ends squared so the table sits level.
For a farmhouse style or counter-height table, thicker 3×3 or 4×4 legs provide more visual weight and stability.