A full house cleaning takes 2 to 3 hours if you work in the right order and pretreat surfaces while you clean somewhere else.
Most people skip the pretreat step and spend ten extra minutes per bathroom scrubbing grime that chemistry would have lifted on its own.
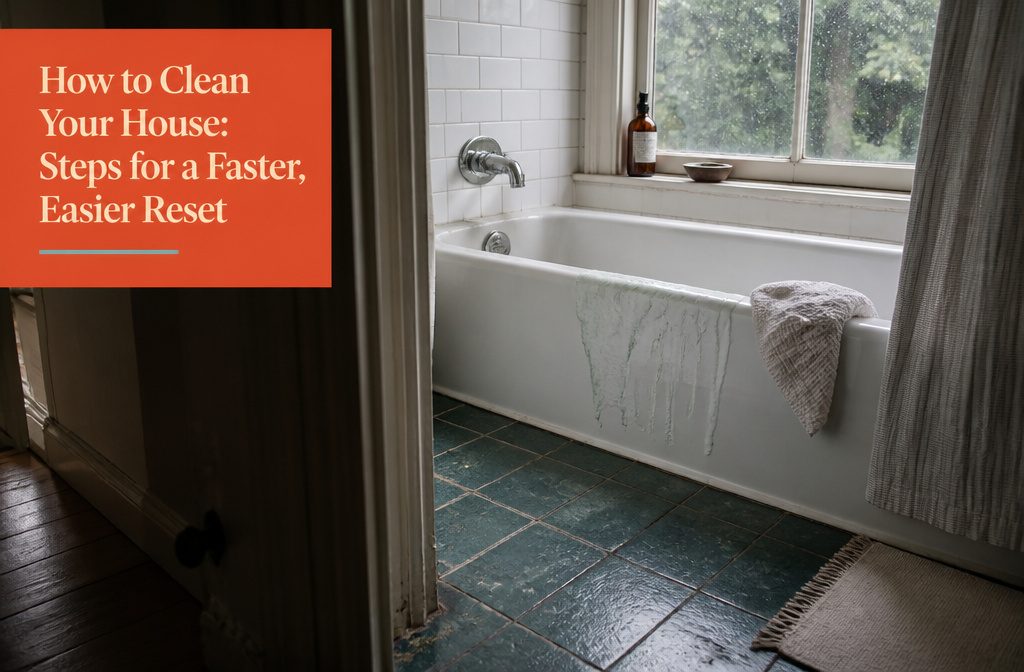
Pour toilet cleaner and spray the tub before you touch the kitchen, then circle back when the product has done the work.
1. Gather Supplies and Plan Your Route
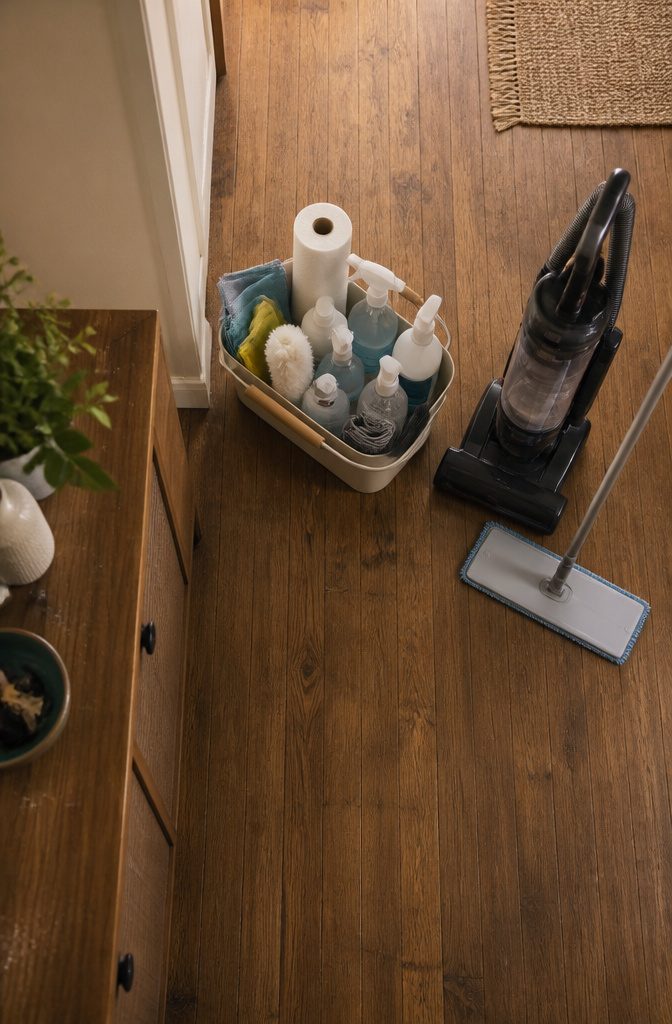
Before I start cleaning, I gather every product and tool I’ll need: all-purpose cleaner, glass cleaner, bathroom cleaner, microfiber cloths, paper towels, a duster, trash bags, the vacuum, and the mop.
Reading the label on each product tells me how much to use and whether I need gloves or ventilation, and I keep everything out of reach if children are around.
A portable caddy or bucket holds it all in one place so I’m not running back to the closet between rooms.
The order I follow depends on the task.
I can work one room at a time, finishing each completely before moving to the next, or I can do one job across the whole house—dusting every room, then vacuuming every floor.
The single-task approach saves time if I’m using the same tool everywhere, but the room-by-room method keeps supplies contained and lets me see progress faster. I pick whichever fits the day’s momentum.
2. Clear Clutter and Sort Laundry

Clear Clutter and Sort Laundry
Cleaning around belongings slows the work and uses more product than it should. Pick up first, starting in one corner and working around the room.
Group items by where they belong instead of walking each one back right now. The bedroom and bathroom are good moments to gather sheets and towels for the laundry.
In the kitchen, load dirty dishes straight into the dishwasher. A trash bag helps for emptying bins or tossing things as you go.
This pickup step is not the same as daily tidying or a full decluttering session.
Tidying keeps surfaces clear between cleanings. Decluttering decides what stays and what goes, and that work takes time best spent separately.
Stage clutter out of the way so surfaces can be wiped and floors swept without working around piles. Baskets, bags, or bins keep the sorted items contained until the cleaning is finished.
3. Pretreat Bathrooms While You Work Elsewhere

I pretreat bathrooms before I touch the kitchen or bedrooms, because the chemistry needs time more than it needs elbow grease.
I pour about 1/2 cup of toilet cleaner into the bowl, letting it coat the sides, then spray bathroom surface cleaner on counters, sinks and the tub.
Once that is down, I leave the room and clean somewhere else for the next hour or so.
The toilet cleaner breaks down mineral deposits and organic stains while I am vacuuming the living room or wiping down the kitchen, and the surface spray loosens soap scum without any scrubbing from me.
When I circle back, most of the grime lifts with a quick wipe or brush, and I have saved myself ten minutes of hard scrubbing per bathroom. Pretreating turns waiting time into working time.
4. Dust High Surfaces First

Dust High Surfaces First
Working from ceiling to floor means falling dust lands on surfaces you haven’t wiped yet, not ones you already finished. I start with ceiling fans, then move down to shelves, the tops of picture frames, furniture and mirrors.
Dusting in a continuous path around the room keeps me from backtracking—starting at the doorway and working left to right covers everything once.
Microfiber cloths pick up dust better than anything else I’ve tried. I keep about 20 hand-towel-sized cloths on hand so I can switch to a clean one between rooms without stopping to rinse.
One thing that ruins them: fabric softener, liquid or dryer sheets. It coats the fibers and kills their ability to grab dust, so I skip it entirely when I wash them.
5. Clean Kitchen and Bathroom Surfaces

I clean the kitchen and bathrooms back to back because they take the longest and use similar moves.
In the kitchen, I load the last dishes into the dishwasher, then fill the sink with hot soapy water—if the stove has removable burner pieces, those go in too. I clear the counters completely before wiping anything down.
A damp sponge works through cabinets, counters, backsplash, and appliance fronts, always moving from the top down so you catch drips instead of spreading them around. Rinse the sponge often in the hot water.
Bathrooms follow the same logic but with one hard rule: use separate cloths for toilet surfaces and everything else.
I spray counters, sinks, and the tub first and let the cleaner sit while I scrub the toilet bowl and wipe the outer surfaces. Then I come back to wipe counters, rinse the tub, and finish with mirrors.
Grout lines and corners get the scrub brush. Handles and light switches go last, once the disinfectant has done its work.
6. Vacuum and Mop Floors Last

Floors come last because everything you dusted and wiped has already fallen onto them. Vacuum or sweep first, then mop — wet passes pick up what dry passes miss, and trying to do both at once just pushes grime around.
I vacuum carpeted rooms by working backward toward the door so I’m not walking over cleaned carpet.
Move quickly without too much overlap to save time. For hard floors, I use the vacuum attachment instead of sweeping — it catches dust and pet hair in corners where a broom leaves them behind.
Mopping goes faster when you rinse the mop after every four-by-four-foot section. Clean water matters more than elbow grease, and dragging dirty water across the floor spreads the problem instead of solving it.
Work backward toward the exit so you’re not stepping on wet floors, and stick to cleaning products meant for your floor type — the wrong one can dull the finish or leave residue that builds up over time.
7. Disinfect Touchpoints and Clean Your Tools

Once the floors are clean, finish by wiping down doorknobs, light switches, countertops, and faucet handles with disinfectant or a multipurpose cleaner.
These high-touch surfaces collect germs throughout the day, and a quick pass at the end keeps them in check.
Follow the product instructions for contact time—most disinfectants need to sit wet on the surface for a few minutes to actually work.
Then wash your cleaning tools. Microfiber cloths go in the washing machine with detergent, no fabric softener.
Rinse sponges and scrub brushes under hot water, wring them out, and let them air dry. I rinse mop heads the same way and hang the mop so it dries completely.
Dirty tools spread grime instead of lifting it, so cleaning them after each session keeps the next round faster and more effective. If a sponge smells or a cloth stays dingy after washing, toss it and start fresh.
How Long Whole-House Cleaning Takes
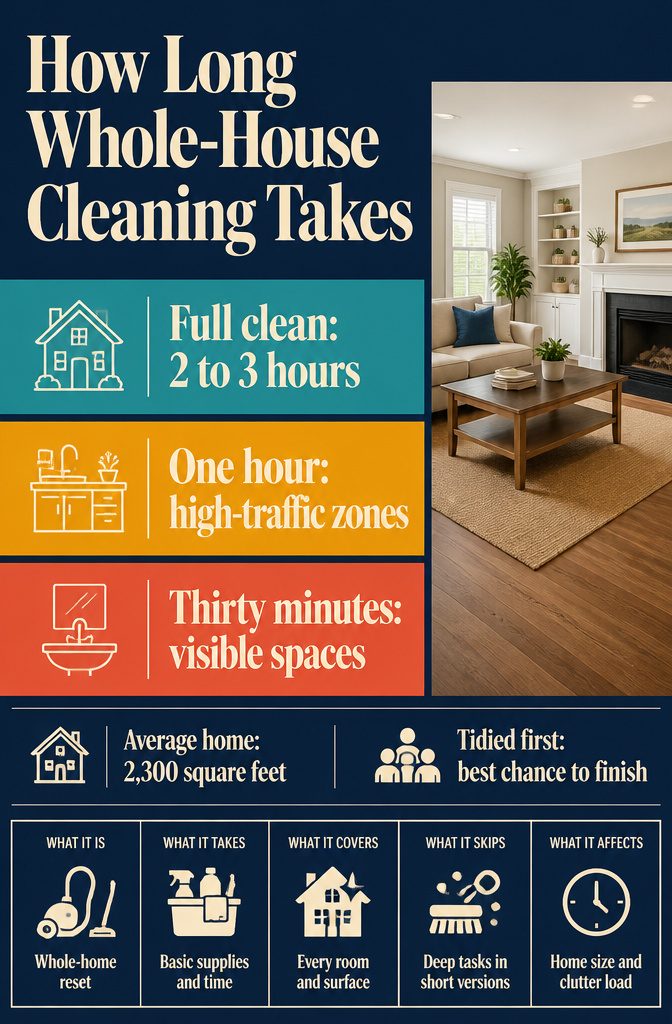
Cleaning companies typically book 2 to 3 hours for a standard home.
That window fits the average single-family layout of around 2,300 square feet with four bedrooms and two and a half bathrooms, though actual time shifts depending on home size, clutter load, and whether pets or kids live there.
Starting with a house already tidied makes the biggest difference in whether you finish within that range or push past it.
When the full routine does not fit the day, time-limited versions still accomplish real resets. An hour covers the high-traffic zones: kitchen counters, bathroom fixtures, a vacuum pass through the main living areas.
Thirty minutes keeps the visible spaces presentable when company arrives, focusing on touchpoints, a sink wipe-down, and a quick floor sweep. The shorter versions skip deep tasks but prevent the feeling of total disorder between full cleans.
Cleaning Products and When to Disinfect
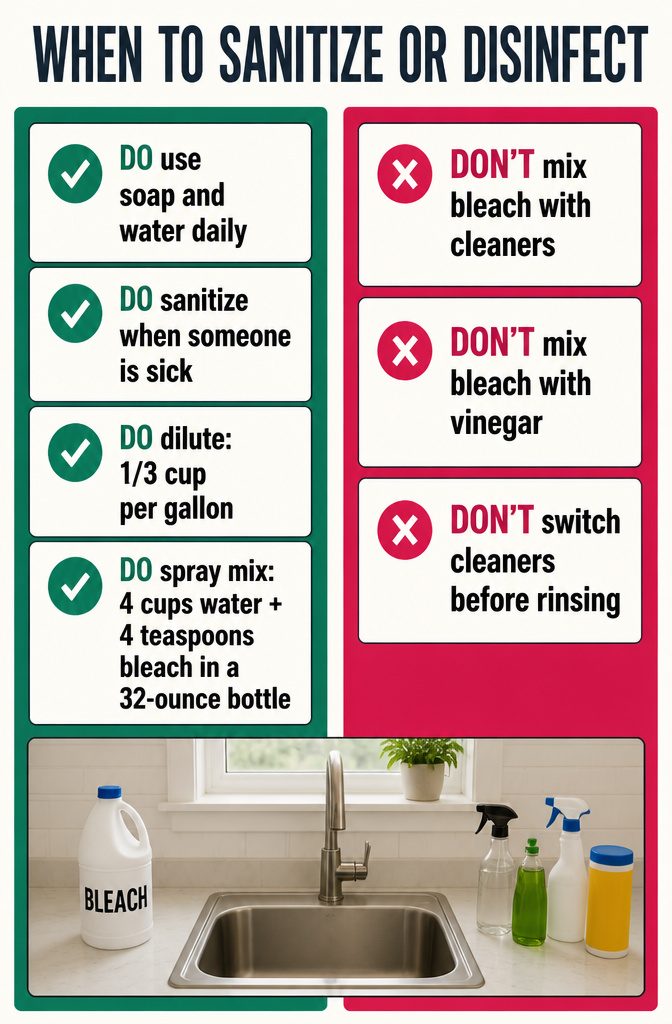
Cleaning removes dirt and most germs with soap and water.
Sanitizing takes it further, killing bacteria to public-health levels — though not viruses. Disinfecting kills both.
For daily cleaning, soap and water do the work. Sanitizing matters when someone in the house is sick or when someone’s immune system is weakened, and disinfecting is the step up from there.
A sanitizing bleach solution uses 1/3 cup of bleach per gallon of room-temperature water. To disinfect, the ratio is stronger: 1/3 cup of bleach per 3/4 gallon of water.
For a spray bottle, I mix 4 cups of water with 4 teaspoons of bleach in a 32-ounce bottle — easier to keep around for quick wipe-ups than pulling out the gallon each time.
One rule overrides all of it: never mix bleach with other cleaners or with vinegar.
The combination releases fumes that are dangerous to breathe, and the warning applies to anything with bleach in it, not just the bottle that says "bleach" on the label.
If I have used one cleaner on a surface, I rinse it completely before switching to another.
Caring for Sponges and Microfiber Cloths

Sponges and microfiber cloths pick up dirt all day, so they need regular cleaning or they just spread grime around.
I microwave damp sponges for 1 to 2 minutes to kill bacteria, usually once a week but ideally every three days. Good Housekeeping tested this and found it works, wiping out 99.9% of what’s living in there.
Running the sponge through the dishwasher on the top rack with heat-dry does the same job if you’d rather go that route. Either way, replace sponges every couple of weeks and keep them away from raw meat.
Microfiber cloths go in the wash with one important rule: skip the fabric softener. Liquid softener and dryer sheets both coat the fibers and wreck their ability to grab dirt, so launder them plain.
Toss used cloths in with your regular cleaning-day loads along with dish towels, bath mats, and whatever else needs washing. Mop heads and vacuum filters also need routine attention, or you’re just moving dust from one surface to another.
Frequently Asked Questions
How long should it take to clean a house?
Cleaning companies typically book 2 to 3 hours for a standard home.
That window fits most single-family layouts around 2,300 square feet with 4 bedrooms and 2.5 bathrooms. Home size, clutter load, and whether you have pets or kids shift the actual time up or down.
What to clean if I only have 1 hour?
An hour covers the high-traffic zones: kitchen counters, bathroom fixtures, and a vacuum pass through the main living areas. Focus on surfaces people see and touch most, skipping deep tasks that can wait.
What to clean if I only have 30 minutes?
Thirty minutes keeps visible spaces presentable when company arrives. Focus on touchpoints, a sink wipe-down, and a quick floor sweep through living areas and the guest bathroom.
What is the correct order to clean your house?
Work from ceiling to floor so falling dust lands on surfaces you haven’t wiped yet.
Start with ceiling fans, move down to shelves and furniture, then finish with vacuuming and mopping. Clean kitchens and bathrooms after dusting but before floors.
What’s the fastest way to clean a house?
Gather all supplies in one caddy before you start so you’re not running back to the closet.
Pick up clutter first so surfaces are clear, then work top to bottom in each room. Pretreat bathrooms while you clean other areas so chemistry does the work instead of scrubbing.
How often should I clean my house?
Light cleaning weekly keeps the house functional between deeper sessions. Plan a full routine every 2 to 4 weeks depending on household size, pets, and how much traffic the space sees.