I painted my first IKEA kitchen with a six-inch roller and a dream, and those Veddinge doors went from builder-basic to custom-showroom. Sand that slick laminate with 100-grit until it’s dull, not through the skin, just enough tooth for primer to grab. Use Zinsser BIN shellac primer on IKEA’s infamously glossy surfaces, then two thin enamel coats with light sanding between. Humid days will betray you, and that full cure takes thirty days. Whether you spray for mirror-smooth fronts or roll in cramped apartments like I did, the success lives in prep, patience, and refusing to rush the clear coat. Your kitchen will look custom-built.
Tools and Materials for Painting IKEA Cabinets
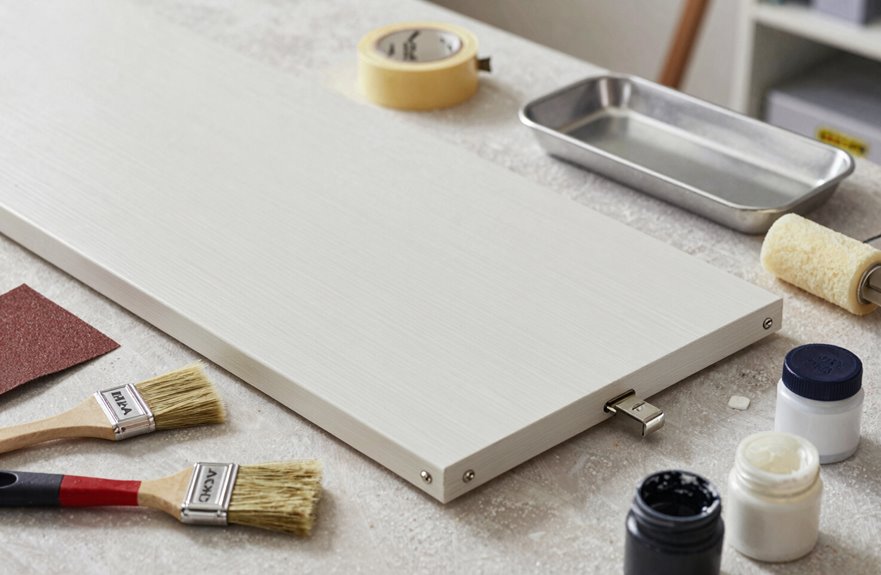
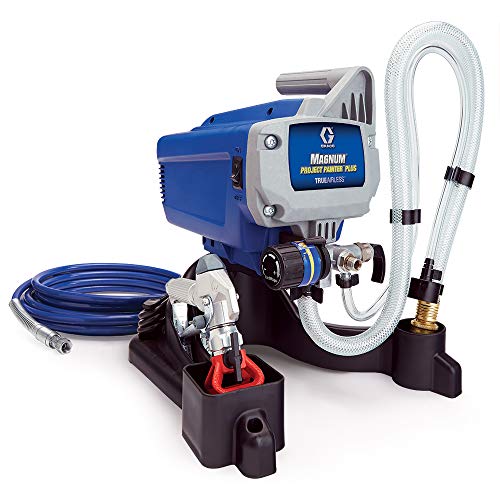
The right tools make all the difference between a kitchen that looks “DIY” and one that looks “did you hire a pro?” When tackling IKEA VEDDINGE cabinets, you’ll need primer that actually grips laminate (Zinsser Bulls Eye 1-2-3 is essential), plus enamel paint that won’t chip when you slam that drawer shut repeatedly. Behr Premium Plus with Floetrol mixed in prevents brush strokes from appearing amateurish. The spray method with an HVLP sprayer produces superior results. You’ll need a spray shelter with tarps for protection, but the glass-smooth finish on both flat sides justifies the cleanup time between coats.

Cabinet Door Spray Paint Hook Set: this door painting kit includes 1 swivel spray paint hook, 1 picture hanging wire with 2 hooks, and 20 screw hooks; It ensures that both DIY enthusiasts and professional contractors can complete their work more conveniently
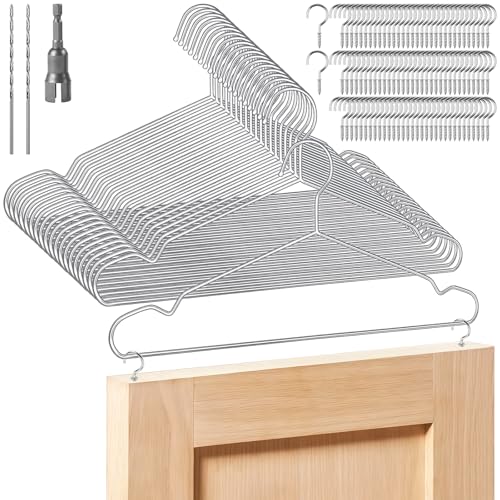
CABINET DOOR HANGER KIT FOR PAINTING AND DRYING: Includes 20 stainless steel hangers (15.75" x 7.64"), 100 screw-in cup hooks (1.47" x 0.75"), 2 drill bits, 1 wing nut driver bit, and a user manual—perfect for tackling multiple cabinet doors, drawers, or shelves at once.

Effortless No-Drill Installation-Our painting hangers require no tools, screws, or adhesives. They securely grip cabinet doors through tension on the standard hinge holes, allowing for quick setup and removal without damaging your workpiece. Start painting in seconds.
Choose Your Application Method: Sprayer, Roller, or Brush
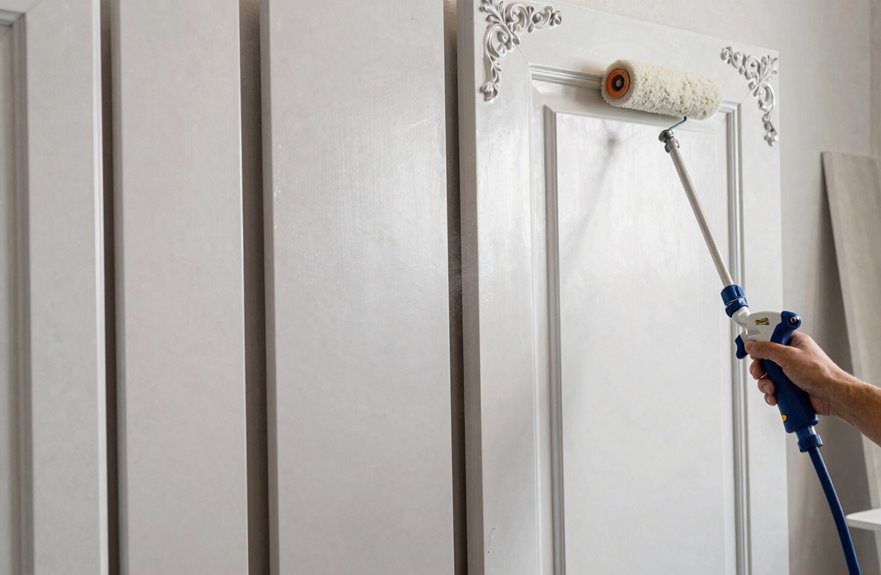
I’ve found that spraying flat IKEA fronts produces mirror-smooth finishes on both sides that brushwork alone cannot match. When weather or spray booth setup isn’t available, a six-inch roller serves as an effective alternative, allowing you to apply primer and base coats in your kitchen without battling humidity or overspray. Both spraying and rolling work well. The choice depends on your available space, timeline, and realistic assessment of what your schedule allows that weekend.
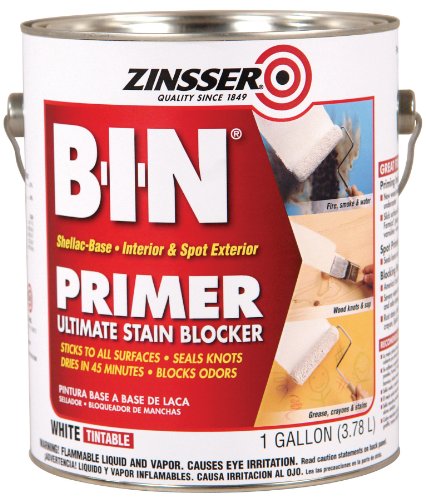
Shellac-base primer-sealer


Use to prime wide range of interior surfaces as well as for exterior spot priming
Sprayer Benefits
While I’d love to tell you that painting IKEA cabinets is all zen brushstrokes and perfect weather, the truth is messier and way more fun once you embrace the chaos. Grabbing a sprayer changed everything for me, especially on those flat Veddinge door backs that show every single flaw.
My HVLP sprayer, paired with Floetrol (follow those ratios exactly), basically erases orange peel and brush marks. The finish quality is smooth, uniform, and professional-looking. Two coats with light sanding between produces results that look factory-applied.
Weather and ventilation can interfere with your plans, and cleaning promptly prevents clogs. When conditions cooperate, the sprayer method delivers superior results. Vent that lid with pins, grab a spray shelter, and you’ll achieve a smooth, durable finish that brushwork alone cannot match.
Roller Versatility
Some days, my sprayer stays in the box and I reach for my six-inch roller instead. That roller glides across flat Veddinge doors and drawer fronts like butter, laying down a finish so smooth you’ll forget you’re not in a spray booth. I’ve learned the hard way that trim and detail work demand backup. Use brushes for edges, always. For broad surfaces, the roller delivers results.
Here’s why I keep coming back:
- Zero setup time, zero cleanup drama
- Works when it’s too hot to spray outside
- Floetrol mixed in eliminates that orange peel texture
- Durability matches spraying with proper sanding between coats
- Perfect for apartment dwellers who can’t mist their kitchen
The finish holds up. Your cabinets will last.
Plan for Weather and Temperature Conditions
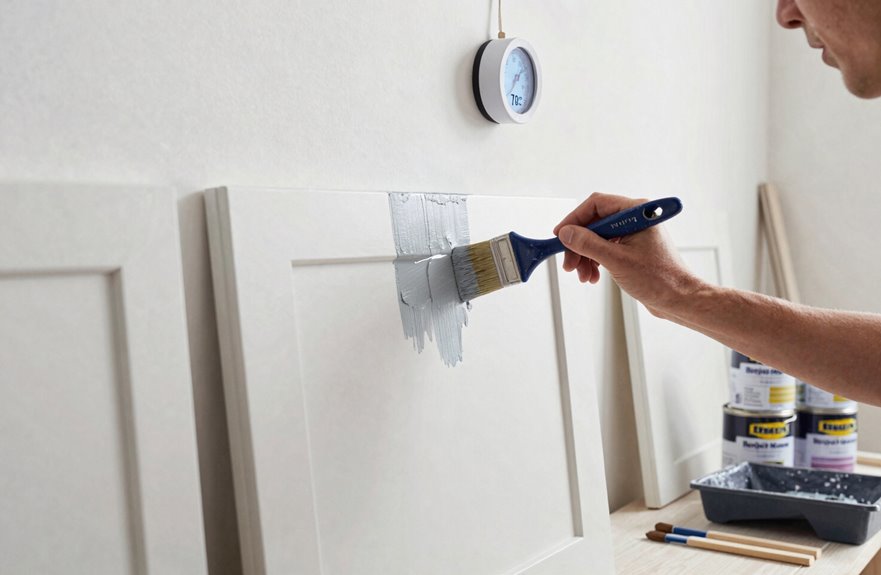
How exactly do I keep my freshly painted cabinet from turning into a streaky, bubbly mess. Temperature and humidity are everything.
I paint when it’s 55°F to 85°F with low humidity. Anything else causes primer to dry poorly, extends drying times significantly, and creates long waits between coats. Humid days add hours to the process. Cold snaps make painting impractical.
When it’s scorching outside, I brush indoors or set up my spray shelter in a vented space. Windy days mean dust in my finish, so I avoid them. I paint during daylight because painting at 9 PM makes it difficult to see colors accurately. “Eclectic sage” becomes “mystery green” in poor lighting.
Planning around weather prevents mistakes and ensures quality results on your cabinets.
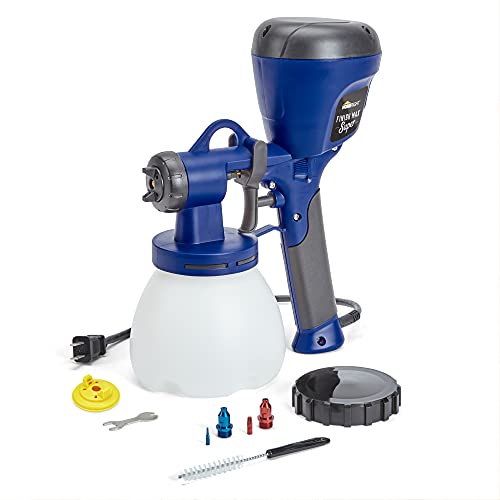
Life changing paint sprayer: this paint sprayer requires less thinning compared to finish max or other hand-held paint sprayers

PERFECT FOR A VARIETY OF PROJECTS: The FLEXiO 595 paint sprayer is great for applying a superior finish on furniture, walls, ceilings, exterior siding, fences, cabinets, trim and more

This spray gun is supplied with a 20 oz. (600 ml) gravity feed cup, with 1.4 1.7 2.0mm real stainless steel nozzle and needle.
Decide Whether to Add a Clear Coat
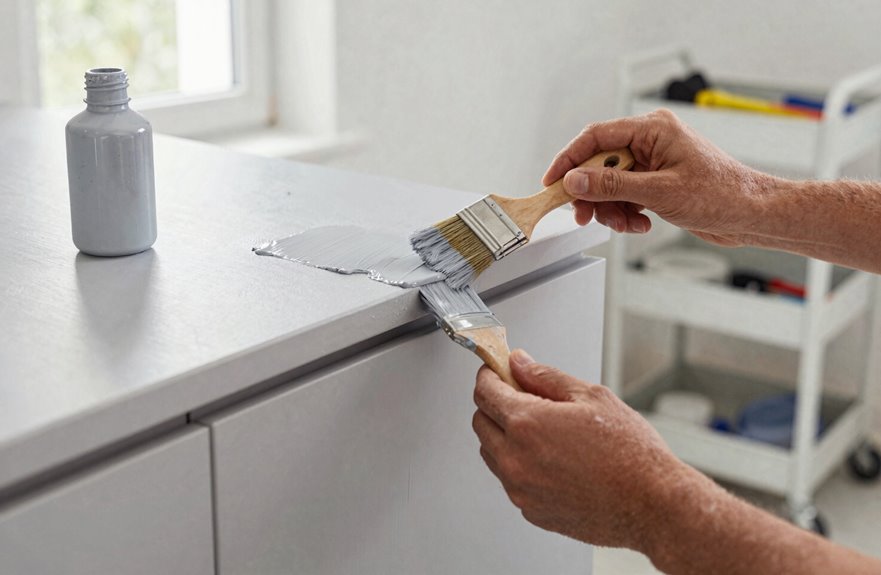
Why do I sometimes slap on a clear coat and other times skip it entirely? It all comes down to your paint choice and how much abuse your cabinets will take.
Here’s what I’ve learned through trial, error, and one unfortunate sticky drawer front:
- Behr paints almost always need a clear coat to dial down that aggressive sheen and boost durability
- Emerald Urethane Satin stands alone beautifully. I’ve skipped the topcoat and never regretted it
- Valspar’s hard enamel? You’re golden without extra protection, unless you’ve got kids who treat drawers like drums
- Two coats of clear, with a gentle sand between, transforms Behr into something truly bulletproof
- Spray your clear coat, don’t brush it, and baby those corners on the first pass. I’ve sanded through too many
Your call, your kitchen, your rules.

CABINET TRANSFORMATION: Refresh outdated cabinets, vanities, furniture and trim with rich Pure White color and a smooth semi-gloss finish

IMPROVES PAINT FLOW & LEVELING: Floetrol latex paint additive conditions acrylic and latex paint so it flows smoothly, self-levels, and dries to a professional finish without thinning.
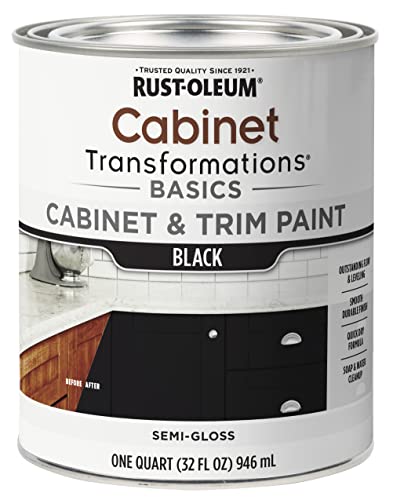
CABINET TRANSFORMATION: Refresh outdated cabinets, vanities, furniture and trim with rich Black color and a smooth semi-gloss finish
Step 1: Sand the Factory Finish for Adhesion
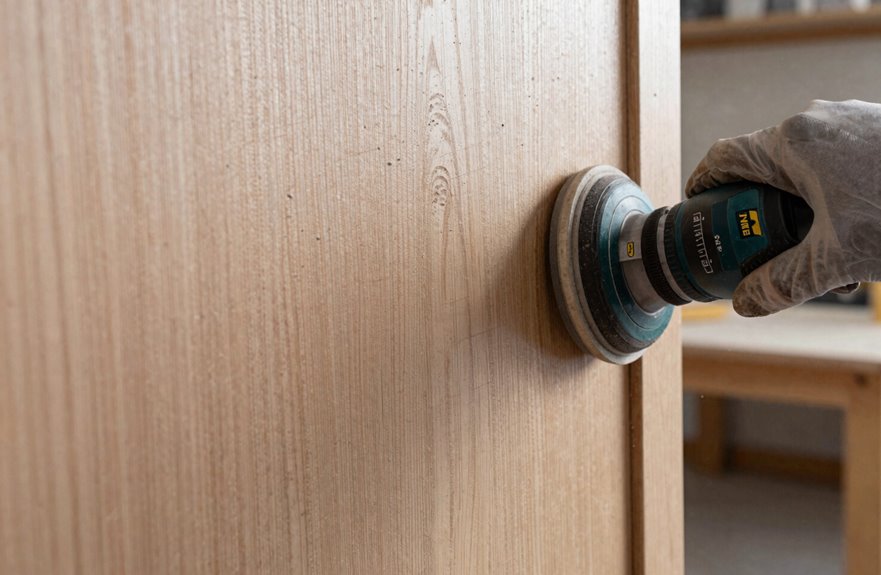
I grab my electric sander and slap on a 100-grit disc to rough up that factory finish. Think of it like scratching a glossy magazine cover so paint has something to grip, not stripping it down like you’re refinishing grandma’s antique dresser. The key here is creating “tooth,” which is just designer-speak for a slightly scratchy surface that primer can bite into. I learned this the hard way after my first cabinet repaint peeled like a sunburn because I got lazy with prep. Don’t panic when you see all that dust and scuffing. You’re not ruining anything; you’re just giving that stubborn IKEA coating a texture makeover so your topcoat actually sticks around for the long haul.

Foam Paint Roller 6 Inch: Pack includes 6 inch paint roller 10 covers, which can be washed easily and reused

Smooth, Lint-Free Application: High-density foam structure ensures zero fiber shedding, leaving a clean finish on cabinets, walls, and crafts. Perfect for glossy surfaces where traditional fabric rollers may leave lint or streaks.
High density foam will leave smooth and even finishes on the flat surfaces
Grit Selection Rationale
What grit sandpaper do I actually need for this? Grit choice matters more than most people realize. For IKEA’s tough factory finish, I grab 100-grit on my electric sander. It’s aggressive enough to create real tooth for primer to grab onto, yet gentle enough that I’m not destroying the cabinet underneath.
This specific grit choice works so well for several reasons:
- It bites through that slick laminate without chewing into the core
- You keep surface integrity intact, no bare wood disasters
- Adhesion happens fast, so your paint actually sticks around
- Less dust chaos than stripping completely bare
- The primer bonds beautifully to that slightly roughed-up surface
Sanding isn’t about perfection. It’s about creating a surface texture that allows paint to adhere properly and last longer.
Sanding Technique Essentials
Where exactly do you start when you’re staring down that factory-fresh IKEA cabinet, practically gleaming with its “good luck painting me” energy? I’ve been there, friend, and sanding is your secret handshake into the painted-cabinets club.
I grab my electric sander, load up 100-grit discs, and get to work on that slick laminate. I’m not stripping to bare wood; I’m just roughing things up. I’m chasing adhesion, not destruction. I sand evenly across flat panels and those tricky curved edges, avoiding heavy gouges that create visible outlines.
Once I’ve got that primer-friendly tooth all over, I wipe everything down with a damp cloth. Dust particles will compromise your finished surface.
Step 2: Prime Both Sides of Every Door
Once you’ve got those doors cleaned and prepped, it’s time to prime both sides, because skipping the back compromises the finish (I’ve learned this the hard way). I grab my Zinsser Bulls Eye 1-2-3 and get rolling on those IKEA VEDDINGE backs first with a 6-inch roller, ensuring proper adhesion on all surfaces.
Here’s my battle-tested approach:
- Roll primer on backs first, let it dry completely
- Wait 2 hours, then light 220-grit sand to banish bubbles
- Spray primer for fronts getting fancy trim details
- Use roller for plain fronts; no trim, no problem
- Finish both sides before paint for maximum durability
That primer creates the foundation your paint requires for proper adhesion and longevity.

Premium Stainless Steel Construction: Crafted from high-quality stainless steel, this cabinet door painting hanger boasts exceptional sturdiness and durability. It effectively resists rust even in humid or paint-exposed environments, ensuring long-term reliable use for both DIY enthusiasts and professionals

Cabinet Door Painting Hanger Kit - This set includes 24 heavy-duty carbon steel painting hangers specially designed for cabinet door spraying, with each measuring 5.12 x 2.36 x 1.57 inches. Ideal for large-scale projects, batch cabinet refinishing, and painting multiple doors at once, this complete kit is a must-have for professional painters and DIY enthusiasts alike.

Packing List: Each set comes with 12 paint spray brackets and 60 screw-in cup hooks, giving you all the essentials to begin immediately. Designed for convenience and efficiency, this complete kit integrates seamlessly into your workflow—perfect for both DIY projects and professional use.
Step 3: Sand Primer and Prep for Paint
Once that primer’s dry, I’ll grab 220-grit and gently knock down every bubble and rough spot, because those tiny imperfections become flaws under cabinet paint. Then I’ll wipe away every speck of dust, including corners that seem insignificant, so the fronts are silky-smooth and ready for color.

Shellac-base primer-sealer

Shellac-base primer-sealer
Shellac-base primer-sealer
Sand Primer Smooth
Why does primer sometimes feel like it’s hiding something. Because it is. That factory laminate is slicker than a used car salesman, and I’ve learned the hard way that skipping proper sanding means watching your beautiful paint job peel like a bad sunburn.
Here’s how we get this right together:
- I grab my 100-grit electric sander and scuff that surface until it’s dull, not shiny
- I’m careful not to sand through the skin; just enough tooth for killer adhesion
- I check every edge twice, since corners love to gouge when you’re not looking
- I run my hand across to feel for any slick spots the primer might reject
- I remind myself that proper preparation prevents paint failure
That factory finish fights back, but we’re smarter than Swedish engineering.
Remove Dust Completely
Sanding means nothing if you’re painting over dust bunnies the size of small nations. I’ve learned this the hard way. After all that deglossing and sanding work, dust removal becomes your obsession, your religion, your everything.
I grab a damp cloth first, wiping every crevice like I’m hunting for hidden treasure. Then comes the tack cloth, that sticky miracle worker, picking up particles I swear weren’t even there. Between coats, I’m sanding lightly with 220-grit, smoothing bubbles away, then wiping again. It’s maddening and tedious, but that flawless finish is worth every second.
Skip this step and you’ll spot specks through your priming. Little ghosts will haunt your paint job. Your cabinets deserve a perfect surface, and the extra time spent on dust removal ensures that result.
Prep Front Surfaces
So here’s where the real transformation happens. I get a little excited every time I reach this stage. I’ve already primered the backs with my trusty roller, waited those two hours, then attacked bubbles with 220-grit sanding. Now for the fronts, and here’s where we get strategic.
- Spray primer if you’ve added fancy trim, roller if you’re keeping it simple
- Light sanding between coats keeps that laminate surface ready for paint
- Two enamel coats with drying time, because patience produces better results
- Gentle sanding on edges during that first clear coat; no fuzz, no stress
- Check every angle, tilt those fronts, catch the light
An even, durable finish requires building it together, one careful pass at a time.
Step 4: Paint and Clear Coat the Backs First
The flip side deserves attention, and this is where my sprayer proves its value. I hit those backs with smooth, even passes; no gloopy brush marks, no regrets. After that first coat dries, I’m sanding with 220-grit, knocking down any tiny bumps like a perfectionist with a deadline. Two paint coats, then it’s clear coat time. I roll that first clear layer with a six-inch roller on flat surfaces, then more sanding with 400-grit for a baby-smooth finish. Second clear coat goes on, and I walk away. Let those backs dry overnight without touching. I’ve rushed it before and got fingerprints for my impatience. Waiting now prevents imperfections later. Your future self will benefit from this patience.

Professional non-bleed Spray Gun with Adjustable Pattern Fan Control

4 Nozzles & 3 Spray Patterns: WORKPRO 600W HVLP Spray Paint Gun comes with 4 nozzle sizes (1.5mm, 1.8mm, 2.2mm, and 2.6mm) for various painting projects, including furniture, walls, doors, tables, cabinets, and fences. The paint gun offers 3 spray patterns: horizontal, vertical, and circular, making it easy to handle projects ranging from detailed spraying to large-area coverage. Max. Viscosity: 120 DIN-S
Ideal for projects up to 5 gallons in size, allowing you to tackle a range of projects every year
Step 5: Paint IKEA Veddinge Doors vs. Trim-Added Doors
I’ll paint flat Veddinge doors with my six-inch roller, smooth as butter, front and back, with no drama or fuss. But once you add trim, I break out the sprayer, because those edges and corners will show brush marks. I prime and spray the fronts separately, wait between coats, sand lightly, then topcoat twice. More steps and more patience are required, but the final result justifies the effort.
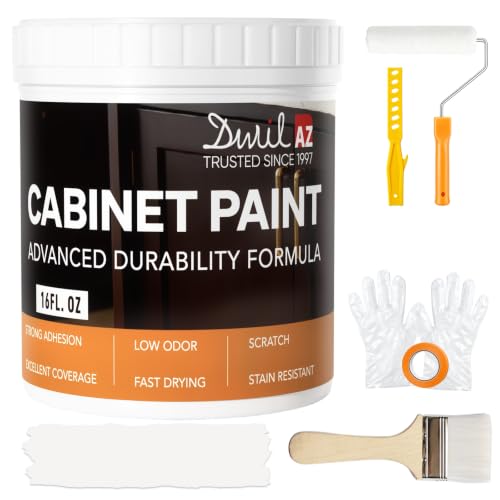
𝙉𝙊𝙏𝙀: Intentional headspace allows room for stirring, dipping, and transit. The stated paint quantity remains unchanged. If you have any questions, please contact our customer service team.

CABINET TRANSFORMATION: Refresh outdated cabinets, vanities, furniture and trim with rich Dark Gray color and a smooth semi-gloss finish

The ultimate acrylic cabinet paint for a “factory-like” finish when refurbishing kitchen and bathroom cabinets, shelving, furniture, trim, and crown molding.
Flat Door Technique
Why do flat doors feel like the ultimate cheat code? Because with the flat door technique, I’m skipping the drama entirely. When I’m painting IKEA cabinets, I grab my six-inch roller and glide across those smooth Veddinge surfaces. Front coats finish in minutes, not hours.
- Roll the fronts, roll the backs, both sides are gloriously smooth.
- Skip the spray vs brush debate for flat surfaces; rollers win here.
- Light sand between coats, keep it thin, no drips.
- Hit edges carefully, they’re sneaky buildup zones.
- Let fronts cure 24 hours before install. Patience pays.
I spray the backs for that factory finish. The real magic happens when I stop overthinking. Flat doors forgive shaky hands, celebrate shortcuts, and still look professionally finished.
Trimmed Door Complexity
Once you add trim to those flat Veddinge fronts, everything changes. Those flat Veddinge doors roll easily with a six-inch roller. Trim requires spraying instead, because those edges and curves leave telltale texture marks when you use a roller.
The prep work multiplies significantly. You’re sanding every crevice, priming twice, and managing the risk of orange-peel texture on your detail work. The process takes longer, requires more careful attention, and causes physical fatigue.
When you nail it, those dimensional front surfaces transform basic IKEA cabinets into custom pieces that feel genuinely yours. The added complexity delivers visible results. Trimmed doors represent a meaningful step beyond flat surfaces.
Step 6: Sand, Paint, and Clear Coat the Fronts
Because the cabinet boxes are done, I’m finally turning my attention to the part everyone actually sees: the fronts. This is where the magic happens or where you learn that patience makes the difference between a finish that looks custom and one that looks rushed.
- Prime those fronts first, then hit them with 220-grit for a smooth surface.
- Apply two coats of paint, spray or brush, whatever you’ve got.
- Allow dry time between coats. Walk away and let it set.
- Apply two coats clear coat, sanding lightly between coats to avoid uneven shiny spots.
- Let dry overnight before install, or the finish may be compromised.
Weather can interfere with spray days, so brushing is a reliable alternative that works in various conditions.

6 Inch Small Paint Roller Kit: 6 inch density foam paint roller cover*6, 6 inch paint tray*1, 6 inch disposable paint tray liner*4, paint roller frame*1

Foam Paint Roller Lint-free provides a smooth, seamless finish ideal for semi-smooth surfaces & use with all paints

TRIGGER POINT RELEASE - Helps gently release trigger points and loosen tight muscles for improved flexibility, especially in commonly tight areas like the back, calves, IT band, hamstrings
How Long to Wait Before Installing Cabinets
Although I was eager to reinstall those freshly painted doors and see the whole kitchen come together, rushing this final stretch is where good projects fail. I have the thumbprint smudges on a “finished” drawer front to prove it.
Here’s the real information on installation timing: your cabinets need proper drying time before they meet hardware. I wait 24 hours minimum for dry-to-touch, but full coating cure requires 48 hours before handling. For rock-hard durability, allow up to 30 days for optimal cure, though you can use them carefully after day two. Don’t skip sanding between coats, drill hardware holes mid-process, and never install until backs, fronts, and edges have two dried coats plus cured clear coat. Waiting now prevents dings later.
Fix Bubbles, Orange Peel, and Other Finish Problems
I’ve stared at enough cabinet doors to know that perfect finish is a myth we chase between coffee refills. But bubbles and orange peel? Those we can actually fix.
- Scuff factory-finish with 100-grit until it feels like suede. This provides enough tooth for primer without going bare, which would invite bubbles.
- Shellac-based primer (Zinsser BIN) blocks stains and grips laminate. Hit it with 220-grit between coats to banish bubbles.
- Two thin coats, always. Use rollers for backs and spray for fronts when possible, with 220-grit sanding between coats to smooth orange peel.
- Floetrol prevents texture issues, but maintain proper ratios or the finish will suffer.
- Topcoat wisely. General Finishes offers durability, and use polyurethane sparingly on horizontal surfaces to avoid creating new problems while solving old ones.
Care for Painted IKEA Cabinets Long-Term
How do you keep that cabinet finish looking sharp when life keeps happening? Patience pays off.
That shellac-based primer locked in the hard work. Now, be gentle with your enamel finish, wiping spills fast with soft cloths. Never use harsh scrubbers that would damage the durability you’ve built.
I added a clear topcoat (General Finishes) on high-traffic zones as a protective layer for your cabinet’s surface. Light sanding between layers, just like before, keeps everything glass-smooth.
Wait a full week before really living in your kitchen. Avoid slamming drawers and placing heavy pots against fresh paint. When nicks happen, touch them up with matching paint. Minor damage is manageable with quick repairs.
Paint Alternatives: Emerald Urethane vs. Behr vs. Advance
Long-term care is only half the battle. The paint you choose for your cabinets matters just as much.
I’ve tested these paints myself, and here’s what I learned:
- Emerald Urethane Satin is tough and gorgeous enough to skip the clear coat entirely
- Behr kept costs down on my first kitchen, though I added clear coat later when the sheen deteriorated
- Advance has a satin finish that reads nearly semi-gloss under pendant lighting
- Behr Premium Plus with clear coat provides solid durability at a lower price point
- Your paint choice determines whether you need a topcoat, so decide early.
Final Tips for Durable Painted Cabinet Finish
Why do so many painted cabinets look amazing on day one, then chip and peel by year two. I’ve stared at my own flaking edges, wondering where I went wrong.
Primer isn’t optional; it’s everything. I prime every slick IKEA surface with shellac-based bonding primer, such as Zinsser BIN or Valspar, because without that grip, you have zero adhesion and your paint becomes merely decorative. Two thin coats beat one thick application every time. I wait, sand between coats with 220-grit sandpaper, and wait again. Patience produces durability.
Skip the topcoat unless you’re rough on cabinets, then use General Finishes. Maintain temperatures between 55–85°F with low humidity, or your finish will run and drip. Apply conditions matter for lasting results.