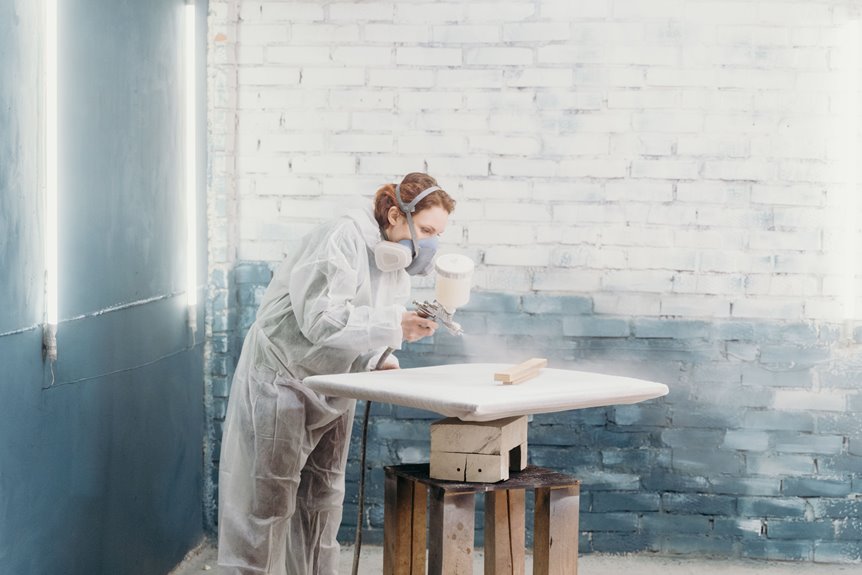
I’ve slapped leftover sage-green wall paint onto a beat-up laminate dresser and lived to tell the tale. Yes, you can absolutely use wall paint on furniture, but only if you’re willing to outsmart its thin, non-self-leveling formula with elbow grease and a few clever tricks. You’ll need to sand that slick surface, grab a bonding primer, and mix in a latex additive or DIY chalk-paint conversion so your paint actually grips instead of scratching off. Three thin coats, light sanding between them, and a water-based polyurethane topcoat will get you that velvety, wipeable finish you’re craving. Wall paint saves money and matches your walls perfectly, but skip the prep and you’ll be repainting by Christmas. The real magic happens when you know exactly which shortcuts work and which ones doom your project.
Yes, You Can Paint Furniture With Wall Paint: Here’s When
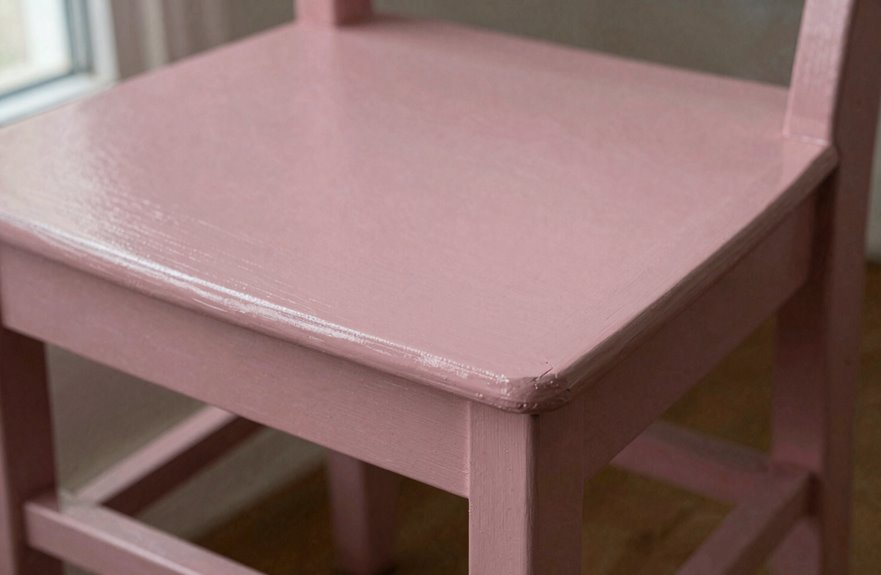
Why would I even try slapping wall paint on a dresser? Because sometimes you’ve got half a gallon of perfect sage green left from your bedroom makeover, and that sad thrifted nightstand needs refinishing.
Wall paint on furniture works when you prep properly. This means sanding, cleaning, and priming like your finish durability depends on it, because it does. Skip the primer and you’ll watch your hard work chip faster than cheap nail polish.
Enamel-tinted wall paints create a harder, more wipeable surface. Add a latex paint additive or whip up a DIY chalk-paint conversion, and you’ve got serious grip on slick laminate or previously varnished pieces. Your eclectic finds will benefit from this approach.
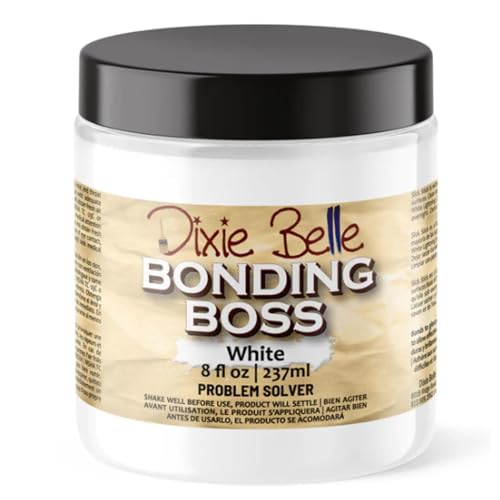
PROBLEM SOLVING PRIMER – Bonding BOSS is a water-based paint primer that blocks odors, stains, and stops bleed through. Bonding BOSS is a problem solver product and not needed for every project. In two coats, Bonding BOSS tackles tough set-in stains including permanent marker, water stains, and much more. Bonding BOSS even masks smoke odors and nicotine smells and helps slippery surfaces to have something for the paint to adhere to.

Transform dated countertops: Stone Coat Countertops Bonding Primer & Sealer creates a durable bond on slick surfaces like laminate, tile, granite, quartz, solid surface, and cultured marble, ensuring a strong foundation for epoxy applications.

Easy to Use: Even for beginners, this primer is easy to use! Just brush it on and let it dry.
Why Wall Paint and Furniture Paint Aren’t the Same Thing
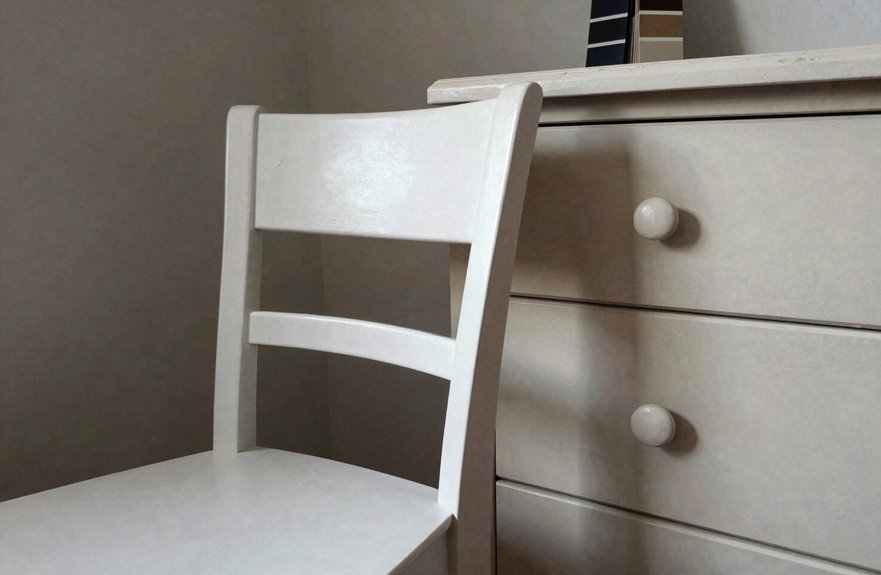
I learned this the hard way when I painted my grandmother’s vanity with leftover bedroom latex and watched it turn into a sticky, fingerprint-magnet disaster within a week. Wall paint and furniture paint are built totally differently. Wall formulas are thinner, they don’t self-level (hello, brush strokes for days), and they lack the hardened resins that let cabinet paints shrug off coffee cups and keys without chipping. That’s why I now prime everything, even when I’m impatient, because skipping prep means you’ll be sanding it all off later while muttering words your neighbors shouldn’t hear.

IMPROVES PAINT FLOW & LEVELING: Floetrol latex paint additive conditions acrylic and latex paint so it flows smoothly, self-levels, and dries to a professional finish without thinning.

LATEX PAINT THINNER: Wagner Paint Easy is a latex paint conditioner that thins water based latex paints without diluting for trouble-free spraying, easier brushing or rolling

<p>Waste Away Paint Hardener is an environmentally-friendly paint management solution that turns liquid paint solid for curbside disposal. Works with latex and acrylic paints and stains. Less mess and less effort than painting out or drying up. No need to use newspaper, kitty litter, or sand. Works great on spills too. Just mix, stir, and dispose of solidified paint. Hardens up to 2/3 of a gallon (2.5L) in 15-20 minutes.</p><br><p><b>Standard/Approvals:</b> OSHA 29 CFR 1910.1200</p>
Paint Formulation Differences
I grabbed that leftover eggshell from my hallway and slapped it onto my grandmother’s side table, thinking paint is paint. That assumption was incorrect.
Wall paint, even water-based paint marketed as acrylic enamel, isn’t formulated for furniture. It’s thinner, not self-leveling, and needs more coats to look smooth. Most lack primer entirely, or claim it’s built-in, which messes with adhesion on slick surfaces. Primer is essential for proper bonding. Without it, you’re asking for chips and peels.
Even those “all-in-one” wall paints perform inconsistently. Some need light scuffing, others require dedicated primer. For high-traffic pieces, you’ll need a topcoat for adequate durability. That side table would have benefited from proper furniture paint and preparation methods.
Surface Preparation Requirements
Because I learned the hard way that paint doesn’t just stick because you want it to, I’m going to walk you through exactly what I wish I’d known before ruining that side table.
Wall paint lacks the primer that furniture paint has built-in, so you’ve got to do the prep work yourself. No shortcuts. First, I clean every fingerprint and silicone residue off that surface. Then I sand, sand, sand. Not to bare wood, just enough to rough it up so the paint has something to grab. Priming isn’t optional here; it’s your adhesion insurance. Skip it, and you’ll watch your finish peel like a bad sunburn. Bonding primer, the stinky stuff, makes all the difference. Do the work now, or the finish will fail later.
Prep Like a Pro: Sanding, Cleaning, and Priming Basics
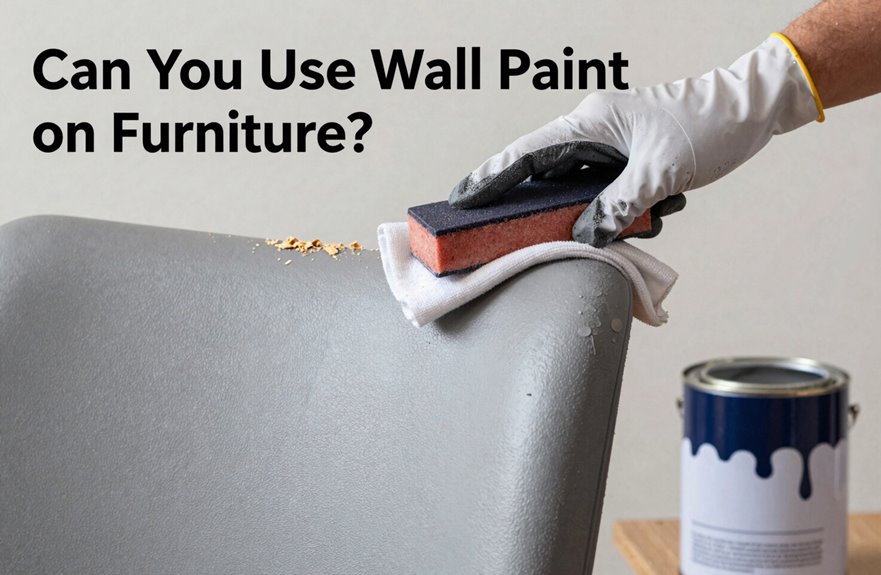
Why does that gorgeous thrifted dresser look like a peeling sunburn after six months? Skipping the sacred trinity of sand, cleaning, and priming is why.
First, grab your Festool Random Orbit Sander and create some serious grip on that surface. For bare wood, sand with the grain using medium-grit, then vacuum thoroughly. Next comes cleaning with KrudKutter, because that vintage find probably lived through decades of Pledge abuse, and silicone prevents paint adhesion. Lightly scuff any glossy existing finish too.
After all that dust, use a tack cloth. Then priming seals the deal. Skip these steps and your paint won’t adhere properly.

Turns any water base paint into a durable matte finish that can be easily distressed and waxed to create an antique look

Calcium Carbonate (Powdered Crushed Limestone) Paint Additive
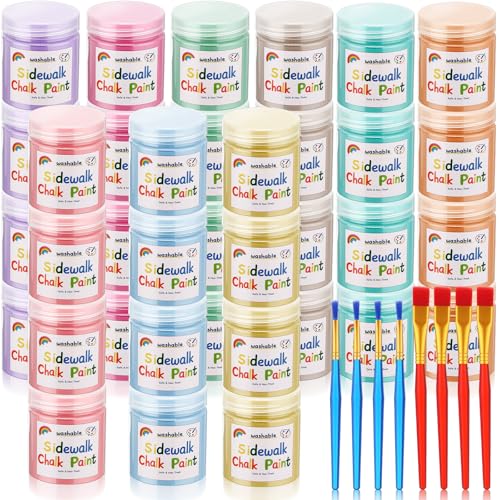
Sidewalk Chalk Paint Set: this sidewalk chalk paint set includes 9 non-toxic, washable powdered chalk; Just mix with water to create custom chalk paint, and use the two included paintbrush sizes to express your creativity outdoors
Smooth Finish Techniques for Wall Paint on Furniture
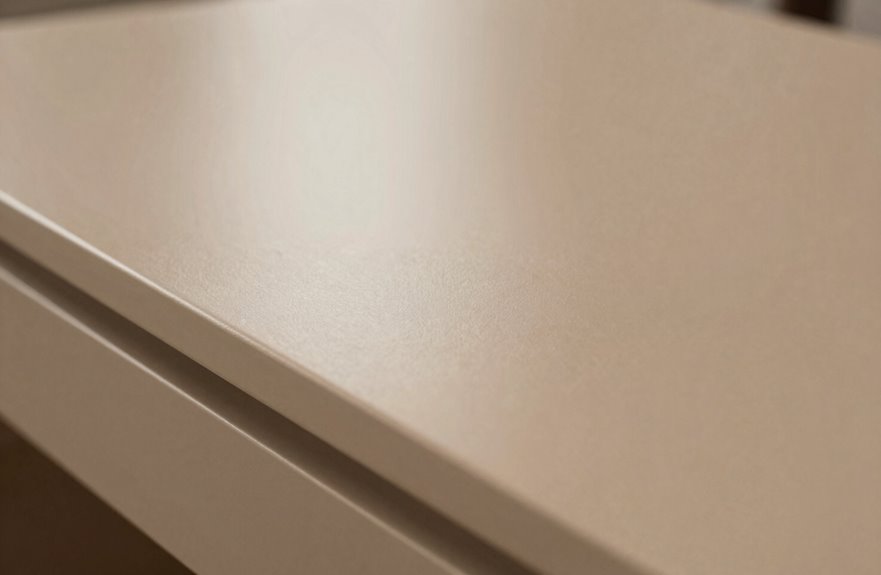
I’ve learned the hard way that wall paint on furniture needs some serious backup to look anything but streaky and sad. I always prime first, which provides adhesion insurance, especially on slick laminate or old varnish. Then I mix in a paint conditioner like Floetrol, which keeps brush marks from drying into permanent ridges. I sand lightly between coats too, usually with 220-grit, because that velvety surface is what separates a rushed job from a professional-looking finish.
PROTECT WOOD SURFACES – Minwax Polycrylic Protective Finish protects and adds beauty to your interior wood projects, including woodwork, furniture, doors and cabinets. The clear top coat protects against scratches, spills, dirt and more.

PROTECT WOOD SURFACES – Minwax Polycrylic Protective Finish protects and adds beauty to your interior wood projects, including woodwork, furniture, doors and cabinets. The clear top coat protects against scratches, spills, dirt and more.
PROTECT WOOD SURFACES – Minwax Polycrylic Protective Finish protects and adds beauty to your interior wood projects, including woodwork, furniture, doors and cabinets. The clear top coat protects against scratches, spills, dirt and more.
Prime Before Painting
How exactly do you get wall paint to stop acting like wall paint on your favorite dresser? Priming isn’t optional. It’s the foundation that enables smooth finishes.
Preparation changes everything. Clean the surface, sand lightly, then apply primer. That coating creates the adhesion wall paint needs on furniture. Without it, paint peels like bad sunburn. I’ve watched this happen to thrifted nightstands.
Match your primer base to your paint type, brush with the grain in thin layers, and that “wrong” paint transforms. Even when creating chalk paint effects, prime first. Your eclectic piece deserves this foundation.
Add Paint Conditioner
Where does wall paint go wrong on furniture? It dries too fast, shows every brush stroke, and refuses to self-level like furniture paint does. I’ve been there, staring at streaky latex paint that looks like a toddler’s art project.
Paint conditioner solves this problem. I add it to my latex paint and gain working time, flow, and leveling before the paint sets. It transforms wall paint to perform like furniture paint without the specialty store price tag.
Here’s what paint conditioner actually does for us:
- Extends open time so you can actually blend edges
- Improves leveling so brush marks disappear
- Helps with adhesion on tricky surfaces
- Creates that smooth, pro finish we’re all chasing
This product belongs in your toolkit.
Sand Between Coats
Why does my “perfect” coat of paint feel like sandpaper under my fingertips? I’ve been there, staring at my nightstand, wondering where I went wrong.
The solution is sanding between coats. I grab fine-grit sandpaper, 220 grit, nothing aggressive, and lightly scuff that surface. It feels wrong, I know. But this creates microscopic grooves, giving the next coating something to grip. That’s adhesion.
I dust everything with a tack cloth, wait hours between layers (patience isn’t my virtue, but I fake it), and watch the magic happen. Before that final top coat, I wipe with a damp cloth, removing every speck. The result is glass-smooth furniture that doesn’t scream “I used leftover bedroom paint.”
Prime or Skip It? Additives That Help Wall Paint Stick

When I’m staring down a dresser that desperately needs a facelift, I always wonder: should I prime first, or can I cheat? Wall paint on furniture without prep is like wearing socks with sandals. Technically possible, but not recommended.
Primer isn’t just busywork; it’s essential for adhesion that keeps your project from chipping. Additives like BB Frosch transform ordinary latex into furniture-grade paint, giving you better grip without the full priming step.
Here’s my battle-tested checklist:
- Clean that surface thoroughly
- Sand until it feels like a cat’s tongue, rough but purposeful
- Prime if you’re using standard wall paint
- Mix in additives for extra adhesion on tricky pieces
These steps prevent paint failure and ensure a durable finish on furniture surfaces.

Includes 30 featured and newest released color card. Sprayed on color to see our colors in your homes lighting for more accurate color choices.

Includes 30 featured and newest released color card. Sprayed on color to see our colors in your homes lighting for more accurate color choices.
All-surface uniquely formulated paint solution: Easily refinish furniture, cabinets, countertops, doors, trim, floors and more
Topcoats That Protect Wall Paint on Furniture
Even though I’ve spent hours priming and painting that vintage credenza, I’m not done yet. Wall paint on furniture is a beautiful, fragile finish until you seal it. I’ve learned this through experience, watching my “perfect” matte nightstand collect scratches quickly.
A topcoat provides the protection needed. For durability that lasts through coffee spills and daily life, water-based polyurethane works well over water-based paints, and oil-based topcoats work over oil paints. The adhesion matters here; mismatching them will cause peeling. I brush on three thin coats, sanding lightly between each one and following the can’s instructions carefully. That extra effort prevents costly refinishing later.

Exterior/interior use, great for galvanized steel, wrought iron, railings, furniture, laminate, PVC, porcelain, masonry, glazed brick and more

PROBLEM SOLVING PRIMER – Bonding BOSS is a water-based paint primer that blocks odors, stains, and stops bleed through. Bonding BOSS is a problem solver product and not needed for every project. In two coats, Bonding BOSS tackles tough set-in stains including permanent marker, water stains, and much more. Bonding BOSS even masks smoke odors and nicotine smells and helps slippery surfaces to have something for the paint to adhere to.

PROBLEM SOLVING PRIMER – Bonding BOSS is a water-based paint primer that blocks odors, stains, and stops bleed through. Bonding BOSS is a problem solver product and not needed for every project. In two coats, Bonding BOSS tackles tough set-in stains including permanent marker, water stains, and much more. Bonding BOSS even masks smoke odors and nicotine smells and helps slippery surfaces to have something for the paint to adhere to.