You absolutely can spray paint furniture, and I’ve rescued everything from a water-stained particle board nightstand to my neighbor’s cast-off wicker chair with nothing but a few cans and some patience.
Unfinished wood, laminate, metal, even that weird composite stuff from big-box stores, it all takes paint beautifully if you prep right. I’m talking sanding, priming, thin coats, the works. My first dresser looked like orange peel texture because I rushed, but now glass-smooth finishes result from following proper technique. The secret isn’t magic; it’s method, and I’ve learned exactly which tricks separate disaster from professional-looking results.
Which Furniture Types Can You Actually Spray Paint?
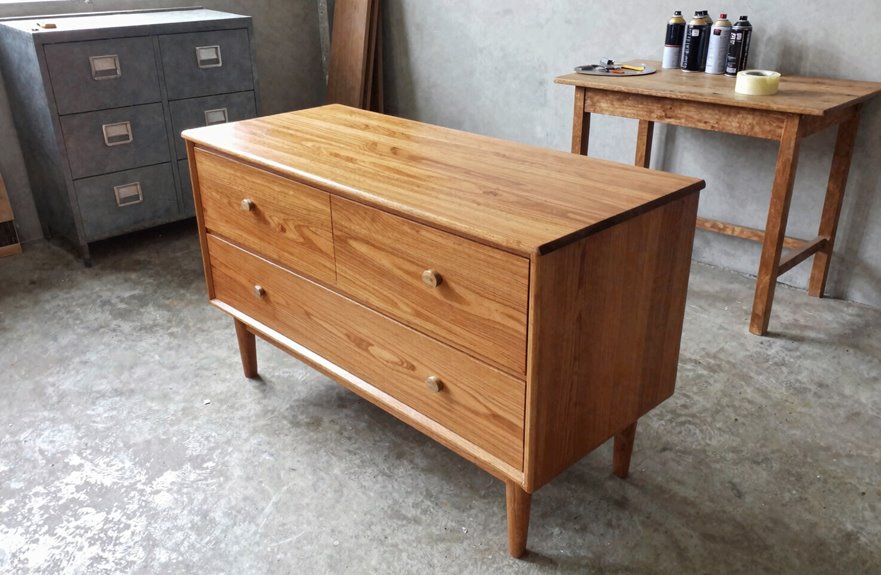
I’ve spray-painted everything from a wobbly thrift-store nightstand to my grandmother’s cast-iron patio set. Most furniture can take a can of paint if you treat it right. Spray paint works on nearly everything: unfinished wood, glossy laminate dressers, and rusty metal chairs.
Prep work is essential. You need sanding, cleaning, and priming. Don’t skip priming; skipping it causes peeling. Apply four to five light coats, letting each dry between applications, to build a factory-smooth finish. Particle board, wicker, and hardware accents all work well with spray paint.
Spray, Brush, or Roller: Pick Your Method Before You Start
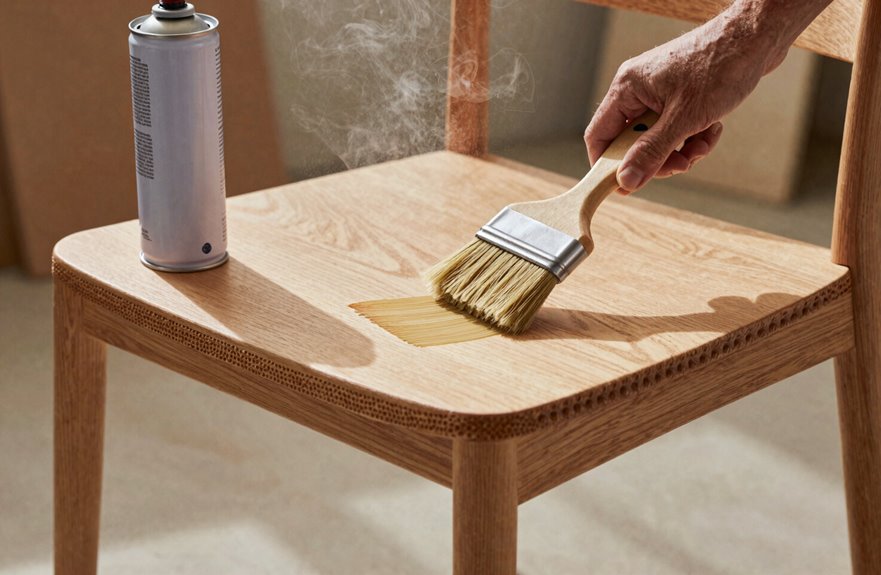
Why does picking your painting method feel like choosing a wedding venue? Everything rides on it, and you’re suddenly second-guessing every instinct.
Spray paint conquers those impossible carved legs and curved arms where a brush would stumble and a roller simply can’t reach. It lays down whisper-thin, glass-smooth layers that make high-gloss finishes look exceptional. For broad tabletops, a roller covers ground fast, though you’ll fight those telltale stroke marks.
Oil-based sprays grip with minimal surface prep, while water-based options spare your lungs and cleanup time. A practical approach combines spray for the intricate bones to create a flawless base, then brush on your finish coat for maximum durability. This hybrid method produces custom-quality results without compromising performance.
Prep and Prime Spray-Painted Furniture to Prevent Peeling
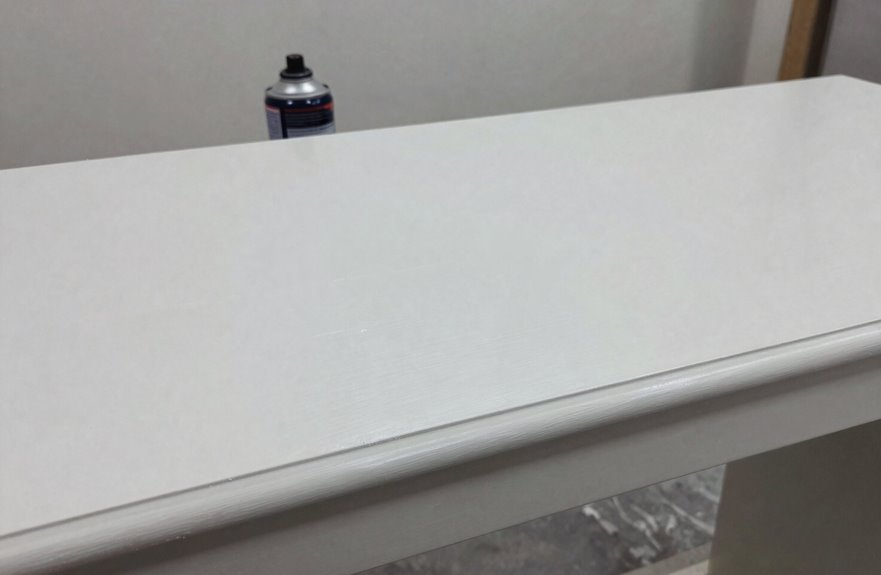
Before you even think about that first satisfying hiss of spray paint, you’ve got to get your hands dirty—literally—because skipping prep is like building a house on wet sand.
I start by yanking hardware and drawers, then hit every surface with 320-grit sandpaper to create tooth, that microscopic roughness your primer can actually grip. Glossy laminate. Don’t panic. Grab a deglosser to kill that shine, or sand until it’s dull like my uncle’s dinner stories. Wipe everything with a tack cloth, those sticky cheesecloth wonders, because dust is the enemy of adhesion for spray paint.
Now the magic: spray primer, held about ten inches back, two thin coats with sanding between coats each time. Wait for it to dry completely. No tackiness, no shortcuts, and spot-prime any bare patches. When you skip these steps, your finish will peel within months.
How to Spray Paint Wood, Metal, and Wicker Step-by-Step
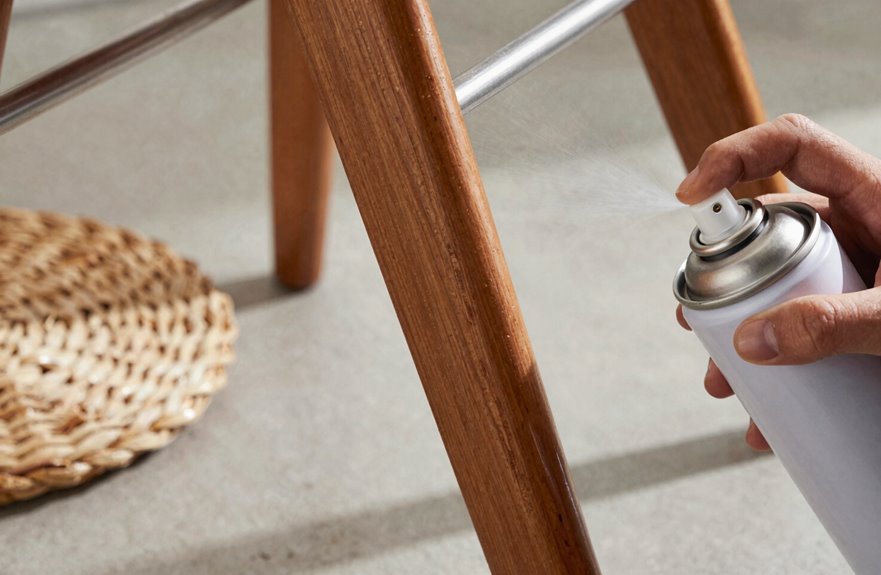
So here’s where the rubber meets the road, or rather, where the nozzle meets the nightstand. I’m about to walk you through the actual spraying, and I’ve botched enough pieces to know exactly what not to do.
First, clean every furniture piece thoroughly, remove hardware, and hit it with light sanding. That texture grabs primer effectively. Apply two coats of primer (Kilz Original is recommended), sand lightly between coats, and wipe the dust away.
Now for spray paint application. Hold the can 10–12 inches away, building 4–5 whisper-thin coats. Rushing equals drips, and drips equal surface damage. Sand with 320-grit between color coats, tack-cloth the dust, then seal with a clear topcoat. Matte, satin, or glossy finishes are all viable options.
Seal Your Spray-Painted Furniture: Prevent Chips and Scratches
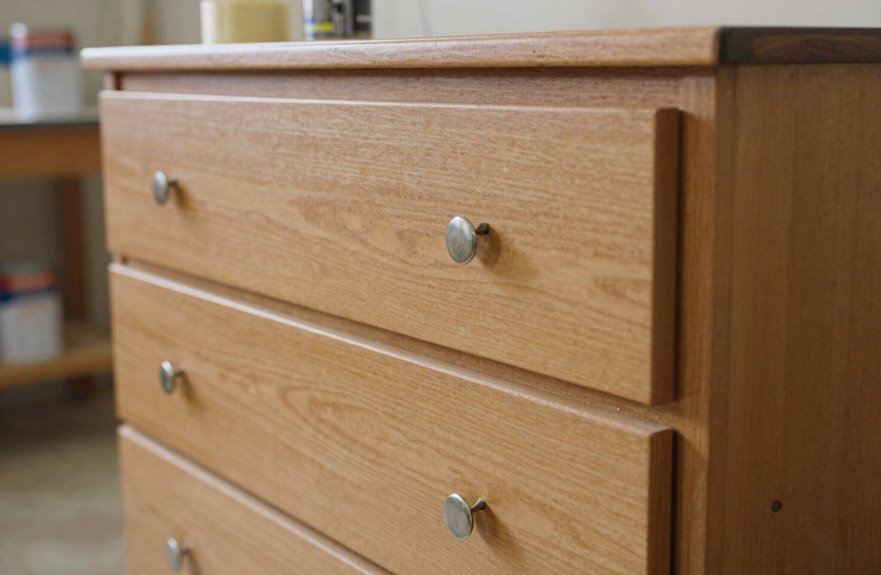
I’ve learned the hard way that skipping the sealer invites your hard work to chip off by Tuesday. I’ve cried over coffee tables.
A clear topcoat is your furniture’s armor, your protection against life’s chaos. I grab my sealant and commit to about three coats, buffing lightly between each one for that glass-smooth finish that feels expensive. For durability that actually lasts, I brush on my topcoat rather than spraying; spray sealers can go splotchy on certain finishes, and nobody wants that patchy look.
Pick your sheen like you’re choosing a personality. Matte whispers sophistication, gloss shouts glamour, and satin is that perfect middle ground we all secretly crave. Inspect under bright light, catch those tacky spots, and fix drips fast. Your future self, the one still admiring that flawless surface months later, will have protected your investment with proper sealing.