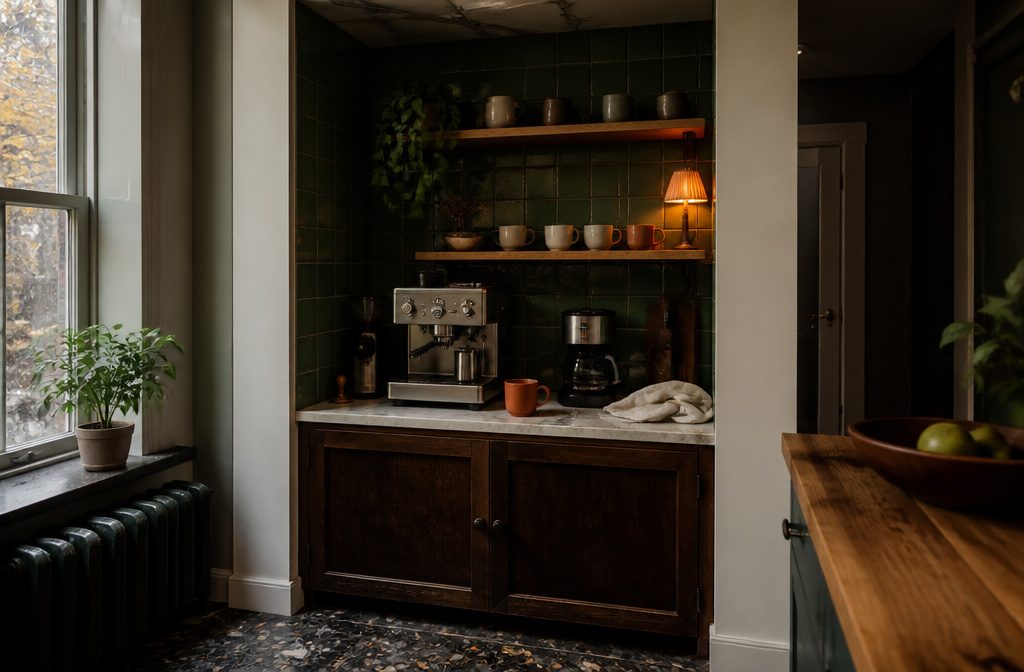
A dedicated home coffee station pulls your morning routine into one spot and takes a counter corner or a cart to start, though espresso setups need more clearance than drip machines and taller dual-boiler units might not clear standard cabinets.
The Moccamaster KBGT runs $350 and brews around ten servings at once; the Breville Barista Touch sits at $1,000 with built-in grinding and programmable drinks.
1. Pick a Spot and Surface That Fits Your Kitchen
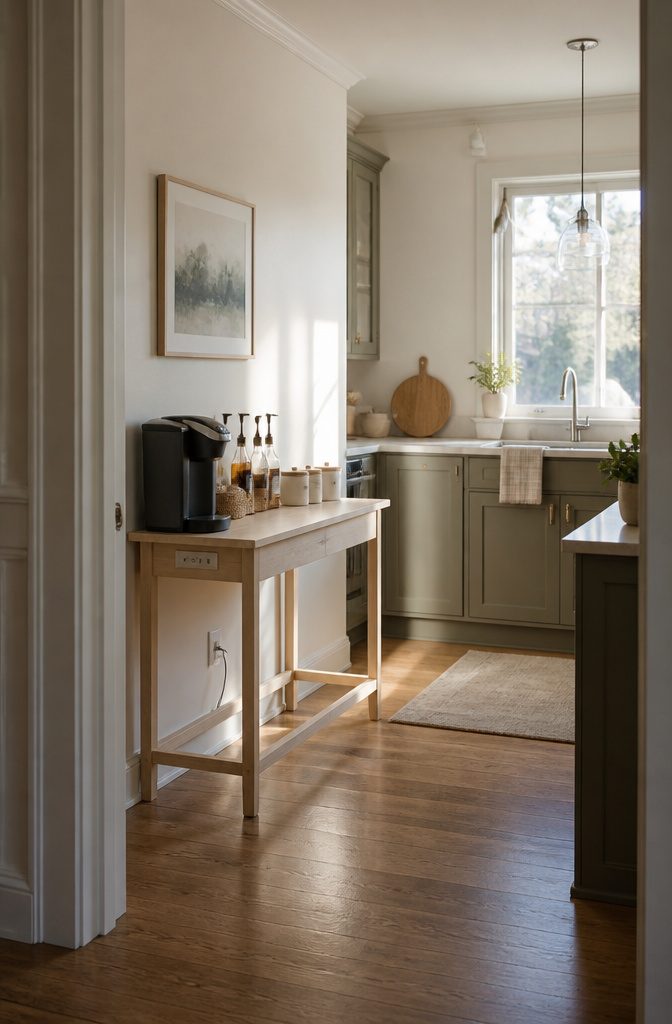
The first question is where the station will actually work rather than where it might look best. A countertop corner near an outlet and the sink keeps the routine tight if counter space allows.
If the counter is already full, a cart or sideboard gives you a surface and storage without giving up prep area. Both options keep everything mobile if you need to reclaim the space.
Smaller kitchens often mean choosing between counter real estate and a dedicated spot.
An accent cabinet with shelving inside works well for apartments where every inch counts. A writing desk with a light frame takes up less visual room and still holds a coffee maker and syrups, though you lose enclosed storage.
The desk also gives you a USB port built in, which solves the charging problem if outlets are scarce.
Cabinet availability matters if you plan to keep beans, filters, and sweeteners off the counter. If you prefer the canisters visible, you need less cabinet space but more surface depth to avoid crowding the machine.
2. Choose Your Brewing Method and Core Equipment
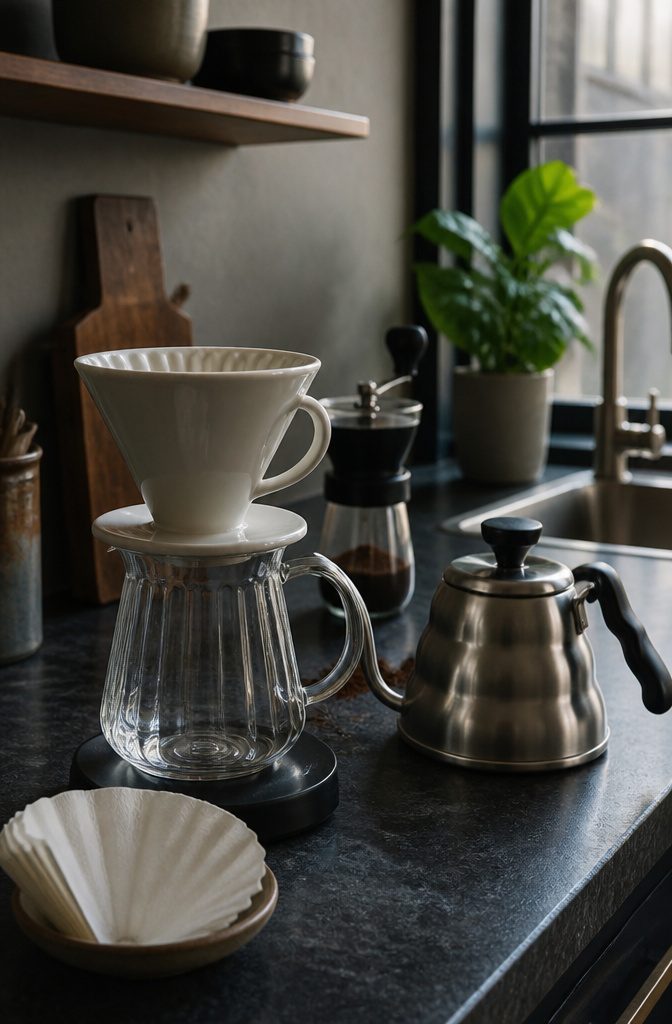
The brewing method is what decides the rest of the setup, so start there.
Drip machines work for busy mornings or brewing multiple cups at once; the Moccamaster KBGT Thermal Coffee Brewer runs around $350, makes about six full cups or around 10 servings, and keeps coffee hot in an insulated carafe.
For espresso drinks, the Breville Barista Touch sits around $1,000, grinds beans on demand, and offers eight personalized beverage spots with single or double shot options. French press delivers a bolder, full-bodied cup since grounds steep longer.
Pour-over gives you control over extraction and highlights complex flavors; the Origami Air S dripper works with both flat-bottom and cone filters, and the Stagg EKG Pro Studio kettle heats water fast and holds temperature.
AeroPress stays compact and versatile, good for tight spaces. Speed, available time, and counter footprint all factor in.
A grinder is non-negotiable if you want fresh-ground flavor; the Ode Gen 2 offers precise settings and a magnetic base to catch spills. Filters and water access round out the essentials.
3. Add Storage to Keep Supplies Accessible
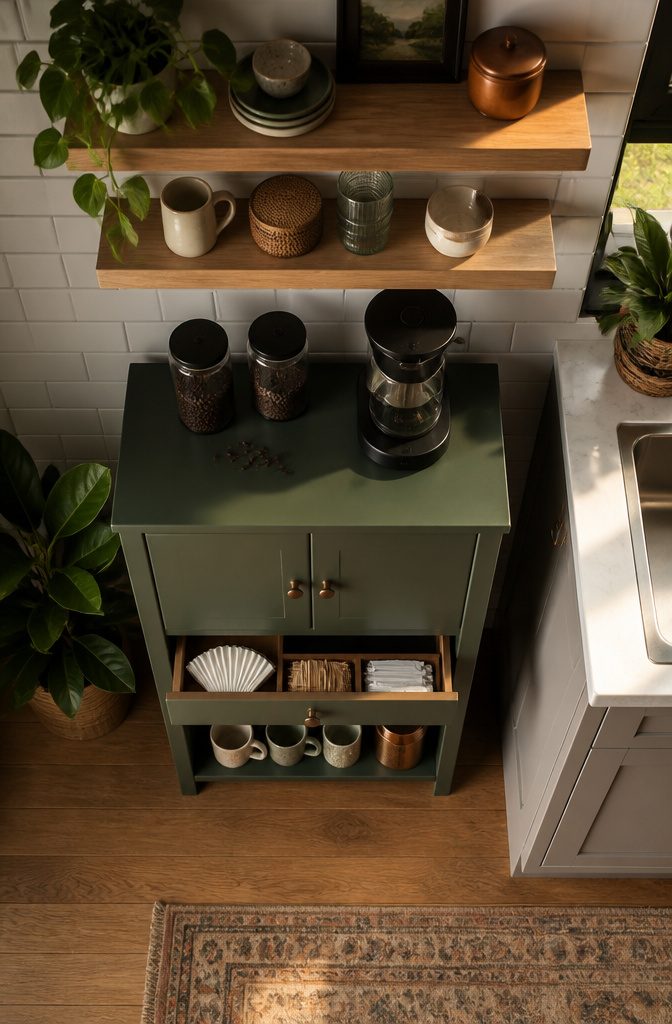
Storage solves two problems at once: it keeps beans fresh and puts mugs where you can reach them without walking across the room.
Floating shelves, compact cabinets with pull-out drawers, and rolling carts all work, and the choice usually comes down to how much floor space you can spare.
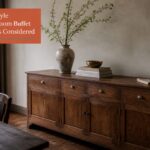
A sideboard gives you a wide surface for the brewer plus enclosed storage below for syrups and sugar.
I like the Jaidon Sideboard for that—two storage compartments behind mirrored doors with adjustable shelves inside, so tall bottles and short jars both fit.
Smaller spaces do better with an accent cabinet. The Dumas 2-Door Accent Cabinet has a narrower footprint, an open bottom shelf for mugs or decorative tins, and two USB power ports built into the side.
The Cerqueira Writing Desk takes even less room and includes a USB port, though you lose the enclosed storage.
Mount shelves if you go that route, but paint or seal them first. Coffee cups leave rings on raw wood.
Airtight containers keep beans protected from light and air. Use drawers or small caddies for filters and sugar packets so they stay organized in one spot instead of migrating across the counter.
4. Stock Coffee, Mugs, and Drink Supplies
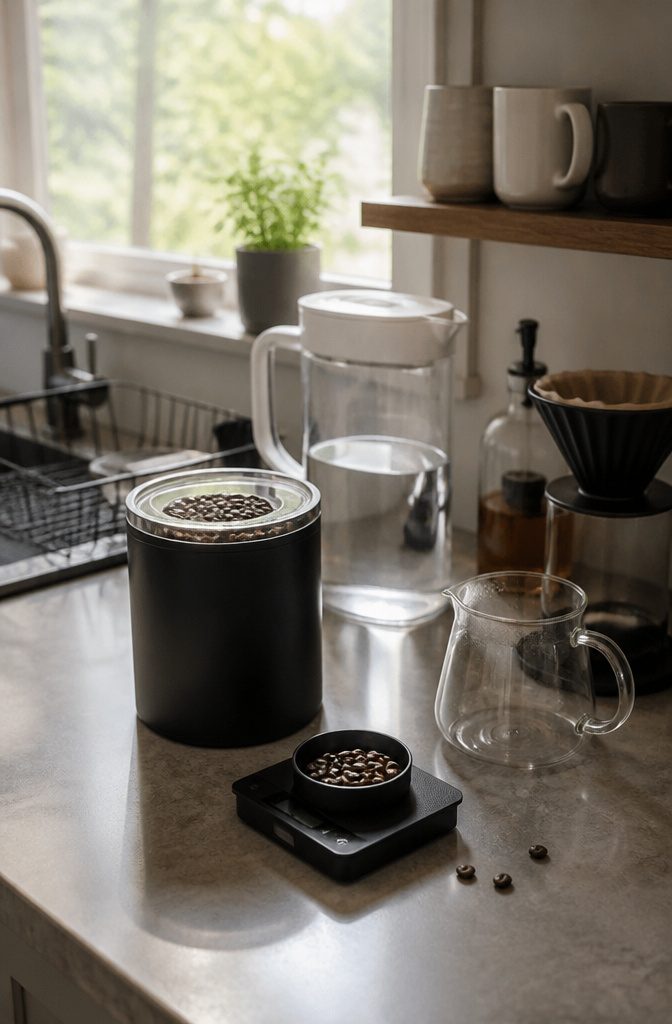
I keep whole bean coffee in an Atmos Vacuum Canister after the beans rest in their original bag for a few days.
Freshly roasted beans need that window before sealing — skip anything one or two days old, and anything past three weeks has already lost what made it worth buying.
The canister keeps out heat, moisture, light and air, which means the coffee I open on Friday still tastes like what I smelled on Monday.
The brew ratio is 16 grams of filtered water to 1 gram of coffee.
For a full 1.25L Moccamaster carafe, that works out to about 66 grams of coffee. I filter my water through a LARQ PureVis Pitcher — it uses UV-C light to remove bacteria and soften tap water without a reverse osmosis setup.
Mugs live on a small shelf near the sink, and I keep filters, spoons and sweeteners within arm’s reach of the machine.
If you want syrups, 1883 Maison Routin holds up better than grocery-store bottles. A coffee subscription like Mistobox rotates in new roasters without the guesswork, which matters if you are still figuring out what you like.
5. Personalize the Look to Match Your Home
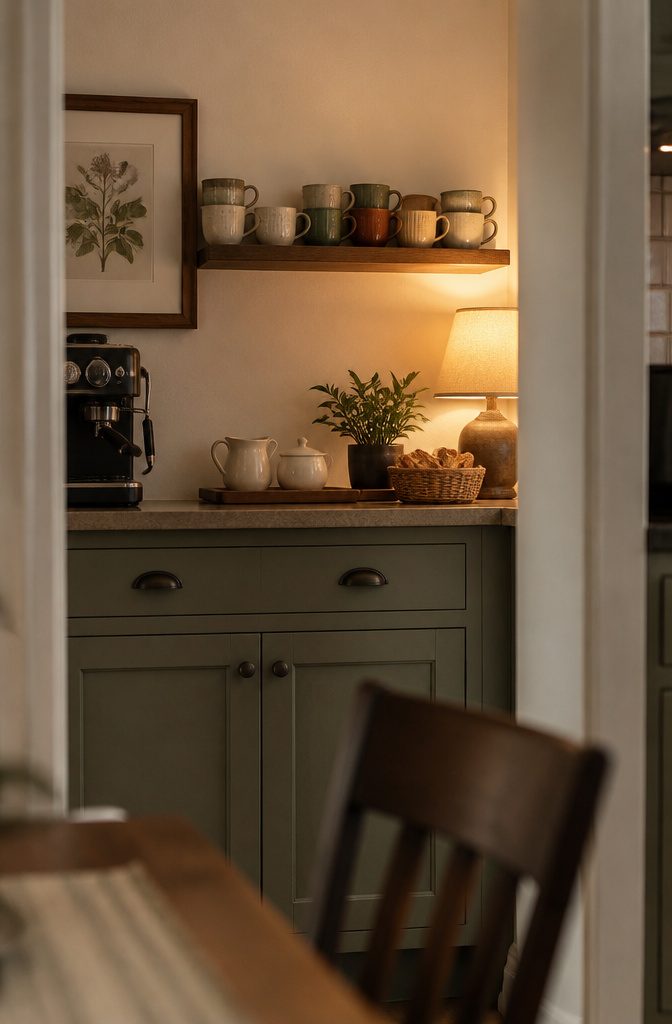
Displayed mugs are the fastest way to match a coffee station to the rest of your home.
Pick a single color that plays off your kitchen palette and buy multiples, or build a mismatched collection that leans sentimental. Both work.
The uniform route reads cleaner; the mismatched route gives you more personality. I lean toward uniform in a modern kitchen and mismatched anywhere with vintage pieces already in play.
Wall art or a small sign can tie the station into your décor style without much work.
A neon sign fits a modern or boho home, a vintage pennant works in a cottage kitchen, and a framed coffee-themed print suits most spaces.
Hang it centered above the station or off to one side if the wall is shared with other elements.
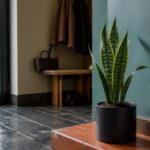
Plants, decorative trays, and small containers for beans or stirrers add layers without crowding the counter. Stage your cream pitcher and sugar bowl on a tray for height, or set flavoring bottles on a short stack of books.
A small basket holds biscotti or napkins and keeps disposables from cluttering the workspace. Under-cabinet lighting or a nearby lamp adds ambiance if the station sits in a dim corner.
6. Arrange the Station for a Smooth Workflow
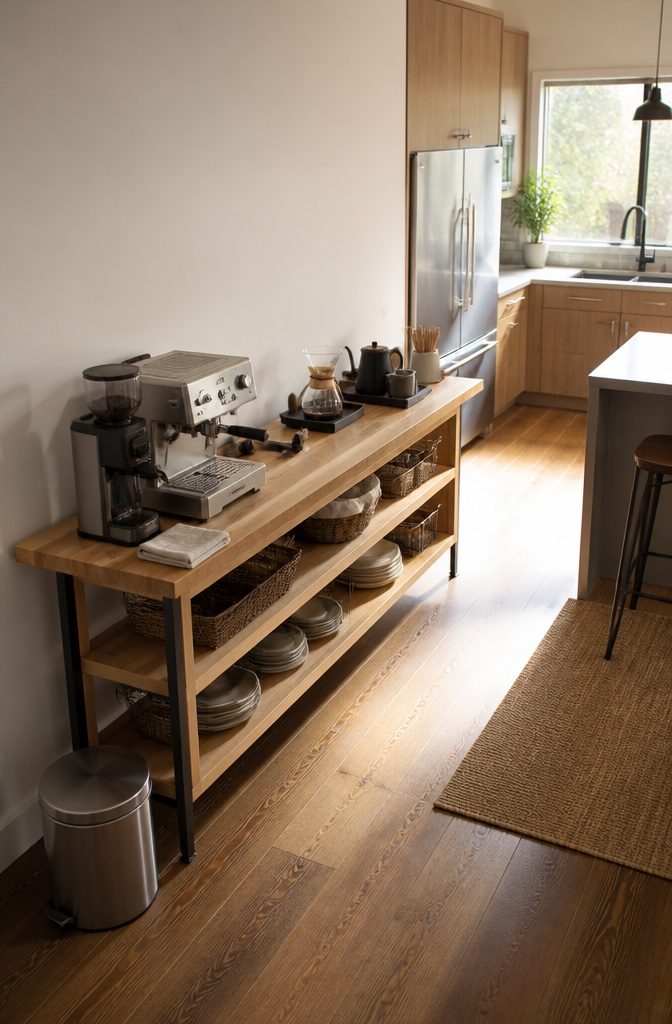
Place your machine, grinder, and mugs in one direction along the counter so you’re not crossing back and forth while you brew.
Martinez-Aleman of Abogados Cafe says to work left to right or right to left, never both: the back-and-forth slows you down and makes mistakes more likely.
I kept my espresso setup on the left side of the cart, close to the sink, fridge, and waste bin. Filter gear went right, and the middle stayed open as a work surface for either method.
If you entertain, the station doubles as a wine bar later in the day. Keep napkins and stirrers in containers instead of leaving them loose, and tuck a small trash receptacle at the side or below the bar.
A plate of cookies or a basket of biscotti makes guests feel at home, and the setup keeps beverage supplies organized without spreading them across the kitchen.
Add a Sink or Small Refrigerator for a Full Setup
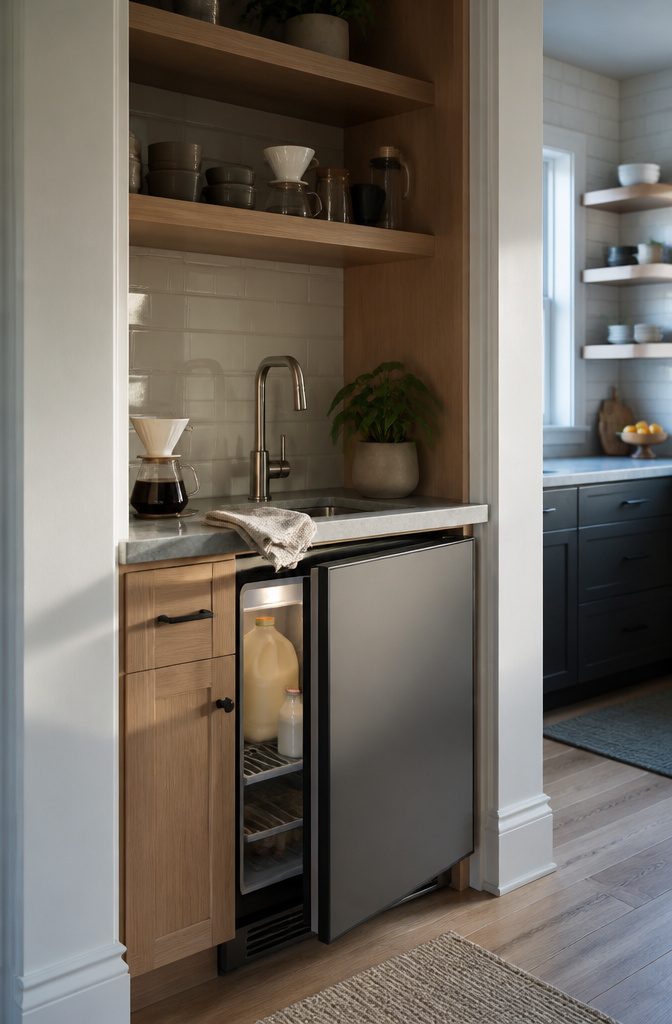
If the counter setup already feels permanent and you want the coffee station to work without shuttling milk from the main fridge or refilling kettles from the sink, a mini refrigerator and a filtered hot-water faucet let you build a fully self-contained bar.
A compact refrigerator fits under the counter or next to a cabinet and holds milk, creamers, and cold drinks without claiming kitchen fridge space.
The instant hot-water faucet installs at a small prep sink and delivers filtered water at the right temperature for pour-over, French press, or tea, cutting out the kettle step entirely.
Neither addition is required to make a coffee station work, but both pull the routine into one spot when you have the counter depth and plumbing access to support them.
The cost and install complexity jump, so these upgrades make the most sense when the station is permanent rather than a short-term arrangement.
Build a Mobile Cart From a Sideboard
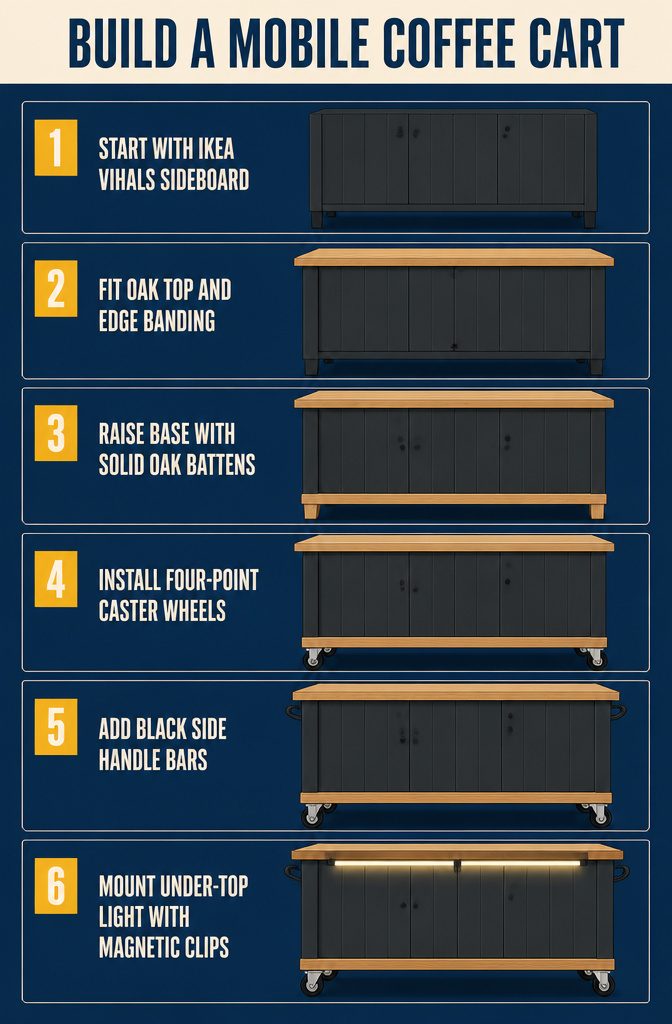
- Start with the IKEA Vihals Sideboard as your base. It gives you storage and a footprint that fits beside a counter without blocking traffic.
- Cut white oak plywood for the top surface, then apply white oak edge banding around the perimeter. I finished mine with General Finishes High-Performance Flat to match the wood tone and protect against spills.
- Attach solid red oak battens along the base. These lift the sideboard off the floor and give clearance for the caster wheels.
- Install caster wheels at each corner. If I were building again, I’d use casters that attach at four points instead of one — there’s enough weight on a loaded cart that a single attachment point flexes more than you want.
- Add black handle bars to the sides so you can pull the cart where you need it: next to an outlet for the grinder, under better light for pour-over, or out of the way when guests arrive.
- Mount a 4ft Pavotube light under the top with magnetic clips. Control it through the Nanlink app, and plug it into a surge protector with rotatable sockets so the brick does not block adjacent outlets.
Build a Farmhouse Coffee Bar From a Table
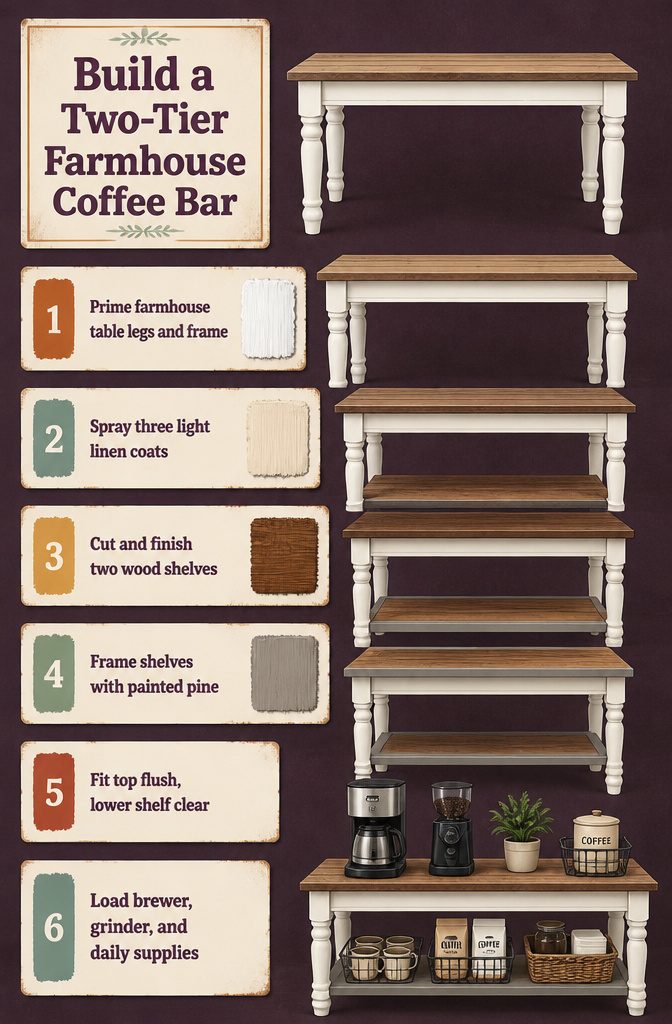
- Start with a farmhouse table as the base — something sturdy with turned legs, ideally unfinished or lightly stained so the paint takes well. Clean it down and apply a coat of Zinsser 1-2-3 Bullseye primer to the legs and frame.
- Spray the legs and base with three light coats of Rustoleum Chalked Spray Paint in Linen White, letting each coat dry 30 minutes. Seal with two coats of Rustoleum Painter’s Touch Matte Clear.
- Cut two wood panels: a top shelf at 16 inches by 48 inches and a lower shelf at 12 inches by 48 inches. Stain both with Varathane Early American, then apply three coats of Polycrylic satin finish.
- Frame the shelves with 1 × 3 select pine, painting it Behr Ultra Satin Toasty Gray. If you want a sign board, use 1 × 12 × 4 select pine; for a face plate below the top shelf, rip a 1 × 6 down to 1¾ inches wide.
- Install the top panel flush with the table surface and the lower shelf at a height that clears your tallest coffee bag or grinder.
- Load the station with your brewer, grinder, and daily supplies. The two-tier layout keeps mugs and beans accessible without crowding the work surface.
Plan Your Espresso Setup for Counter Fit and Workflow
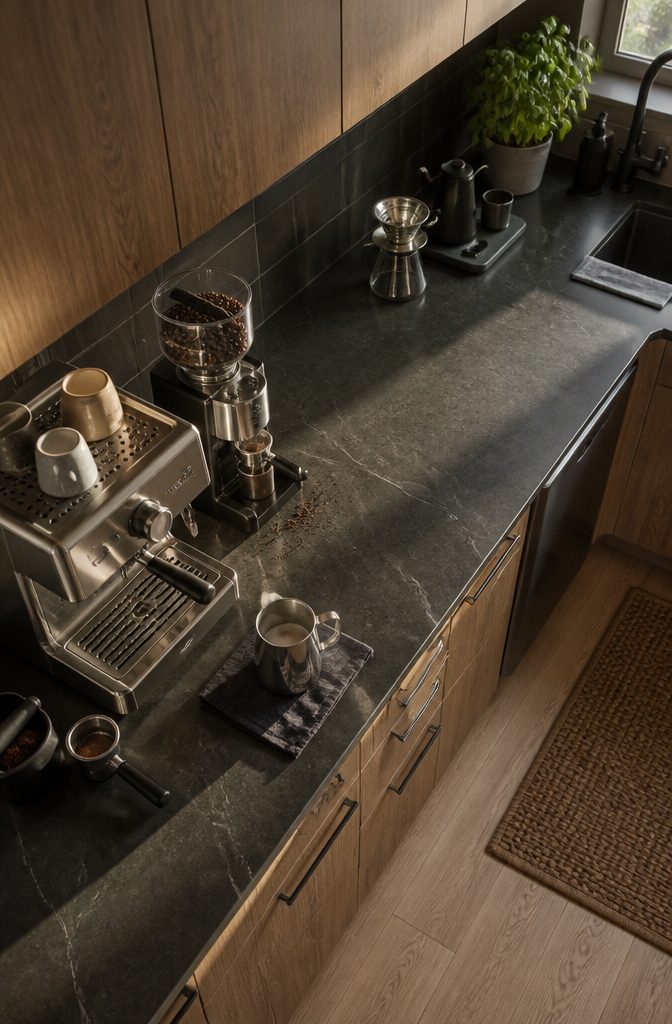
Espresso takes up more counter than drip, and the layout decides whether you wrestle with it or it just flows.
I measure the full footprint first: the machine itself, the grinder beside it, and enough clearance for a portafilter to swing out and a milk pitcher to sit within reach.
Most home espresso machines fit under standard American cabinets, but a few dual-boiler units run taller, so I cross-reference dimensions before committing to a spot.
The grinder matters as much as the machine.
The Eureka Mignon Specialita is compact and quiet, the Mahlkönig X54 and Fiorenzato AllGround handle higher volume if you pull shots for a crowd, and the Baratza Virtuoso+ or Baratza Encore work for filter coffee alongside espresso.
I place the grinder close enough that grounds go straight into the portafilter without crossing back over the machine.
For the machine, the Breville Bambino Plus or Breville Barista Express Impress cover single shots and milk drinks without claiming the whole counter.
The LUCCA X58 is the step up: compact, powerful, available in stainless or matte black with walnut accents, and built to steam café-quality milk for one latte or six.
Single-boiler machines suit straight espresso; heat exchanger or dual-boiler suits lattes and cappuccinos without the wait.
I work in one direction to cut the back-and-forth.
Espresso setup on the left, filter setup on the right, sink and waste bin within a step of both. The center stays open as the work surface for either method.
Frequently Asked Questions
How do you set up a coffee station at home?
Pick a spot near an outlet and sink, choose your brewing method and core equipment, add storage for beans and mugs, and stock coffee with supplies like filters and sweeteners.
Arrange everything in one direction along the counter so you move left to right or right to left, not back and forth. A cart, sideboard, or corner of counter space all work depending on your kitchen layout.
How do you like your coffee?
Start by picking a brewing method that fits your routine and taste.
Drip machines handle busy mornings or multiple cups, espresso machines suit lattes and cappuccinos, French press delivers bold flavor, pour-over gives you control over extraction, and AeroPress stays compact.
A burr grinder, fresh beans, and filtered water are non-negotiable for quality.
Are coffee bars still in style?
Yes, home coffee stations remain popular because they deliver café-quality drinks without leaving the house and double as a functional bar for entertaining.
Match the design to your kitchen with uniform or mismatched mugs, wall art, and small decorative touches like plants or trays. The setup works year-round and adapts to wine service later in the day.