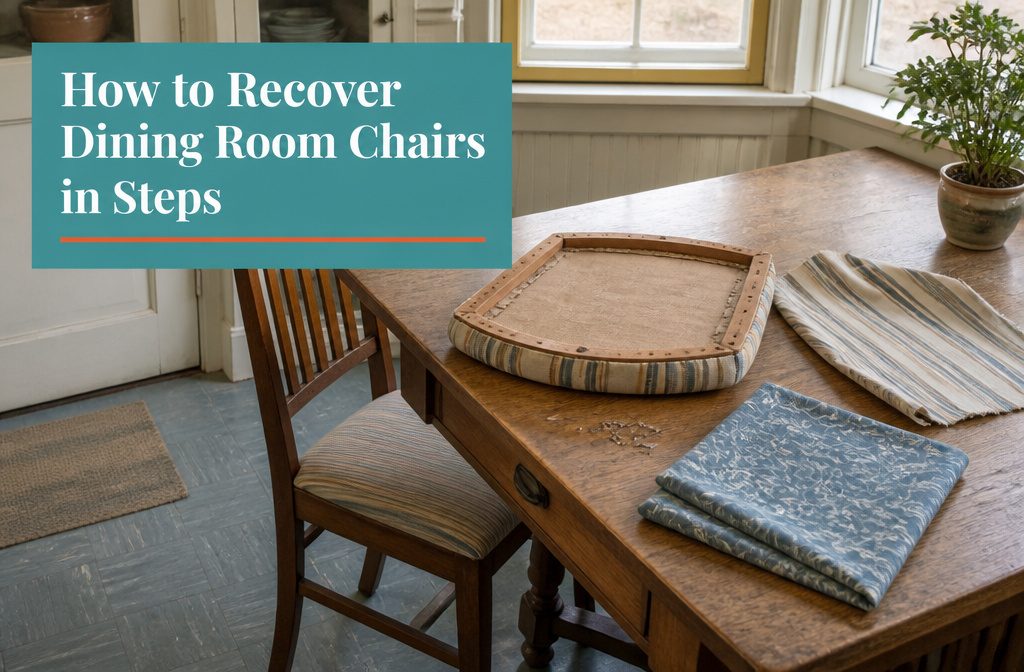
You can reupholster a dining chair in about two hours for $20 to $40 in fabric if the seat lifts out.
The part most people get wrong is starting at the corners instead of the center of each side, which lets the fabric shift and bunch before you lock it down.
Once you strip the old staples, the fabric you pull off becomes your pattern for cutting the new piece.
1. Check Whether Your Seat Comes Out
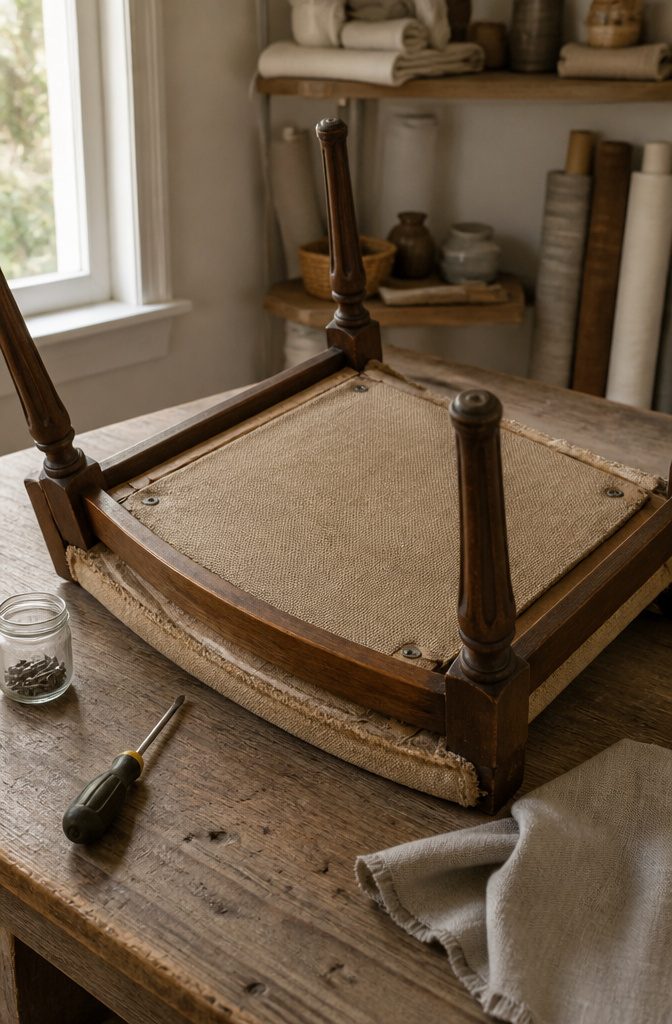
Turn the chair upside down and look at the underside of the seat.
If you see four screws at the corners, you have a slip seat that lifts right out. If the upholstery wraps around the frame with no visible platform, the seat is fixed and you’ll be working on the chair itself.
For a removable seat, use a flathead screwdriver to back out each screw.
Drop them into a jar or small container so they don’t roll away. You need those same screws to put the seat back when the new fabric is on.
Once the screws are out, the padded platform lifts free from the frame. Set it on a sturdy work surface with the fabric side down.
Fixed seats stay attached to the frame through the whole job.
You’ll staple the new material directly to the chair rails instead of to a separate platform. The process takes longer and asks for more patience, but it still works.
2. Pull Out the Old Staples and Save the Fabric
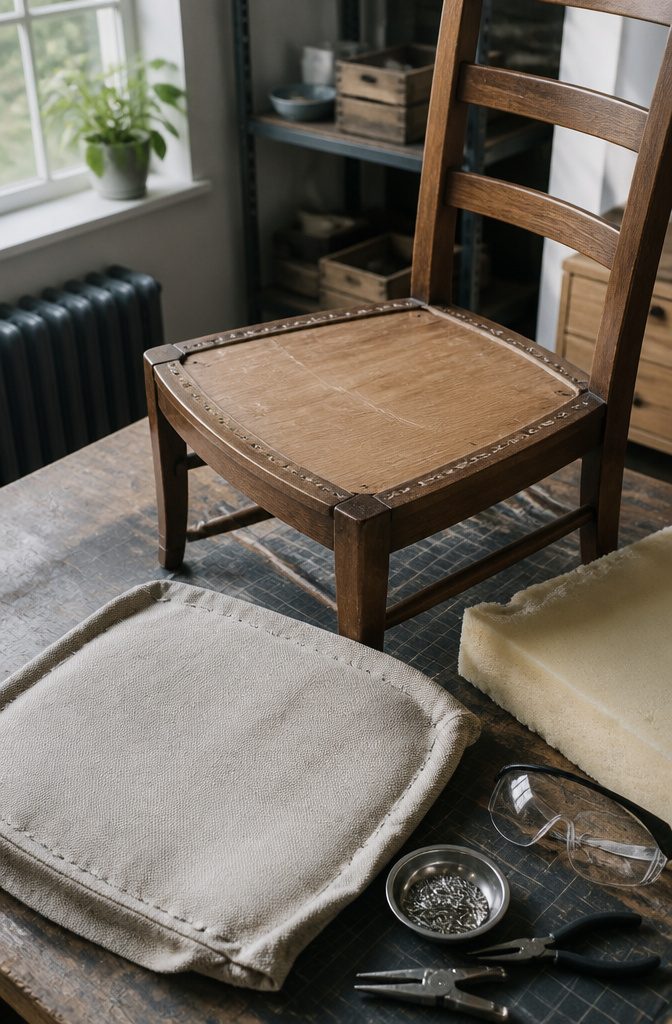
Slide a staple remover or tack puller under each staple holding the old fabric and pry it up. Wear eye protection — broken staples kick up bits of metal, and they break often.
Use needle-nose pliers to pull out any pieces that snap off as you work. This part takes time if the staples have been sitting for years, but there is no shortcut that does not tear the seat base.
Keep the old fabric intact as you remove it.
Someone already worked out the shape, the corner cuts, and how much yardage the chair needs, so the piece becomes your pattern when you cut the new fabric. I trace it rather than measuring from scratch.
Once the fabric is off, check the padding.
If the foam has flattened, lost its bounce, or started crumbling, replace it with firm foam 2–3 inches thick. Sound padding stays — no reason to throw out a cushion that still has body.
3. Measure and Cut the New Fabric
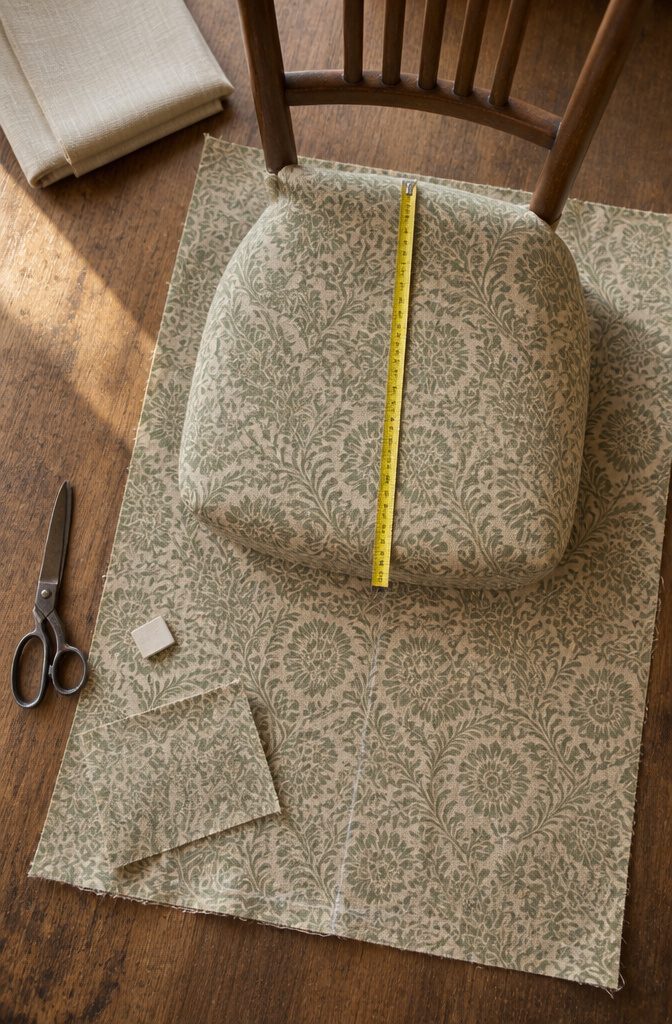
I measure at the widest part of the seat—front to back and side to side—then add 4 to 6 inches to each dimension for pulling and stapling underneath.
Some patterns go smaller; slip seats can work with 3 or 4 inches of perimeter allowance if the foam is low, and I have used 2 inches on flat cushions where the fabric barely wraps.
Thicker padding needs the full 6 inches per side or you will run short at the corners. I cut a rectangle even when the seat tapers, because trimming excess after stapling is faster than wrestling a trapezoid into alignment.
Before cutting, I mark the center of each edge and note which end sits at the front if the pattern has direction.
For prints or stripes, I lay the old fabric over the new to match the repeat and keep the design centered.
4. Add New Foam and Batting if the Pad Is Shot
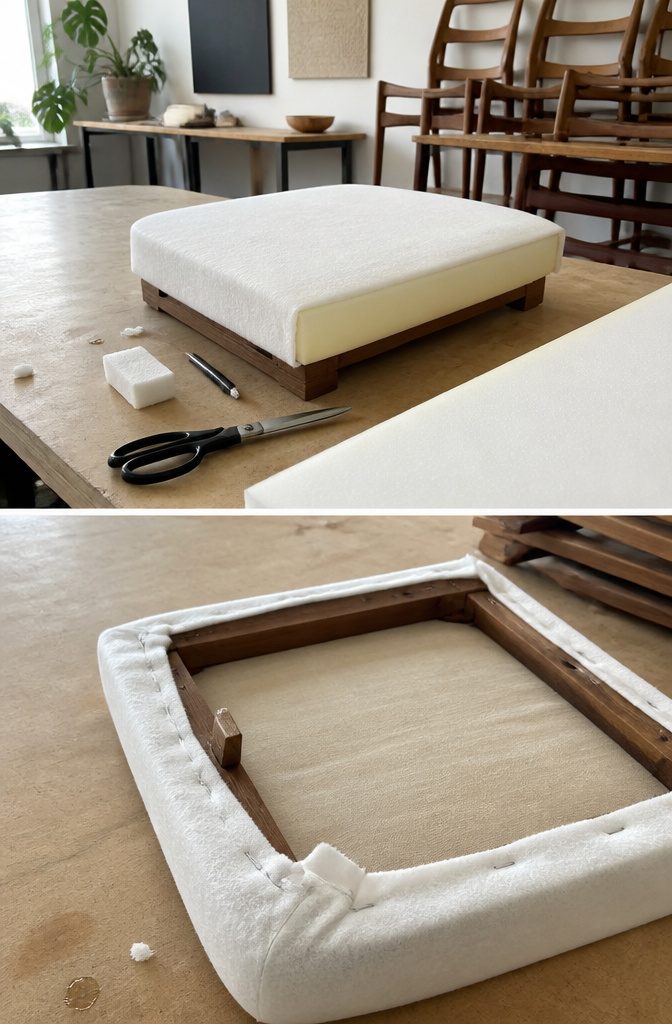
Once you check the old foam and find it flattened or crumbling, replace it with firm foam 2 to 3 inches thick.
Lay the old cushion on the new foam sheet, trace around it with a marker, and cut it out with scissors, a serrated knife, or an electric carving knife if you want the job to go faster.
An upholsterer’s trick is to use an electric carving knife, which makes quick work of cutting foam.
That speeds things up if you have a few chairs to get through.
After you cut the foam, attach it to the wooden seat base with spray adhesive and let it dry completely.
Then wrap the foam in batting or 1-inch Dacron to buffer the fabric from direct contact with the foam, which keeps the fabric from wearing through too soon.
Lay the padded seat upside down on a large piece of batting, pull the batting up and over the sides so it wraps at least 2 inches onto the back of the pad, and staple it down.
Start with one staple in the center of each side, then work outward, keeping the batting taut as you go.
5. Staple From the Middle Out
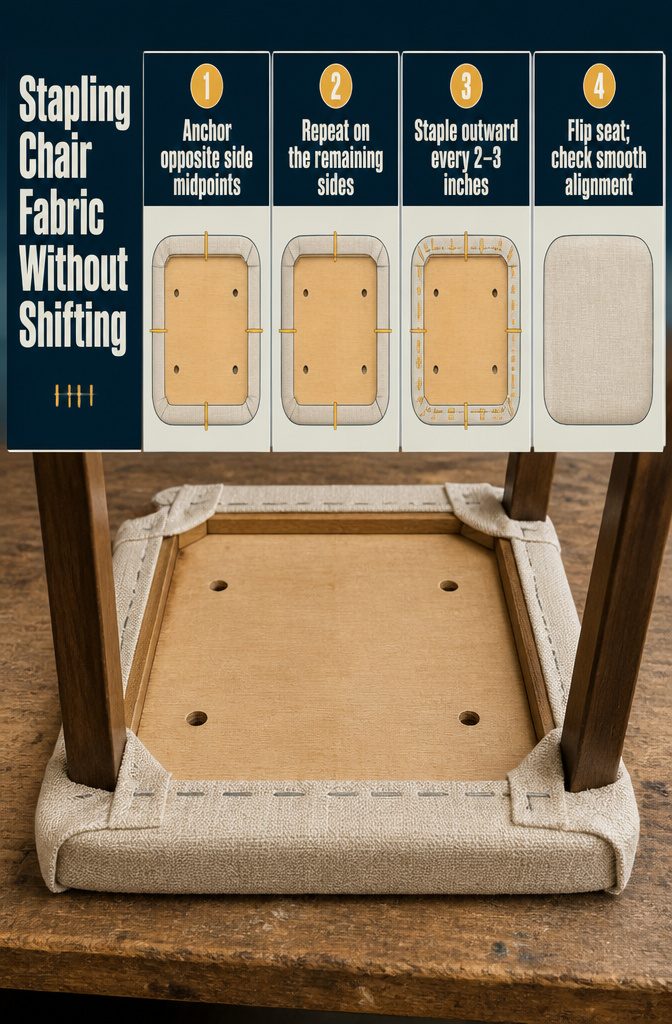
Start in the middle of each side rather than at a corner. Fire one staple into the center of the top rail, pull the fabric taut to the opposite side, and place a staple there.
Repeat on the remaining two sides so you have four anchors holding the fabric in basic tension. This sequence keeps the fabric from shifting or bunching while you work outward.
From each of those four midpoints, work toward the corners in both directions, spacing staples two to three inches apart.
Pull the fabric snug as you go, but not so hard that it distorts a pattern or throws off the weave.
Flip the seat over every few passes to check that the top surface stays smooth and the pattern lines up where it should.
If you have not used a staple gun before, practice on scrap wood first to get a feel for how hard to squeeze and how the tool sits in your hand.
Iron the fabric before you start if it arrived with creases; wrinkles that looked minor on the roll will show under tension. On removable seats, keep staples clear of the screw holes that attach the seat to the frame.
6. Fold the Corners and Trim
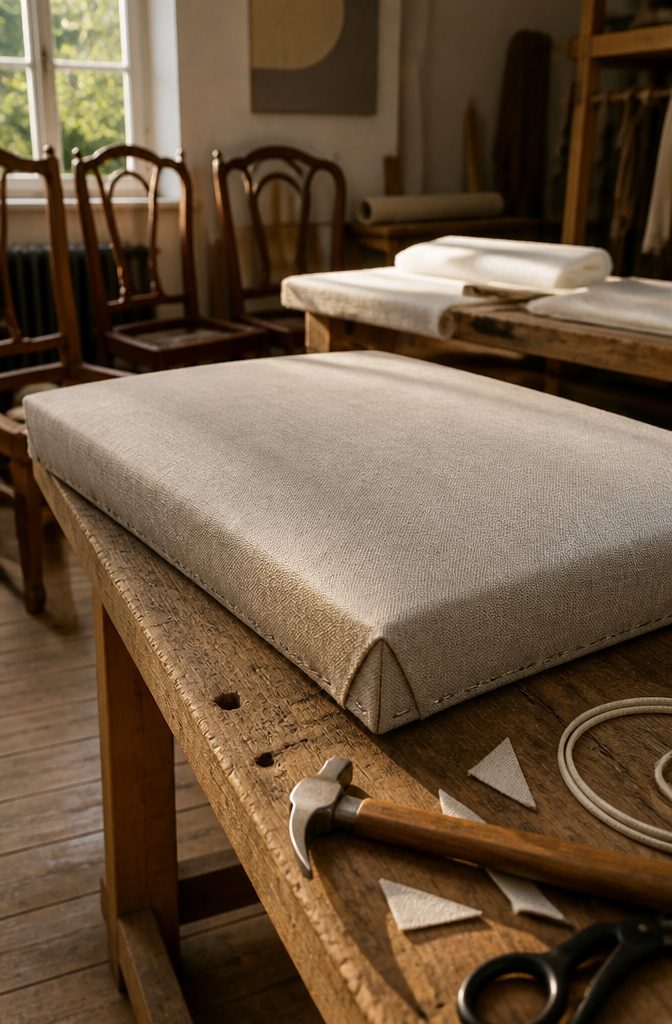
Pick a corner and pull the fabric up and over the seat corner, stapling it once at the point.
Fold the fabric diagonally inward to create a clean pleat, then pull and staple one side of the fold, followed by the other. Trim away the excess created by the fold, leaving about half an inch.
Use your palm to smooth the fabric across the top of the seat as you work outward from each corner toward the midpoint of each side, keeping tension even.
If a staple pulls the fabric too tight or leaves it bunched, pull it out and restaple. Repeat the diagonal fold at each corner.
Once the fabric is secure, trim the perimeter, leaving 1 to 2 inches beyond the staple line. You can finish the underside with a cambric or dust cover stapled over the raw edges, cutting small holes for the screw points.
Decorative trim is optional: welt cord covers the staple line cleanly, or hammered stud trim—the kind that comes on a strip with nails through every fourth or fifth stud—taps down quickly with a hammer.
7. Reattach the Seat and Protect the Fabric
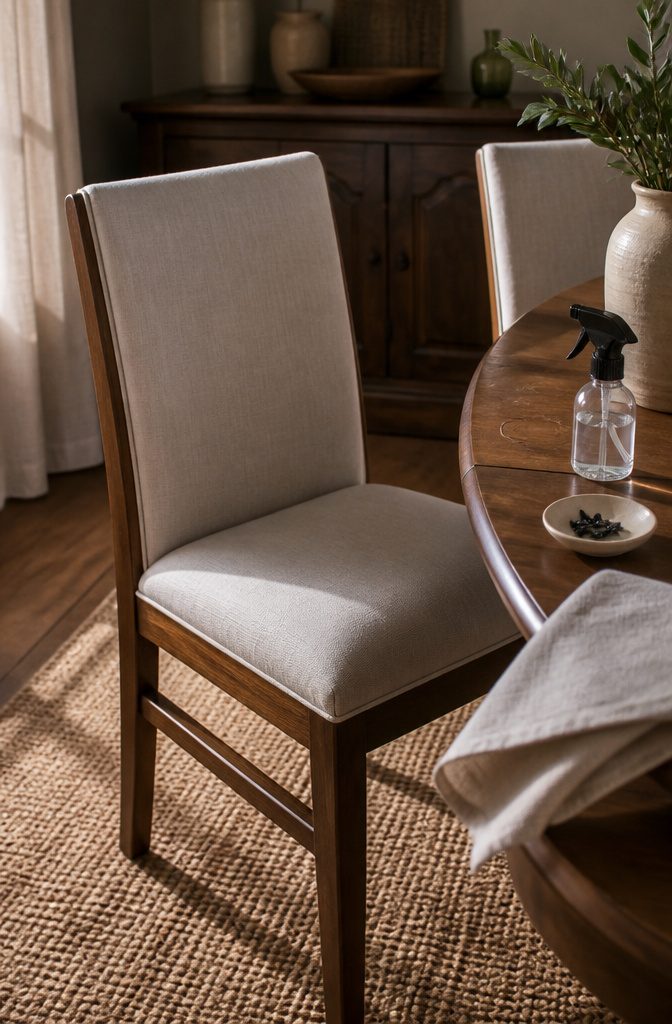
Once the fabric is smooth and the corners are folded, flip the seat over and line up the screw holes with the frame.
Use the same screws you removed at the start. If fabric covers a hole, feel for the opening underneath and cut a small notch with scissors so the screw can pass through cleanly.
Before you screw the seat back on, consider spraying the fabric with Scotchgard or another upholstery protector. Quilters cotton and similar mid-weight fabrics benefit most.
Hold the can about six inches away, apply a light even coat, and let it dry completely before you flip the chair upright. That step buys you time when someone spills red wine.
Some upholsterers attach cambric to the underside first. Cambric is the thin black or white dust cover that hides the staples.
Cut a piece large enough to cover the staples but leave a narrow border at the edges, mark where the screws will go, then staple it in place starting at the midpoints.
Once it is on, cut small holes over the screw locations. Cambric gives a finished look if guests peek under the table, but the seat works fine without it.
Upholstering a Fixed Seat or Chair Back
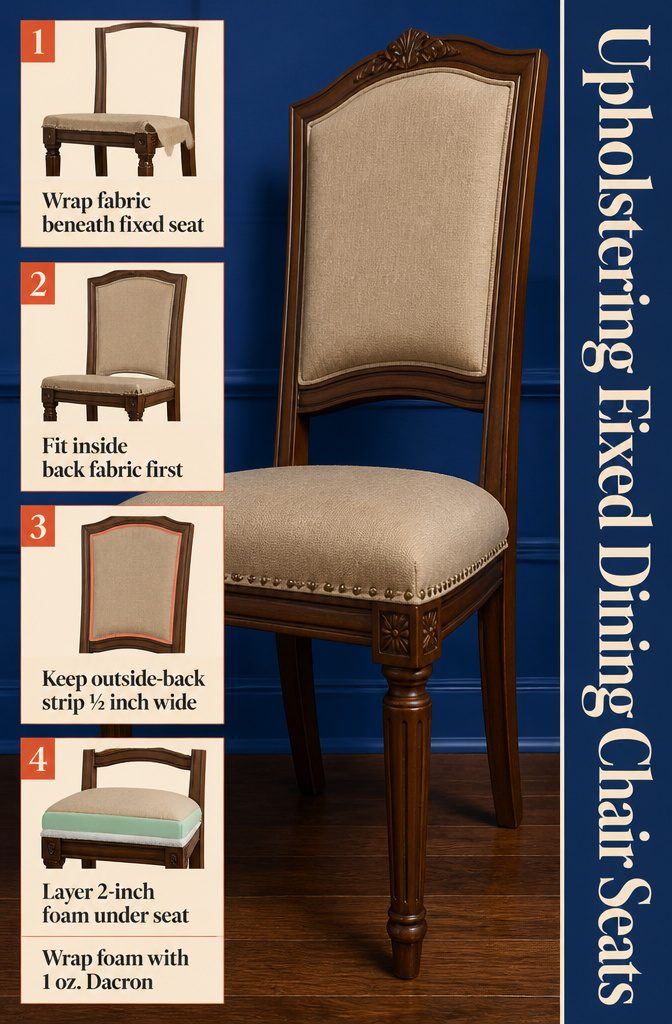
When the seat stays attached to the frame, you work right on the chair instead of pulling it free.
The fabric wraps around to the underside of the frame and fastches there the same way a removable seat would, but you have less room to maneuver and need to work around the chair legs.
Chairs with upholstered backs call for a two-layer approach: the inside back fabric goes on first, then the outside back closes the raw edges.
The attachment area for the outside back fabric runs about 1/2 inch wide, and you need to fit webbing, tack strips, and padding into that same narrow strip without creeping into the groove where the inside back fabric will tuck.
Check whether the outside back attaches from the front of the frame or the back before you start; if the wood is decorative all the way around, it attaches from the front.
For fixed seats, I use 2-inch foam as the base layer and wrap it with 1 oz. bonded Dacron to smooth the surface and keep the foam from breaking down where you sit.
The Dacron also prevents the fabric from catching on the foam’s texture, which shows through thinner upholstery as dimpling.
Picking Fabric That Will Last
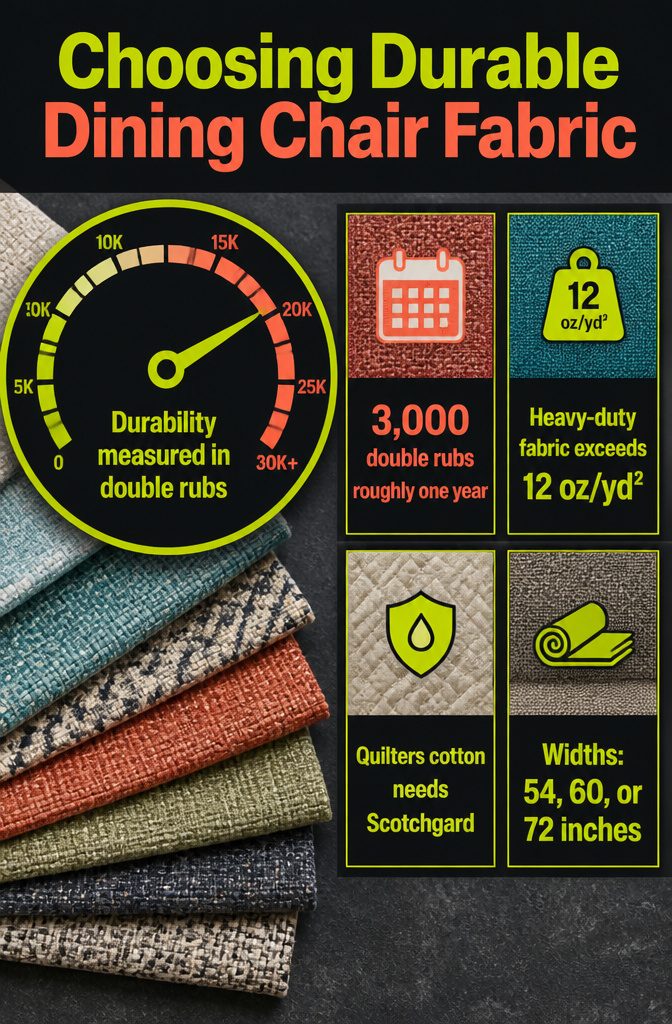
The fabric has to survive everything a dining chair endures, which means looking past pattern to what the material can take.
Upholstery fabric durability is measured in double rubs—the number of times a mechanical arm can drag back and forth across the surface before the weave fails.
3,000 double rubs equals roughly one year of use, so multiply that baseline by how long you want the chairs to last.
Heavy-duty upholstery fabric weighs more than 12 ounces per square yard, and that weight translates directly to how well it holds up under friction.
Quilters cotton, upholstery fabrics, faux fur, oil cloth, leather, and faux leather all work for dining seats.
Quilters cotton needs Scotchgard or it will stain on first contact. Fabric composition matters as much as weight: polyester, cotton, silk, linen, and mohair velvets all clean and wear differently, and linen in particular stretches out over time.
Match the blend to how hard the chairs work. Upholstery fabric comes in 54, 60, or 72-inch widths, and some compositions fade faster than others depending on window exposure.
When You Can Cover Old Fabric Instead
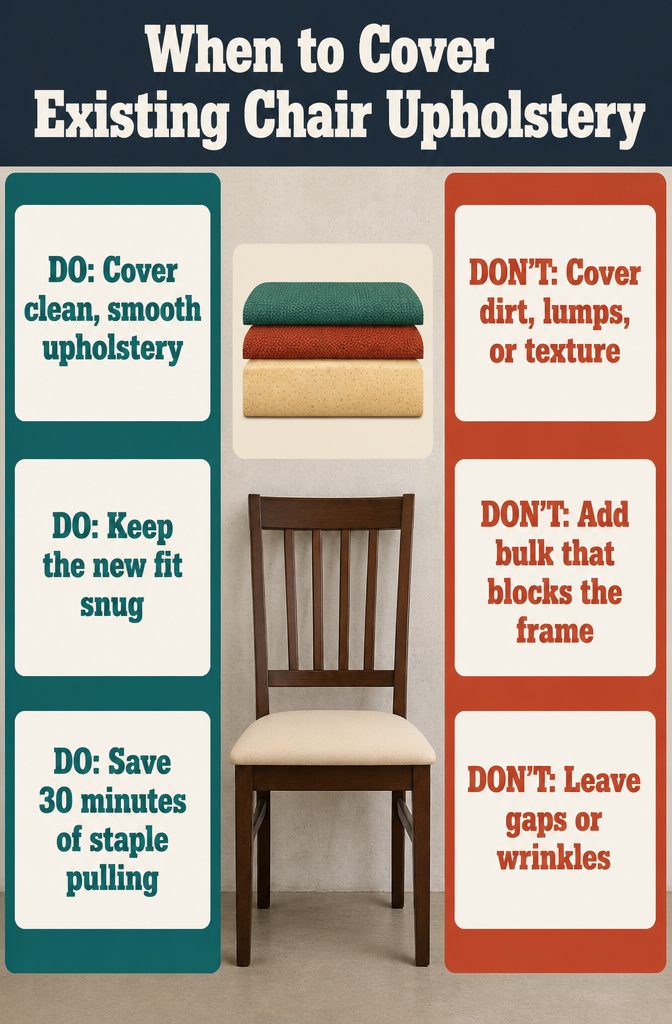
You can lay new fabric directly over the old upholstery as long as the fit stays snug.
This shortcut skips a tedious step and gets the chair back together faster, but only when the existing layer is clean, smooth, and thin enough that it won’t telegraph through the new material or make the seat too thick to slip back into the frame.
Dirt, lumps, or fabric that shows its texture through a lighter replacement all force you to strip everything down to the base.
The same goes for bulk: if adding another layer means the seat no longer drops into place or if the frame squeezes the padding too hard, the old fabric has to come out.
When the original upholstery sits flat and the new fabric pulls tight without gaps or wrinkles, covering it works fine and saves thirty minutes of staple pulling.
Frequently Asked Questions
How much fabric do I need to reupholster a dining chair seat?
Measure the seat at its widest point from front to back and side to side, then add 4 to 6 inches to each dimension for wrapping and stapling underneath.
Thicker padding needs the full 6 inches per side, while flat cushions can work with 2 to 3 inches of allowance. About 1/2 yard of fabric covers a single dining chair seat.
Is it worth reupholstering dining chairs?
Yes, reupholstering dining chairs costs less than buying new ones and lets you keep furniture that still has a sound frame.
The job takes a few hours per chair but gives you exactly the fabric and look you want. It also preserves family pieces and gives you a finished product you built yourself.
How much should it cost to reupholster a dining chair?
DIY reupholstering runs $20 to $50 per chair when you need to replace padding and fabric.
Professional reupholstery costs $200 to $500 per chair depending on the shop and how much work the frame needs. Doing it yourself saves money if you have the time and a staple gun.
Is it hard to reupholster a dining chair?
No, reupholstering a dining chair is straightforward once you understand the sequence.
Most dining chairs have removable slip seats held in by 4 screws, which makes the job easier than working on a fixed armchair. The hardest part is pulling out old staples without tearing the base.
Can a chair be reupholstered over existing fabric?
You can lay new fabric directly over old upholstery as long as the fit stays snug and the existing layer is clean, smooth, and thin enough that it won’t show through or make the seat too thick.
Dirt, lumps, or fabric that telegraphs through the new material all force you to strip everything down to the base.
When the original upholstery sits flat and the new fabric pulls tight, covering it works and saves 30 minutes of staple pulling.
What is the best material to recover dining room chairs?
Heavy-duty upholstery fabric weighing more than 12 ounces per square yard holds up best under friction and daily use.
Polyester, vinyl, leather, and faux leather all clean easily and resist moisture, while quilters cotton works if you treat it with Scotchgard first. Avoid linen if the chairs see heavy use, since it stretches out over time.
Is it cheaper to reupholster or buy new dining room chairs?
Reupholstering costs $20 to $50 per chair when you do it yourself, while professional work runs $200 to $500 per chair.
New dining chairs start around $100 and go up depending on quality and finish. Reupholstering saves money when the frame is still solid and you like the chair’s shape.