I’ve rescued countless travertine floors from cloudy, etched disasters and want to help you avoid my early mistakes.
First, I dry-vacuum with a soft attachment, no beater bars ever.
Then I mix a pH-neutral cleaner and test it behind the toilet first because nobody wants surprises.
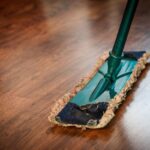
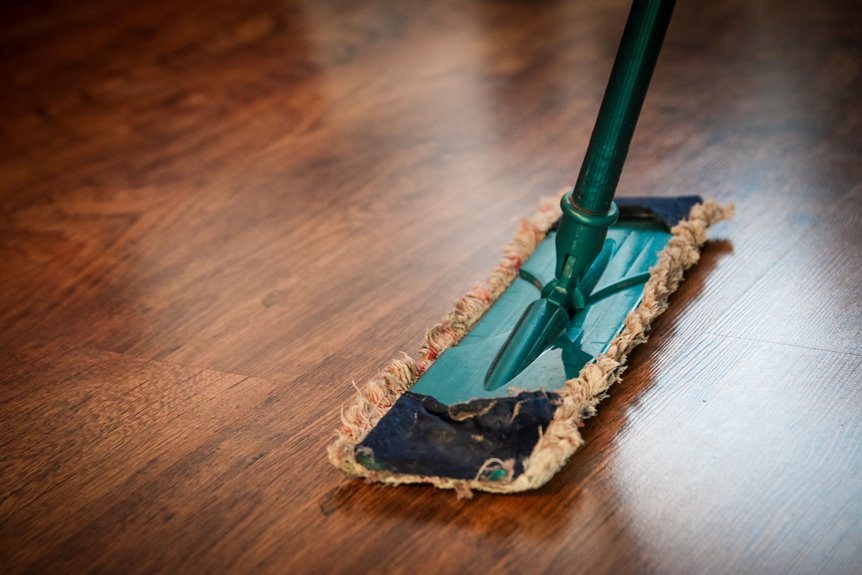
I wring my microfiber mop until it’s barely damp, work in three-foot sections, and rinse constantly.
Grout lines get extra love with a soft brush, and I dry each area immediately since water spots are travertine’s worst enemy.
For stubborn stains, I gently coax them out and never scrub aggressively.
I deep clean quarterly in busy zones, reseal every one to three years, and always check if water still beads on the surface.
The honey-toned glow you’re after requires consistent maintenance and proper technique, both of which are outlined below.
Start With Dry Removal: Sweep or Vacuum Your Travertine Floor
Why would I ever skip dry removal when I’m about to show you my biggest travertine regret? I once rushed straight to mopping, and watched muddy water seep into every pore like a bad decision I couldn’t reverse.
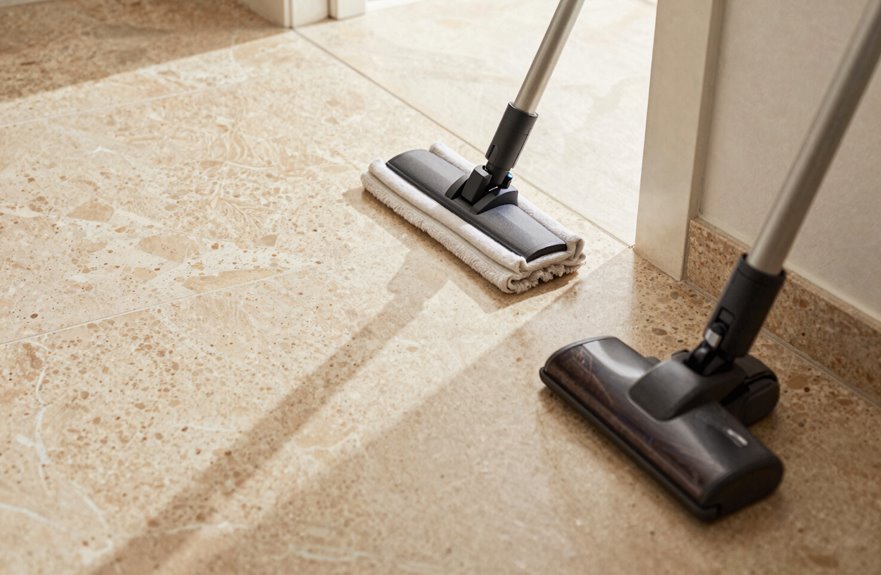
Now I always start with proper dry removal on my travertine floors. I grab my soft-bristle attachment, pop it on the vacuum, and avoid using the beater bar, as scratches damage the stone. I focus hard on the grout lines, those sneaky valleys where dirt accumulates. Sometimes I’ll sweep instead, using the same soft-bristle approach, working methodically across the textured spots.
This dirt removal step feels tedious, I know. But skipping it means grinding debris into stone later. Dry removal prevents particles from becoming trapped in the porous surface, which causes permanent discoloration and material degradation.

Maintains polish without stripping protective coating
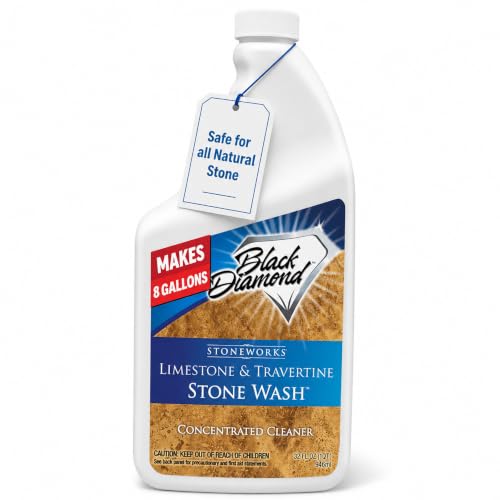
Safe for All Natural Stone Floors: Specially formulated for limestone, travertine, marble, granite, slate, sandstone, quartzite, flagstone, and all other sealed and unsealed natural stone flooring

Safe for All Natural Stone Floors: Specially formulated for limestone, travertine, marble, granite, slate, sandstone, quartzite, flagstone, and all other sealed and unsealed natural stone flooring
Mix a Travertine-Safe Cleaning Solution and Test It First

I grab my pH-neutral stone cleaner, avoiding vinegar after it ruined a countertop previously. I mix it warm, following the label carefully since travertine is highly porous and absorbs liquids easily. Before applying it widely, I test a patch behind the toilet in an inconspicuous corner to ensure the solution won’t etch the honed finish into a cloudy appearance.
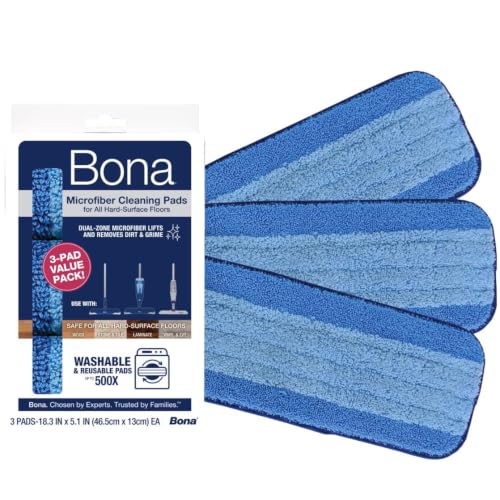
Bona's 3-pack of Microfiber Cleaning Pads

Daily Care for Travertine Floors: Made for routine cleaning of sealed travertine floors, limestone, slate, sealed marble, and similar stone surfaces. This travertine floor cleaner helps clean everyday dirt, dust, footprints, and light messes while supporting regular floor care.

COMPREHENSIVE MOP PADS SET: This value pack includes 2 microfiber cleaning mop and 2 dusting mop pad, it's versatile floor cleaning tool that sweeps, cleans.
Choosing pH-Neutral Cleaners
The right cleaner makes or breaks this whole operation. Travertine is basically fancy calcium carbonate, which means it’s gorgeous but dramatically reactive to anything acidic like citrus, ammonia, or that “natural” cleaning Pinterest recipe your aunt swears by.
Always use a pH-neutral cleaner specifically labeled for natural stone. Mix your cleaning solution in warm water per the bottle’s directions, then do a test patch behind the toilet or under a rug. Testing prevents etching damage. Once you’ve confirmed compatibility, grab that damp microfiber mop, rinse it constantly, and watch your stone glow without surface damage.
Avoiding Acidic Ingredients
Because travertine reacts negatively with acid, remove every “miracle cleaner” from your cabinet, including white vinegar. Grab a pH-neutral cleaner labeled for natural stone, not general marketing claims, and mix it into warm water according to the bottle instructions.
Test the cleaner on a hidden spot first, such as behind a door. Then damp mop gently without creating puddles, as travertine floors absorb moisture readily. Rinse completely to remove all soap residue, which attracts dirt. Avoiding acidic cleaners protects your stone surfaces.
Testing Hidden Areas
Where exactly should you test your cleaner before going all-in on your gorgeous travertine? I always pick a hidden area, like behind a door or under furniture, because nobody wants a surprise splotch in the middle of their living room. I mix my pH-neutral cleaner with warm water, grab my damp microfiber, and apply it to that tiny test spot. Then I wait impatiently for it to dry completely. Here’s my quick checklist:
| What I’m Checking | What I’m Looking For |
|---|---|
| Color shift | Any darkening or lightening of the stone |
| Gloss changes | Dull spots where shine should be |
| Texture issues | Roughness, etching, or weird film |
If something’s off, I do a quick residue rinse and try again. Testing prevents damage to your flooring, and I’ve learned this through experience.
Keep Your Mop Damp, Not Dripping Wet

One essential mistake I made early on? I soaked my travertine like I was washing a driveway, with big, drippy puddles everywhere. The stone looked cloudy for days, and I panicked. Now I know better, and you will too.
Keep that mop damp, not dripping. I grab my damp microfiber mop, dip it in my pH-neutral cleaner mixed with clean water, then wring the mop until it’s just right; like a squeezed sponge, not a waterfall. Excess moisture seeps into those tiny pores, dulling your finish and inviting mold. If I hit a stubborn spot, I use a soft brush instead of drowning it. Your travertine deserves this gentle touch.

Ideal for cleaning grout, shower door tracks, sink fixtures and more

V-SHAPED BRISTLES: Angled bristles reach into grout lines, corners and narrow gaps to help remove dirt and buildup from tile and hard floors

Durable Bristle: This deep cleaning brush features durable bristles. Its soft bristles are also gentle enough to prevent scratching or damaging delicate surfaces
Mop Your Travertine in Small Sections, Rinsing Frequently

Why rush through the whole room when I can tackle it like a series of mini victories? I work in small sections, about three feet by three feet, keeping my microfiber mop damp with pH-neutral cleaner and moving with purpose. Here’s how I keep my rhythm:
- I wring that mop tight between sections; no drips, no drama.
- I rinse frequently in clean water so I’m not just pushing gunk around.
- I hit each patch with straight, overlapping passes, then dry promptly with a soft cloth.
This method lets me prevent over-wetting those porous travertine floors while catching every speck before it settles. Small sections mean I control the moisture and see the shine develop in real time. The approach also reduces the risk of water damage and mineral deposits that come from prolonged wetness on travertine surfaces.

Ideal for multi-surface floor cleaning, this shop vac attachment is unique among wet dry vacuum accessories


Round dusting brush made of soft natural bristle and plastic material, good quality.
Grout Lines Need Extra Attention During Routine Cleaning

After I’ve buffed that last section to a soft gleam, I always catch myself squinting at the thin channels between my travertine tiles. Those grout lines love to hoard every speck of dust and drip of coffee like they’re collecting souvenirs. My standard mop technique just skims the surface, so I deliberately work my mop or sponge into those grooves during routine cleaning, chasing out embedded grime before it settles in for good. When grout buildup gets stubborn, I mix water and baking soda into a paste, spread it along the lines, wait a few minutes, then attack with a soft-bristle brush. Cleaning grout this way feels oddly satisfying, like restoring hidden artwork. Your floors will maintain better appearance and durability when grout lines are cleaned regularly.

PROFESSIONAL HARD WATER STAIN REMOVER: Get the powerful industrial and commercial strength that takes stains, spots, and rust out! Remove years of unwanted hard minerals

Helps Clear Hard Water Stains - AquaDoc Water Spot Remover is designed to dissolve the chalky calcium and magnesium residue left by sprinklers, well water, and light acid rain. Use it on glass shower doors, car windshields, clear coat paint, chrome trim and faucets, and motorcycle paint.

Focused Care for Travertine Stone Floors: Natural stone floors have different care needs from ordinary household flooring. This travertine stone floor cleaner is made for sealed travertine surfaces, giving homeowners a more focused travertine floor cleaner for regular stone care in kitchens, entryways, hallways and other frequently used areas.
Rinse With Clean Water to Remove Cleaning Residue
How often do we skip this step and wonder why our floors look vaguely meh. I’ve been there, staring at my Travertine floors wondering why they seemed cloudy, not radiant. The culprit is residue, a sticky cleaning film that dulls everything.
What changed my approach:
- I rinse my mop constantly. Dirty water just shoves grime back into those porous stone pockets
- I grab a fresh, damp mop with zero soap, just clean water for that crucial second pass
- For my glossy areas, that final rinse keeps the shine alive without fancy polishes
This simple rinse prevents streaks that scream amateur hour. Your travertine deserves better, and so do you. This step transforms meh into magnificent.

[pH Neutral for Natural Stone] Gentle daily cleaner formulated for marble, limestone, travertine, slate and other sealed natural stone surfaces. Helps remove everyday dirt, spills and grime while maintaining the stone’s natural finish.

Safe Deep Cleaning – Gently removes dirt and grime from polished and honed natural stone and tile without damage.

Neutral pH Floor Cleaner: Cleans and restores shine while preserving polish and not stripping away protective coatings on your floors. No rinsing required
Dry Your Travertine Floor Immediately to Prevent Water Spots
Water spots are unwelcome on travertine floors because letting them air-dry allows cloudy, ugly marks to become permanent. Grab a microfiber cloth immediately and get to work.
Act fast with a microfiber cloth—air-dried water becomes permanent, cloudy stains on your travertine floors.
Blot, don’t rub. Use gentle dabbing motions, similar to patting a baby’s back. Pay extra attention to grout lines, as they are sneaky moisture traps. Wipe until they’re completely dry. Open windows or run a fan for better air flow to speed up the drying process.
For glossy areas, do one final plain-water wipe first, then dry again. This extra step prevents water spots and maintains the mirror-like finish on your travertine floors.
Quick drying prevents permanent water marks and keeps your travertine floors in optimal condition.

【WORK ON EASY】With it’s large 18 Inch base can cover a lot of areas in a single scan, clean in high efficiency with less effort. Industrial grade mop, Stainless steel handle which withstands friction and frequent use, the mop head is made of solid aluminum alloy, which is more durable than plastic mop head. Velcro design makes the pad easier to attach and replace.

CLEAN LIKE A PRO — Revolutionize your cleaning routine and thoroughly and easily dust floors in your home or office quickly and easily with our Mojave Dust Mop Kit. Forget lugging around a vacuum cleaner! This dust mop is lightweight but built for heavy-duty use.

DURABLE CONSTRUCTION - Built with durable plastic and sturdy stainless steel handle, inlcudes 3 reusable microfiber cloths and 1 dirt removal scrubber, applies to all kinds of floor such as hardwood, tile, marble, laminate, vinyl, make boring chore of cleaning your floors easy and effortless
Lift Stubborn Stains Without Scrubbing Too Hard
Why do we panic when we see a dark spot on travertine? Stains feel like a personal attack on our design choices.
Here’s how to handle stain removal without destroying your floors:
- Blot spills immediately with a soft cloth before they sink into that porous surface
- Apply a baking soda paste for deeper marks, then gently work it with a soft bristle brush
- Finish with a damp microfiber mop and pH-neutral cleaner. No abrasive pads ever.
Proper sealing prevents most staining issues. Resealing every few years keeps travertine floors resistant to marks and reduces the need for scrubbing.
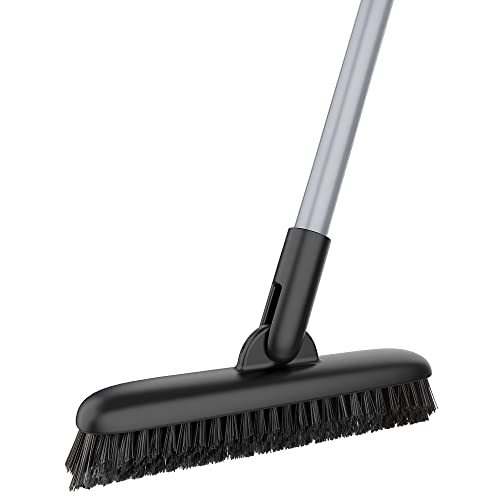
HEAVY DUTY & LONG LASTING - MR.SIGA grout brush is built with durable plastic and sturdy steel pole, it is tough enough to handle any scrubbing jobs, brings you superior grout cleaning experience.

Two Types of V-shaped Bristles: The long side of the V-shaped bristles can quickly clean large grout lines and tile joints; the short side of the V-shaped bristles can be accurately stuck into a variety of crevices and corners

V SHAPED FLOOR BRUSH: This floor scrub brush features a "V" shaped brush head that easily cleans narrow tile grout line, hard-to-reach corners and crevices. Its stiff bristles resist bending and will not damage the surface. Easily remove dirt, stains and spots.
Deep Clean Every Few Months Based on Traffic and Wear
I deep clean my travertine every three months in the hallway, where my dog, my boots, and daily wear take their toll, but I’ll stretch it to six months in the guest room that rarely gets used. You’ll know it’s time when the stone starts looking thirsty, almost dusty even after mopping, and high-traffic paths get that dull, flattened look like a well-loved rug. If you’re squinting at grout lines wondering if they’re actually brown or just dirty, it’s time to deep clean.

The inner diameter is 1.25 incn(32mm), fits all vacuum cleaners accepting 1-1/4incn inner diameter attachment

Compatibility: The inner diameter of our vacuum floor brush is 1.25 inch(32mm), so the outside diameter of the vacuum cleaner or hose nozzle you want to connect with our hardwood floor vacuum attachment should be 1.22" (31mm) or 1.21 (30.7mm). (DON'T fit for Miele, don't fit for Dyson, don't fit for Shark or any other vacuum hose or wand accepting 1 3/8, 1 3/4 or 1 1/2 or 1 7/8 or 2 1/2 inch diameter). Also not fit for wand or hose with 1 1/4 in inner diameter.

Designed as a new or replacement wand and squeegee tool for commercial and industrial wet-dry and home shop vacuums equipped with 1 ½ ” hose
Deep Clean Frequency
Beyond the weekly sweep-and-mop routine, travertine floors benefit from a proper deep clean every few months. Stretching this to four months results in dull, sad stone that requires more intensive restoration.
Here’s the process:
- Mix hot 3:1 Tile Doctor Pro-Clean, grab that rotary machine with a medium brush, and let it dwell for ten minutes while the grime breaks down.
- Hit those stubborn grout lines with a soft bristle brush if they need extra attention, then remove all water and debris with a wet vac.
Finally, three coats of color-enhancing impregnating sealer get buffed in. Your travertine floors will restore their natural appearance and luster.
Traffic Wear Assessment
How often should you really deep clean your travertine? Let traffic wear tell you. High-traffic zones, your kitchen, the hallway your dog sprints through, they need attention every few months.
Use this method: grab a rotary machine, medium brush, hot 3:1 Pro-Clean dilution, and scrub. After that first scrub, let dwell time work for ten minutes without shortcuts, then scrub again. Extraction with a wet vacuum pulls up grime you didn’t know existed. Always check grout lines after; sneaky dirt loves hiding there. Missed a spot? Use a pad holder with burnishing pads to address it. Fill imperfections post-clean, then polishing and resealing keeps your travertine floors in top condition.
Reseal Every 1–3 Years to Protect Your Finish
That gorgeous travertine you’ve been babying needs resealing regularly. This porous stone doesn’t stay protected forever, no matter how gently you treat it. Every one to three years, grab an impregnating sealer and apply three coats for especially porous tiles. Here’s how to know when resealing is necessary:
Travertine demands regular resealing—its porous nature won’t stay protected forever, no matter how carefully you treat it.
- Drip water in high-traffic zones; when it stops beading, reseal immediately
- Buff with a soft white buffing pad, working across the floor until every streak vanishes
- Check corners and edges first, because that’s where sealing fails fastest
The beading test provides a reliable indicator of when resealing is needed. When water no longer beads on the surface, the sealer has worn away and protection has diminished.

Powerful hard water and mineral remover: ProStrength is a premium hard water and mineral remover that removes stubborn stains and buildup with ease
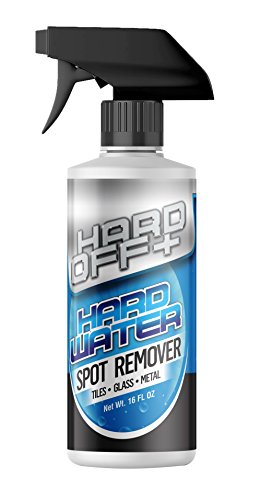
FOR REMOVABLE HARD-WATER BUILDUP - Hard Off+ targets the chalky spots and mineral film that daily bathroom cleaners can leave behind. A focused choice for plain, uncoated shower glass with calcium, lime, rust staining and soap-scum residue.

Easy to use formula: Easily clean water spots, soap film and grout haze from natural stone