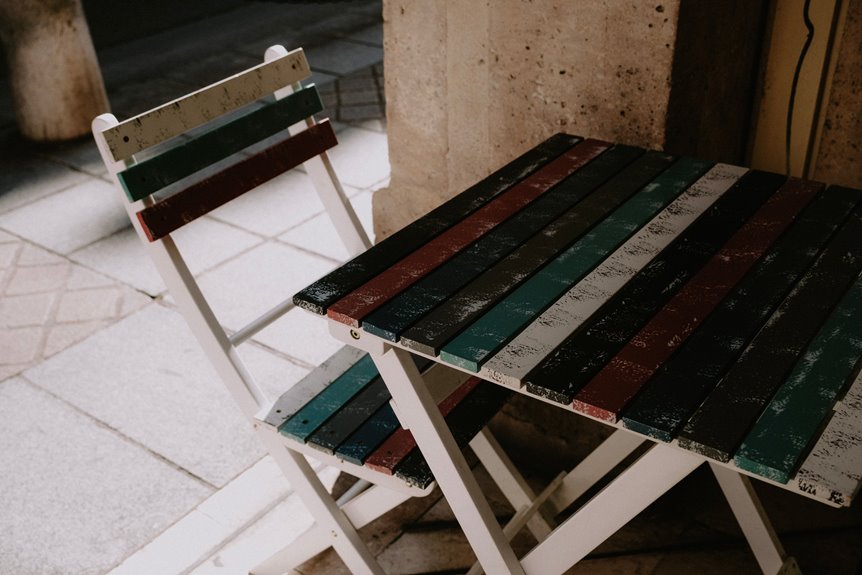
I’ve rescued too many patio chairs from the curb to count, and a professional-quality repaint isn’t magic. It’s five stubborn, satisfying steps that transform weather-beaten metal and faded wood into backyard showpieces worth sitting on.
First, I wiggle every joint and hunt for soft spots because no amount of elbow grease saves furniture that’s secretly rotting. Then I commandeer my driveway, spring-clamping drop cloths against the breeze like I’m prepping for surgery.
Stripping comes next: scrapers, steel wool, maybe my electric sander when the rust fights back, because a bare, smooth surface is everything. I prime every exposed inch with oil-based protection without shortcuts, and finally I spray whisper-thin coats with that one-third overlap trick I learned the hard way.
Two coats minimum on cool dry days will transform your mismatched collection into pieces that look intentionally coordinated, like Bedford Gray was always the plan. The details matter, and each step prevents the common mistakes that derail weekend projects.
Evaluate If Your Patio Furniture Is Worth Repainting
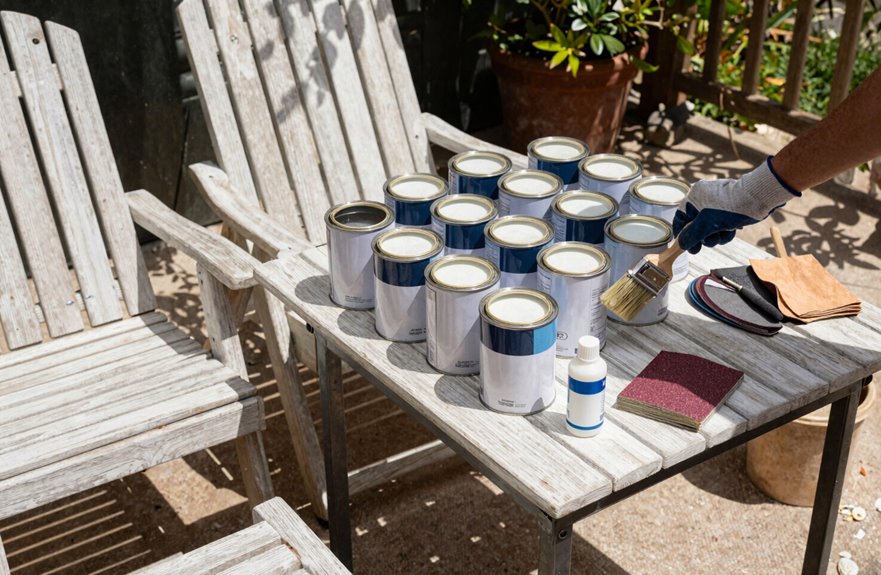
Why jump straight into sanding when your patio chair might be one wobble away from collapse? Your time deserves better.
Start with structural integrity. Wiggle every joint, press for soft spots in wood, hunt cracks in plastic. No surface prep saves furniture that’s fundamentally failing.
For metal furniture, conduct a serious corrosion assessment. Light surface rust means grabbing rust-inhibiting primer. Deep pitting reduces repainting durability, and replacement may be the better choice.
Examine weathering patterns too. Mismatched, sun-faded pieces benefit from a cohesive finish. Bedford Gray unifies everything effectively.
Finally, check primer adhesion. Bare metal bonds well; slick, glossy coats need serious scuffing. Choose outdoor coatings matched to your climate for lasting results.
Create a Weather-Protected Workspace for Painting
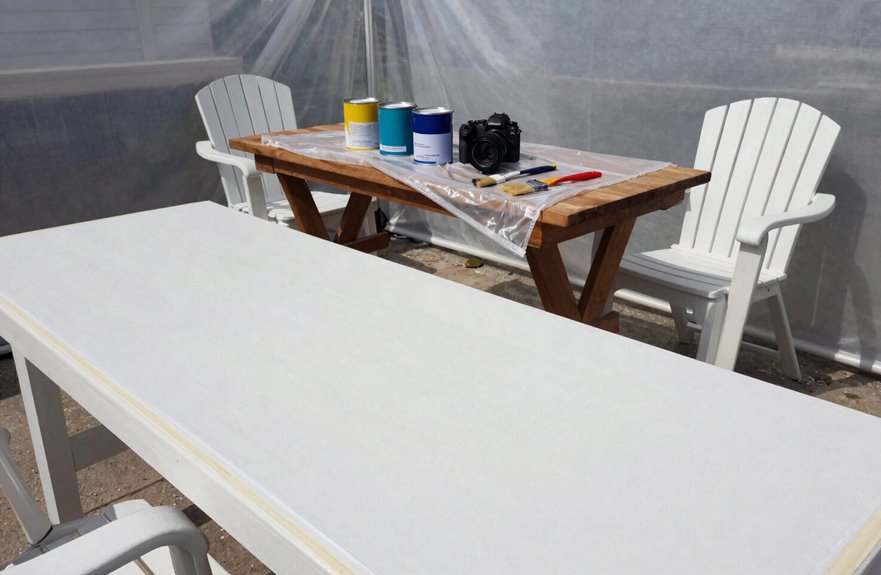
Once I’ve decided my patio furniture’s got another season in it, I need a workspace that won’t sabotage the whole operation before I even pop the first can. I grab my plastic sheeting and commandeer a pergola corner. My driveway’s about to become command central. I’ll spring-clamp those drop cloths, weight them with bricks, and create a wind-proof, debris-free zone.
Weather conditions directly affect paint performance. I need 50–90°F temperatures and humidity under 85%, or my outdoor spray paint will fail to adhere properly. Temperature and humidity control the adhesion process.
Ventilation is non-negotiable. Mask on, breeze flowing, I avoid inhaling overspray. This workspace setup and protective covering provide the foundation for success. Get it right, and the project is already halfway complete.
Strip Old Paint and Remove Rust Completely
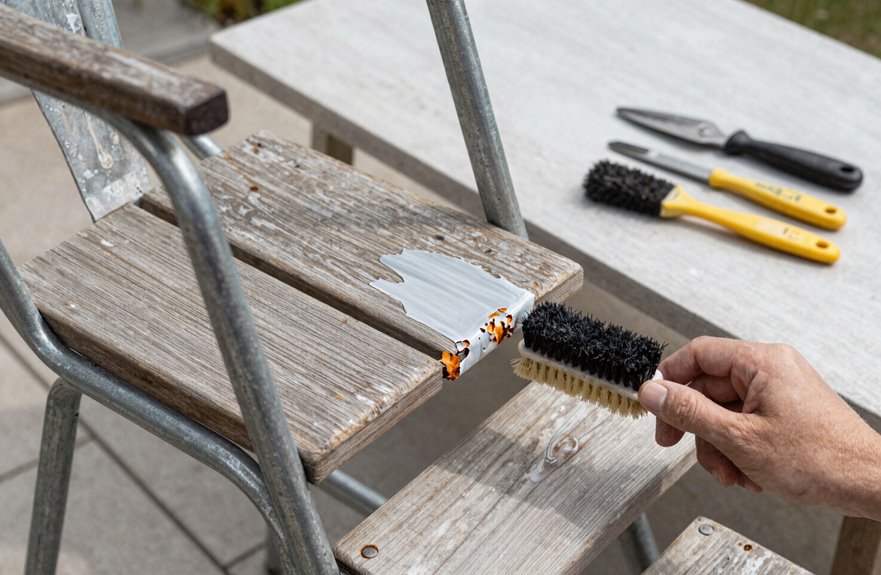
Before I even think about that gorgeous new color, I’ve got to face the ugly truth. My chairs look like they’ve been through a shipwreck, and that flaking paint won’t fix itself. That crusty rust needs to be removed. I grab my scraper and attack the loose bits, then follow up with steel wool for the stubborn flakes. For bigger rust patches, I use an electric sander. I’m sanding straight down to bare metal, 80- to 100-grit, until that smooth metal surface emerges like buried treasure. Deep rust requires total rust removal with no shortcuts. I wipe away every speck of dust because that rust-inhibiting primer needs a pristine canvas. This corrosion prevention step is essential.
Prime Bare Metal to Prevent Rust
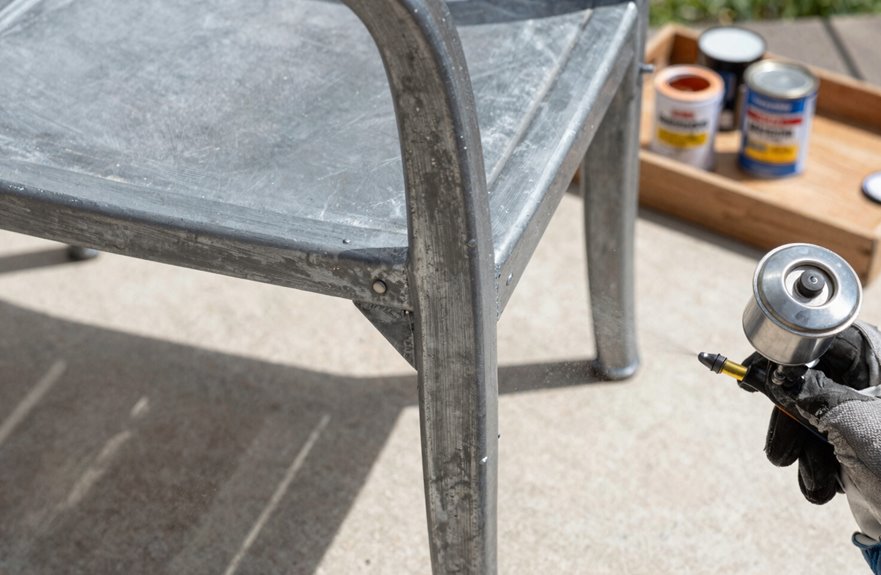
That raw metal’s gleaming back at me, naked and vulnerable, and I can’t just leave it hanging. We’re in this together, and rust prevention starts now with proper bare metal prep. After your rust removal, ensure you’ve got a clean surface and dry surface; moisture is the enemy here.
I’ll grab my oil-based primer because this metal primer creates the corrosion protection your furniture deserves. Prime every inch of that exposed bare metal with a thin, even coat. Heavy rust requires complete stripping first, or try rust-inhibiting primers for stubborn spots.
Modern all-in-one sprays exist, but I prefer old-school base layers. Let it dry thoroughly. This foundation prevents corrosion and extends your furniture’s lifespan.
Apply Multiple Thin Coats for a Smooth, Lasting Finish
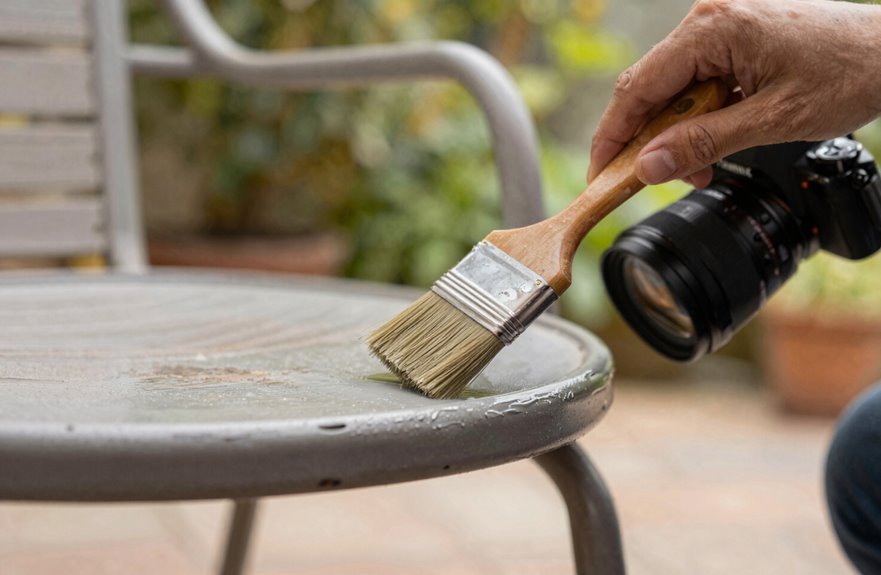
How do we get that glass-smooth finish that makes neighbors peek over the fence? Thick coats are the enemy.
After your primer and rust-inhibiting paint have cured from proper surface prep, grab your spray paint and commit to thin coats, never one heavy glop. We’re talking whisper-light passes, overlapping strokes by a third, keeping that can moving like conducting an orchestra. Two or more multiple coats beat one sloppy layer every single time.
Watch dry time carefully. Allow 1-2 hours between thin coats for spray, longer for oil-based. Patience produces results. Weather conditions matter too; blistering sun causes visible flaws. Cool, dry days produce the smoother finish you want.
Your outdoor project will succeed with patient application, one thin coat at a time.