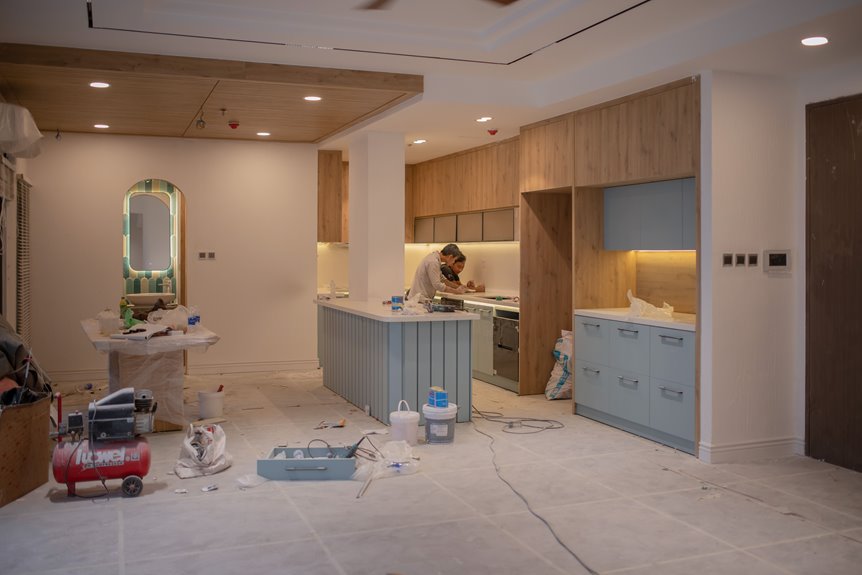
I’ve learned this the hard way: permanent floors like tile or glued-down hardwood go under cabinets for that seamless, built-in look, but floating floors (laminate, click-together engineered, LVP) must go in after, or they’ll buckle and pop like a bad knee in winter. Your flooring type dictates everything, from expansion gaps hidden behind shoe molding to whether you can ever move that island without exposing a weird floor patch. Plan for the kitchen you’ll want in ten years, not just the one you’re building today. Accounting for future changes prevents both wasted money and the frustration of staring at mismatched toe kicks. There’s a specific sequence to this process that protects your investment and installation.
Why Your Flooring Type Determines the Entire Sequence
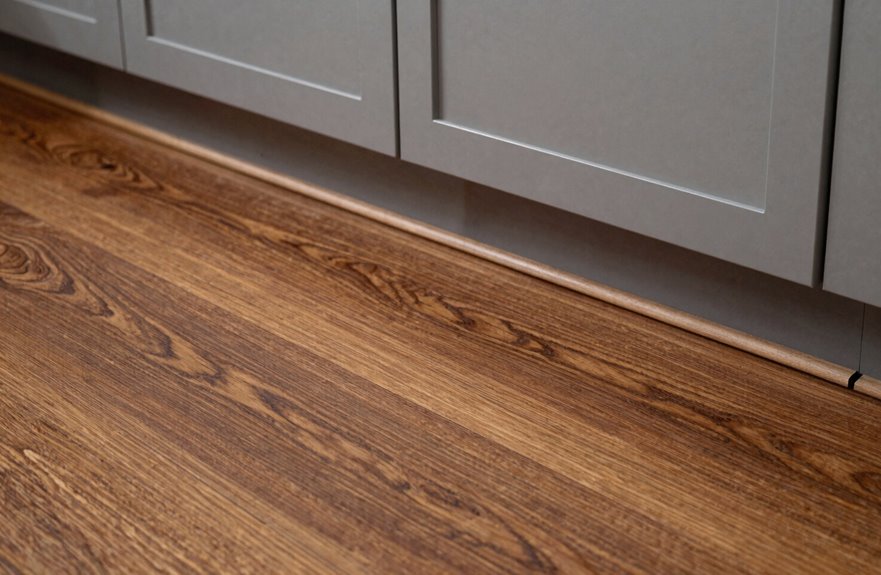
How do you know where to even begin? I’ve stood in that exact spot, staring at my kitchen, completely frozen. Your flooring choice dictates everything that follows.
With permanent materials like tile or solid hardwood, install flooring before cabinets. These materials get glued or nailed down permanently, so cabinets can sit right on top without shifting or movement.
Floating floors require a different approach. When my laminate started buckling, I learned this sequence matters: cabinets go in first, then you cut planks to fit around them, leaving those crucial expansion gaps. Skip this step, and your floor pushes against cabinets, creating gaps.
Built-ins need planning too. Set them at finished height for that seamless slip-under edge.
Why Permanent Flooring Goes Under Cabinets (Not Around)

Why does permanent flooring belong underneath your cabinets? Installing tile or traditional wood first creates a foundation where cabinet placement makes sense. No awkward gaps peeking out like unfinished work, no wonky countertop heights that affect your dishwasher’s function. The under-cabinet flooring extends everywhere, so if you need to replace a section, you’re not trapped by your own cabinetry choices.
Staple-down or glued methods handle this beautifully. They’re locked in and solid. Your cabinets rest on something real, not temporary solutions. The seamless edge where cabinet meets floor creates a polished, intentional appearance that signals a well-planned kitchen renovation.
The Floating Floor Exception: Never Install It First
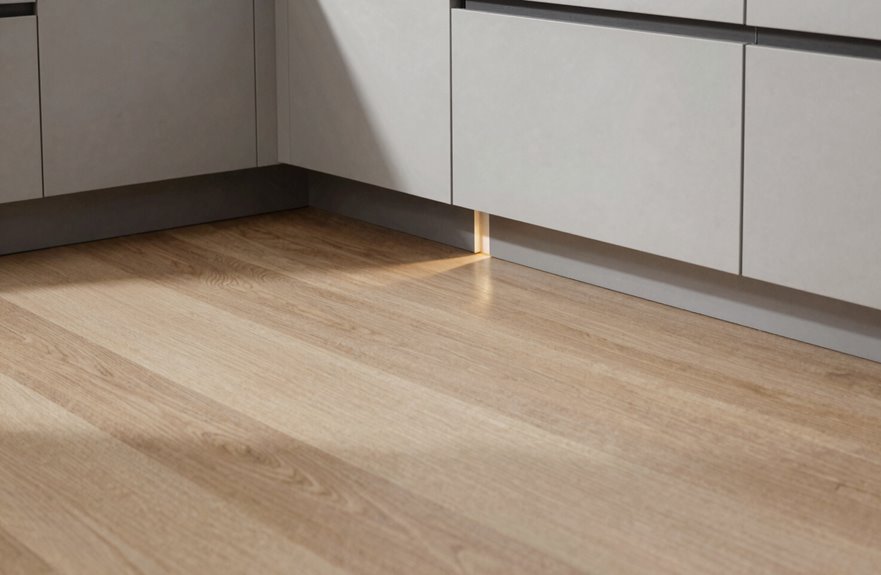
Because floating floors are basically the free spirits of the flooring world, they absolutely cannot handle being pinned down by your gorgeous, heavy cabinets. You’ve got to put cabinets first, always.
Here’s why this matters for your space:
- Floating floors need room to breathe, expand, and contract with the seasons
- Heavy cabinets pin them down, causing buckling, warping, and tears
- Expansion gaps around fixed objects aren’t optional; they’re essential
- Manufacturer warranties become void when you ignore this rule
I install my cabinets directly on the subfloor, then cut the floating floors to fit snugly around them. Shoe molding hides that gap beautifully. Your floor can move with seasonal changes while your kitchen remains stable and level.
Islands and Peninsulas: The Floating Floor Workaround
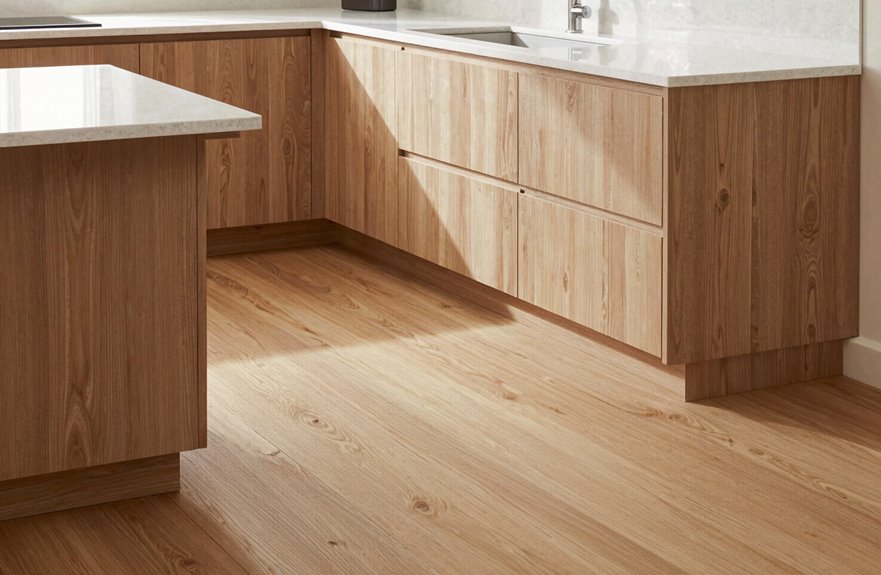
Kitchen islands and peninsulas are where I see the most DIY disasters happen. I’ve watched friends trap their floating floors, and the buckling isn’t pretty.
Kitchen islands and peninsulas are DIY disaster zones—I’ve watched too many friends trap their floating floors into ugly buckling.
Here’s the workaround that saves time and money: install those cabinets first, then run your floating floor around them. You’re creating a perimeter, like a moat, with an expansion gap hidden by shoe molding. That gap is critical. Without it, your floor can’t shift with the seasons and will buckle.
Islands need special attention because they’re anchored but floating floors aren’t. Always leave that expansion gap around every edge and side. The trim covers it, so the gap remains hidden.
Follow the manufacturer’s specs and measure twice. This approach prevents the costly repairs that result from improper installation.
Cabinet Height Problems When Flooring Goes Under (or Around)

How many times have I eyeballed a cabinet installation only to realize my countertop’s sitting crooked like a tipsy dinner guest. Cabinet height disasters happen when we forget that flooring thickness plus underlayment thickness changes everything.
Here’s what I’ve learned:
- Installing flooring under cabinets keeps everything level, eliminating weird gaps between toe kicks and floor
- Floating laminate needs cabinets on top so expansion doesn’t push your island into the next room
- Tile or hardwood can go underneath, giving that seamless, built-in look we all crave
- Cutting flooring around existing cabinets requires precision work and carries risk of appliance misalignment
When your dishwasher suddenly won’t slide under the counter because someone miscalculated, you’ll realize the importance of accounting for these millimeters. I’ve been there, measuring tape in hand, facing kitchen rework costs because of flooring miscalculations.
When Flooring Under Cabinets Saves Money (and When It Doesn’t)
I used to think “more flooring = more money, period,” then I tiled my sister’s galley kitchen and watched her save eight hundred bucks on edge trim alone. Flooring under cabinets eliminates those fussy transition strips, the metal T-molding that catches every crumb, and the caulk lines that yellow within a year. For permanent materials, tile, nailed hardwood, glue-down vinyl, the installation order that runs flooring wall-to-wall creates smooth beauty, fewer failure points, and faster installs because you’re not cutting around cabinet bases like a maniac.
Floating floors require a different approach. Laminate needs to expand, breathe, and move. Lock cabinets on top and you’ll get buckling, gapping, and tears. The installation order flips; cabinets first, flooring second. This reversal increases trim costs and reduces future flexibility for renovations or repairs.
Will Your Kitchen Layout Work in 10 Years?
I’ve learned the hard way that kitchens have a sneaky way of becoming outdated, and I’m betting you don’t want to rip up gorgeous hardwood just to squeeze in a bigger fridge. When I planned my last remodel, I made sure the flooring ran under every cabinet and island, so now I can swap layouts without that awkward “shoebox effect” where old footprints haunt the floor. Leaving yourself wiggle room today prevents mismatched toe kicks or floating floor disasters when 2035 rolls around and you’re suddenly obsessed with double islands.
Future-Proof Design Choices
Where will your kitchen be in ten years? Still serving up Sunday pancakes, or completely transformed because you finally got that double oven you’ve been eyeing? My “temporary” island became permanent because my floating floor trapped me.
Flooring under cabinets is about long-term flexibility, not just today’s needs. Consider these points:
- Permanent floors (tile, hardwood) laid wall-to-wall let you shift that peninsula when your layout needs change.
- Floating floors cut around cabinets become expensive to modify if you relocate anything.
- Full flooring prevents ugly gaps when you swap that standard range for a commercial model.
- Built-ins at finished height slip right over edges without requiring demolition.
Planning for flexibility now eliminates costly renovations later.
Cabinet Mobility Planning
How often do we really think about our kitchen’s future when we’re knee-deep in renovation chaos? I sure didn’t, until I wanted to move my island three years later and hit a wall of regret.
Cabinet mobility depends entirely on what lies beneath. When planning flooring under cabinets, you’re really planning for your future self; the one who’ll crave change, who’ll spot that perfect vintage hutch and need space immediately. Staple-down floors work everywhere. Floating floors require more strategic planning.
Ask installers the hard questions upfront. Will this flooring type accommodate rearranging? Edge details matter too. Trim that slips under built-ins prevents problems later. We’re building kitchens that grow with us, not cages that trap us.
Islands and Built-Ins: Different Rules Apply
Why do islands and built-ins get special treatment? Because they’re heavy, permanent, and they don’t like to share space with moving parts.
Here’s what separates the pros from the “oops, my floor buckled” crowd:
- Floating floors (like laminate) need cabinets on top, not underneath, so the planks can breathe and expand
- Stapled or glued floors? Run that beauty right under everything for seamless perfection
- Expansion gaps are non-negotiable around fixed objects. Skip them and you’ll hear popping sounds at 2 AM
- Trim planning prevents gaps and misaligned transitions when flooring stops at the base
Always follow manufacturer guidelines because every product has its own specifications, and improper installation creates visible edge lines and compromises the finished appearance.
Three Sequencing Mistakes That Cost $10K to Fix
I’ve watched homeowners (myself included, once) learn the hard way that sequencing isn’t just about what looks good today. It’s about what doesn’t buckle, gap, or require a total gut job tomorrow. You pick the wrong floor type first, like floating laminate under heavy cabinetry, and suddenly you’re cutting around toe kicks with a jigsaw while praying the seams don’t show. Skip the expansion gaps, or change your cabinet layout mid-install, and you’re not just buying new flooring. You’re buying new flooring, new trim, and probably absorbing significant costs for learning why proper planning matters.
Wrong Floor Type First
The single most expensive mistake I’ve ever made in a kitchen started with a gorgeous, wide-plank laminate I fell head-over-heels for. I installed it wall-to-wall, every square inch, before the cabinets even arrived.
I learned that flooring before cabinets doesn’t work for every material.
- Floating floors under fixed cabinetry buckle, expand, and buckle again.
- Tile or hardwood installed early forces you to rip everything out when your cabinet layout shifts even an inch.
- Dishwasher clearances vanish, toe-kicks float awkwardly, and that “finished” look disappears.
- Precision labor costs explode when you’re cutting laminate to fit existing bases instead of sliding cabinets over a completed surface.
Know your floor type first, or you’ll be that person explaining why your kitchen renovation costs doubled.
Ignoring Expansion Gaps
Because I once spent an entire weekend prying up warped planks with a crowbar, I can tell you exactly what happens when you pretend expansion gaps don’t exist. Floating floors need room to breathe, to stretch and shrink with the seasons. When you trap them under cabinets without that crucial quarter-inch buffer, they buckle like a bad soufflé. I’ve seen it with gorgeous oak, ruined.
| Floor Type | Gap Strategy |
|---|---|
| Floating floors | Cut back to cabinets, maintain perimeter gaps |
| Stapled hardwood | Can extend under, minimal movement |
| Glued-down LVP | Seamless under, no gap needed |
| Engineered click-lock | Must gap around all fixed objects |
| Manufacturer specs | Your warranty depends on this. |
Don’t be me, sweating in my garage, wondering where I went wrong. Expansion gaps aren’t negotiable. They prevent buckling, warping, and structural failure.
Cabinet Layout Changes
Three years ago, I watched a contractor friend tear out $8,000 of pristine white oak because the homeowner decided, after everything was laid, that the island needed to shift fourteen inches left. Cabinet layout changes and flooring under cabinets must be coordinated from day one, or you’re paying for an expensive do-over.
Here’s what trips people up:
- Reconfiguring cabinets post-flooring forces you to rip up and relay sections, burning cash on materials you already bought
- Moving that gorgeous island later means awkward edge finishes, trim patches, and visible seams where guests will notice
- Appliance clearances ignored during layout create embarrassing gaps around fixtures you’ll stare at daily
- Last-minute shifts destroy that seamless look under cabinets, turning your dream kitchen into a patchwork quilt
Install in This Order: Flooring Type by Type
How do you know which goes down first, the floor or the cabinets? The answer depends on what type of flooring you’re installing. Permanent flooring, such as tile, hardwood, or anything glued or nailed down, goes in first. Your cabinets sit right on top with no gaps. Floating floors require a different approach. Laminate and engineered click-together planks expand and contract, requiring expansion gaps around anything fixed. Install cabinets first, then run your floating floors up to the base with shoe molding hiding that necessary gap. Improper installation order can result in buckling floors. The correct sequence is: permanent flooring before cabinets, floating floors after.